

Prerequisites
1. Read and understand the Guest Request FAQ's 2. Turn on the Guest Request system via the System Settings section of the CMMS (as outlined in Guest Request FAQ's)
Background
The guest portal can be accessed in several ways:
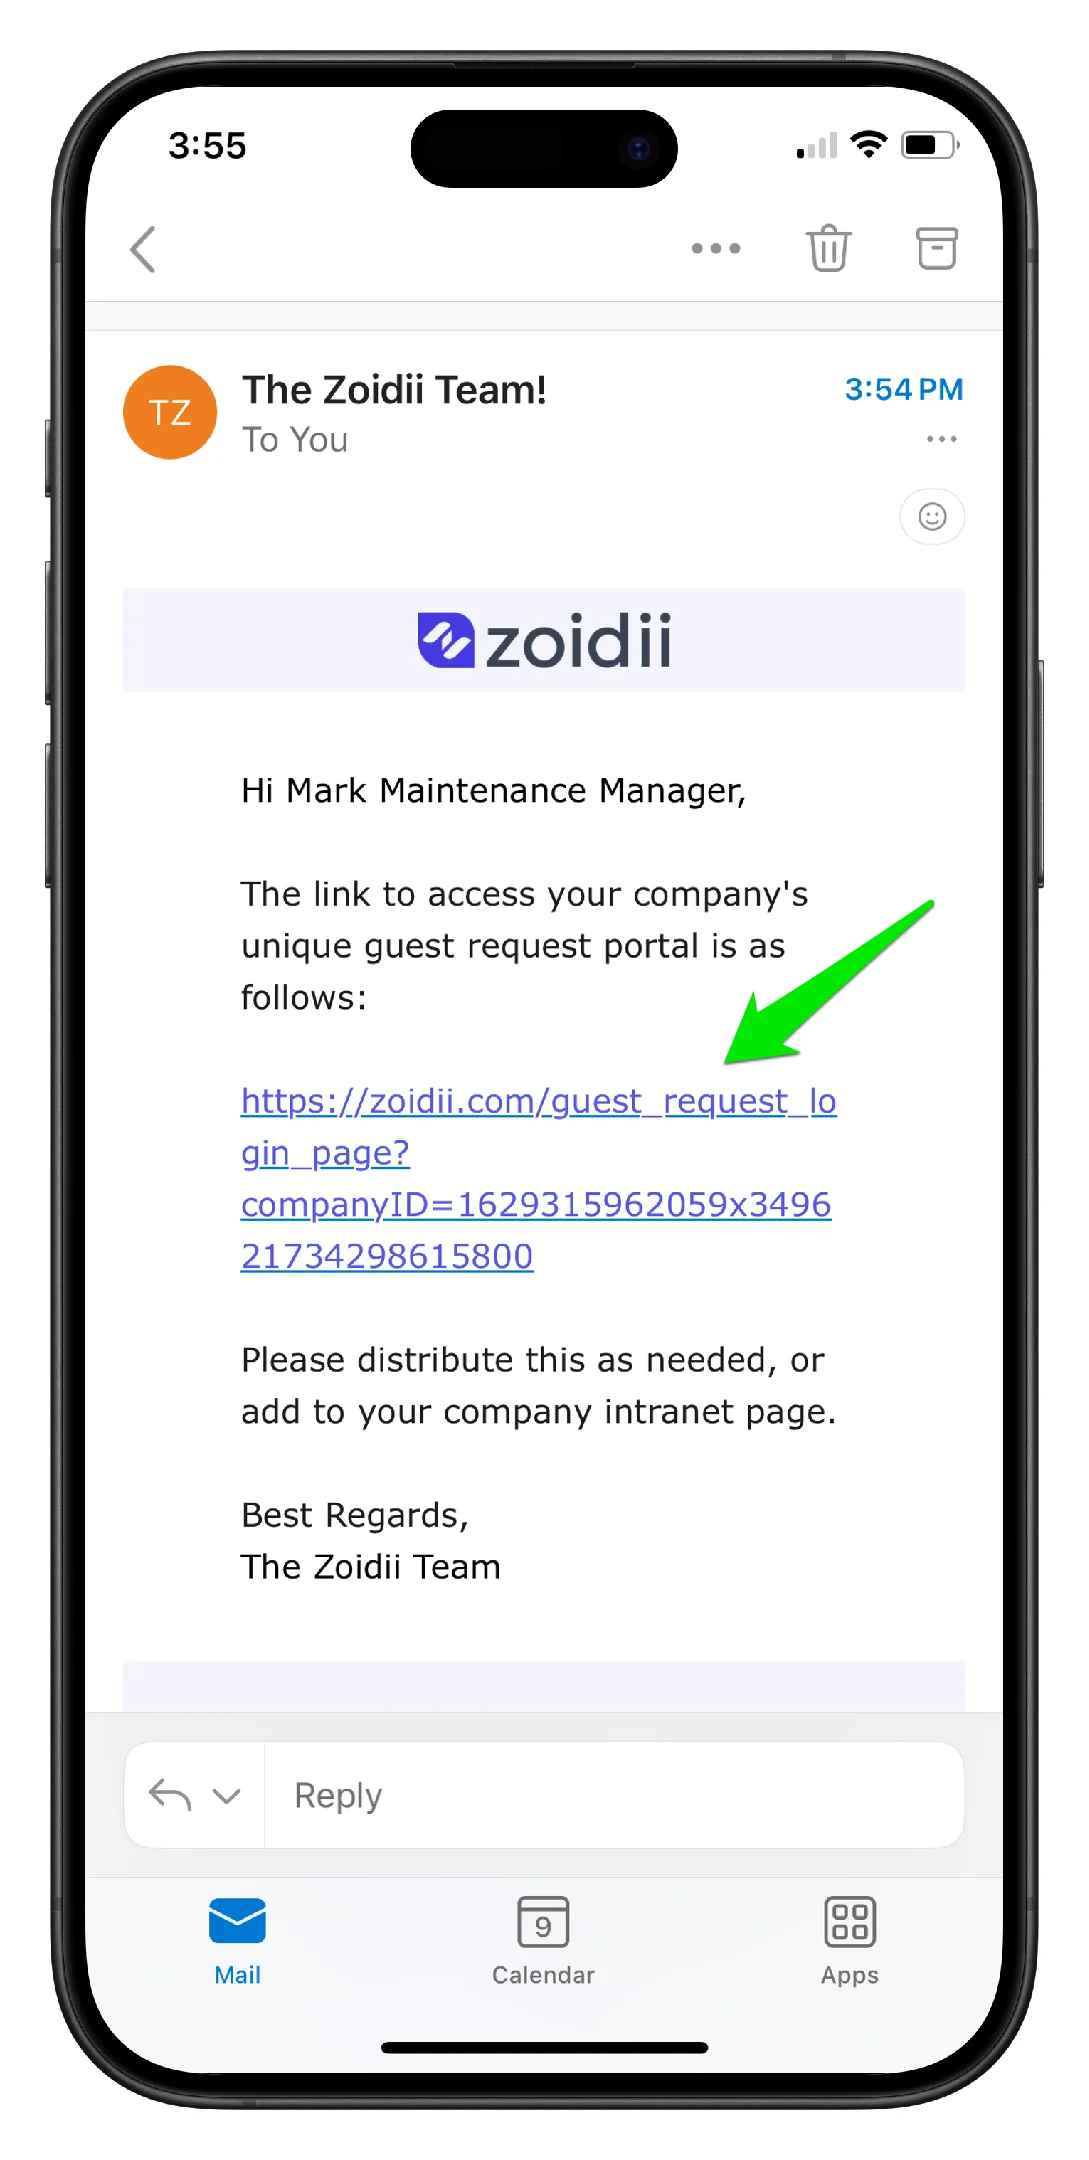
1. By entering the unique guest request link in the mobile browser (as outlined in Guest Request FAQ's). The link can be circulated within the business via email or posted on the internal intranet. Guest users simply click that unique link to access it.
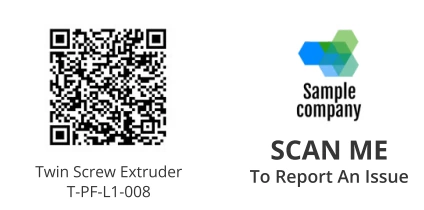
2. Via the asset QR code. Simply print out the QR codes and stick them to each asset. The guest user can then use any QR scanner on their phone to scan the QR code and go to the guest request page
Procedure
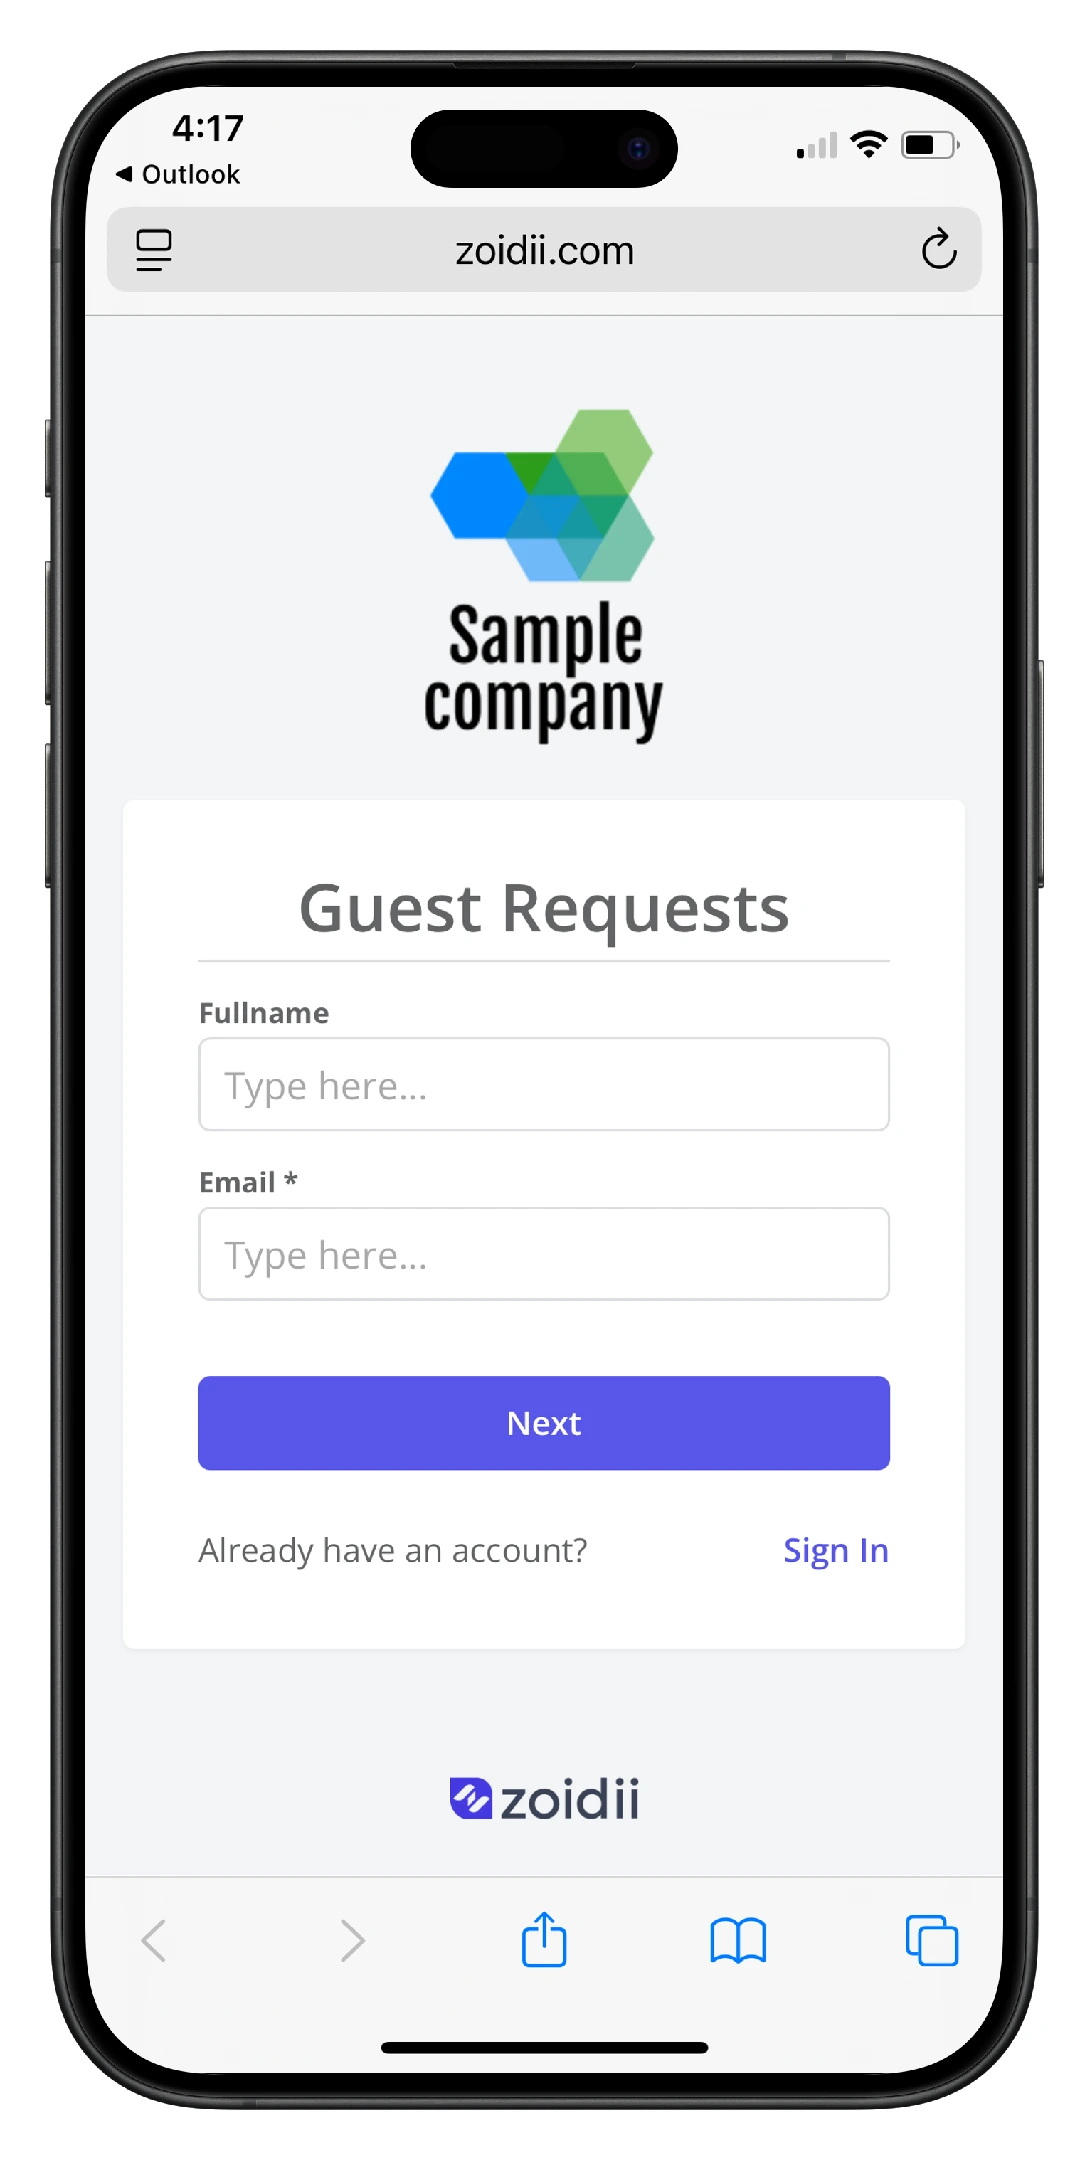
1. Open the guest user login page using the unique guest URL for your company.
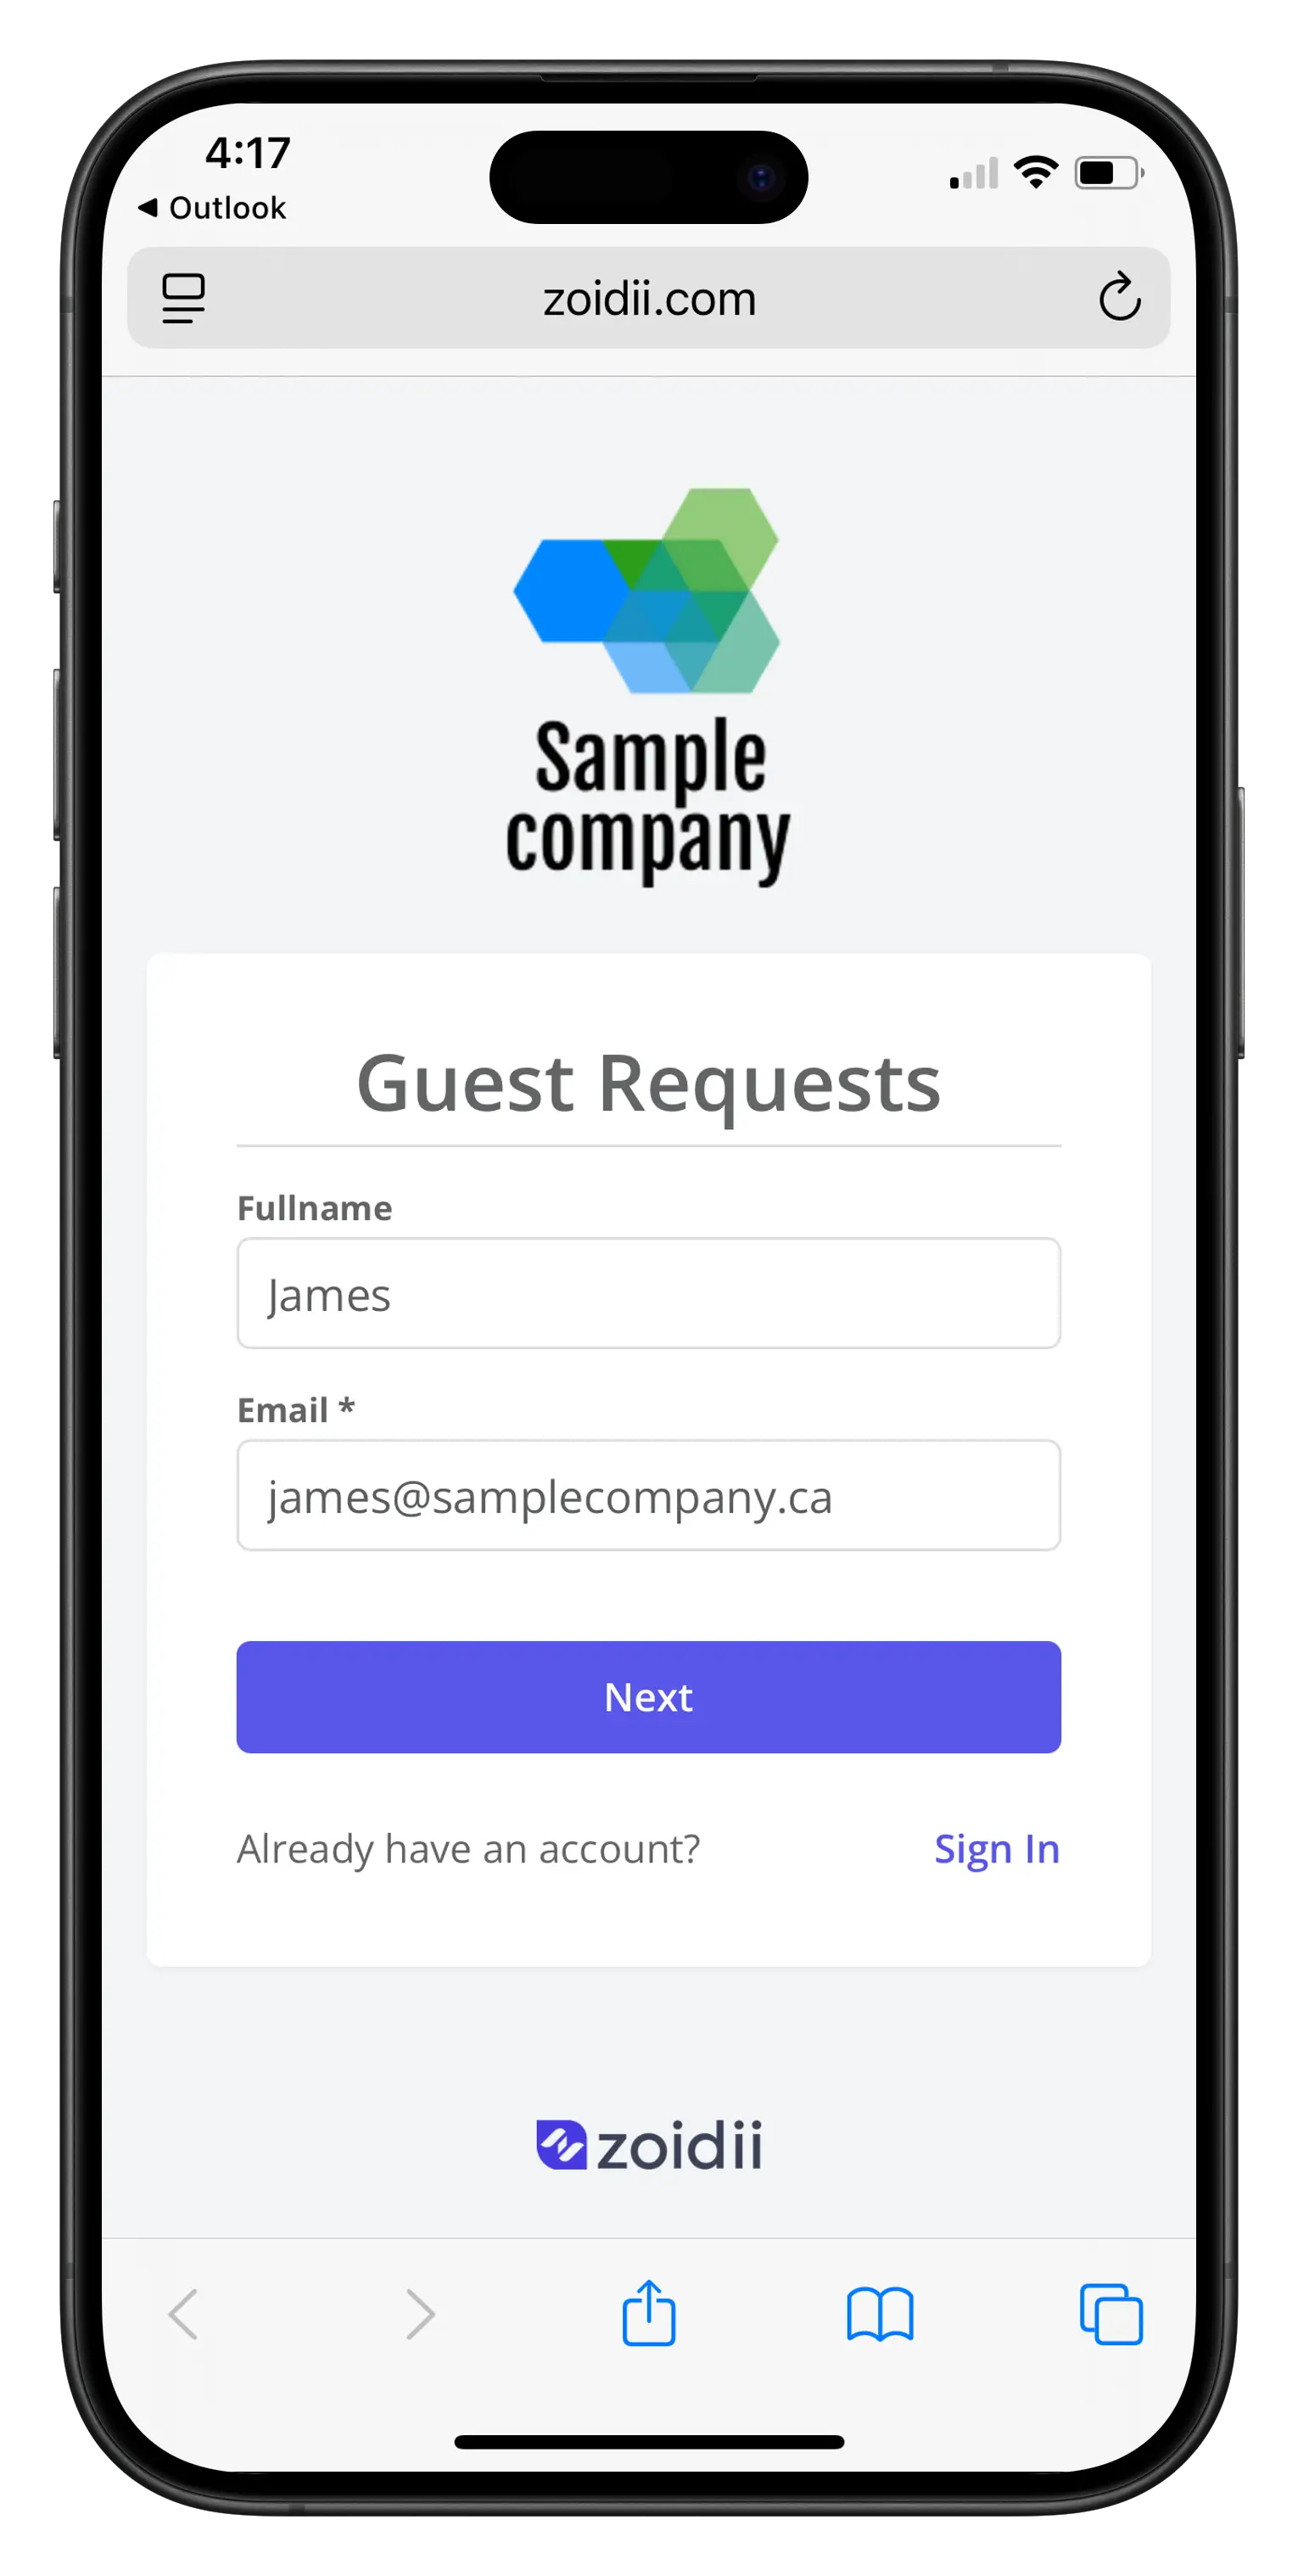
2. Add a name and email address and click Next
3. In the guest user portal, the guest user can either create a new work request or check their existing requests. Click the navigation buttons at the bottom of the screen to move between pages.
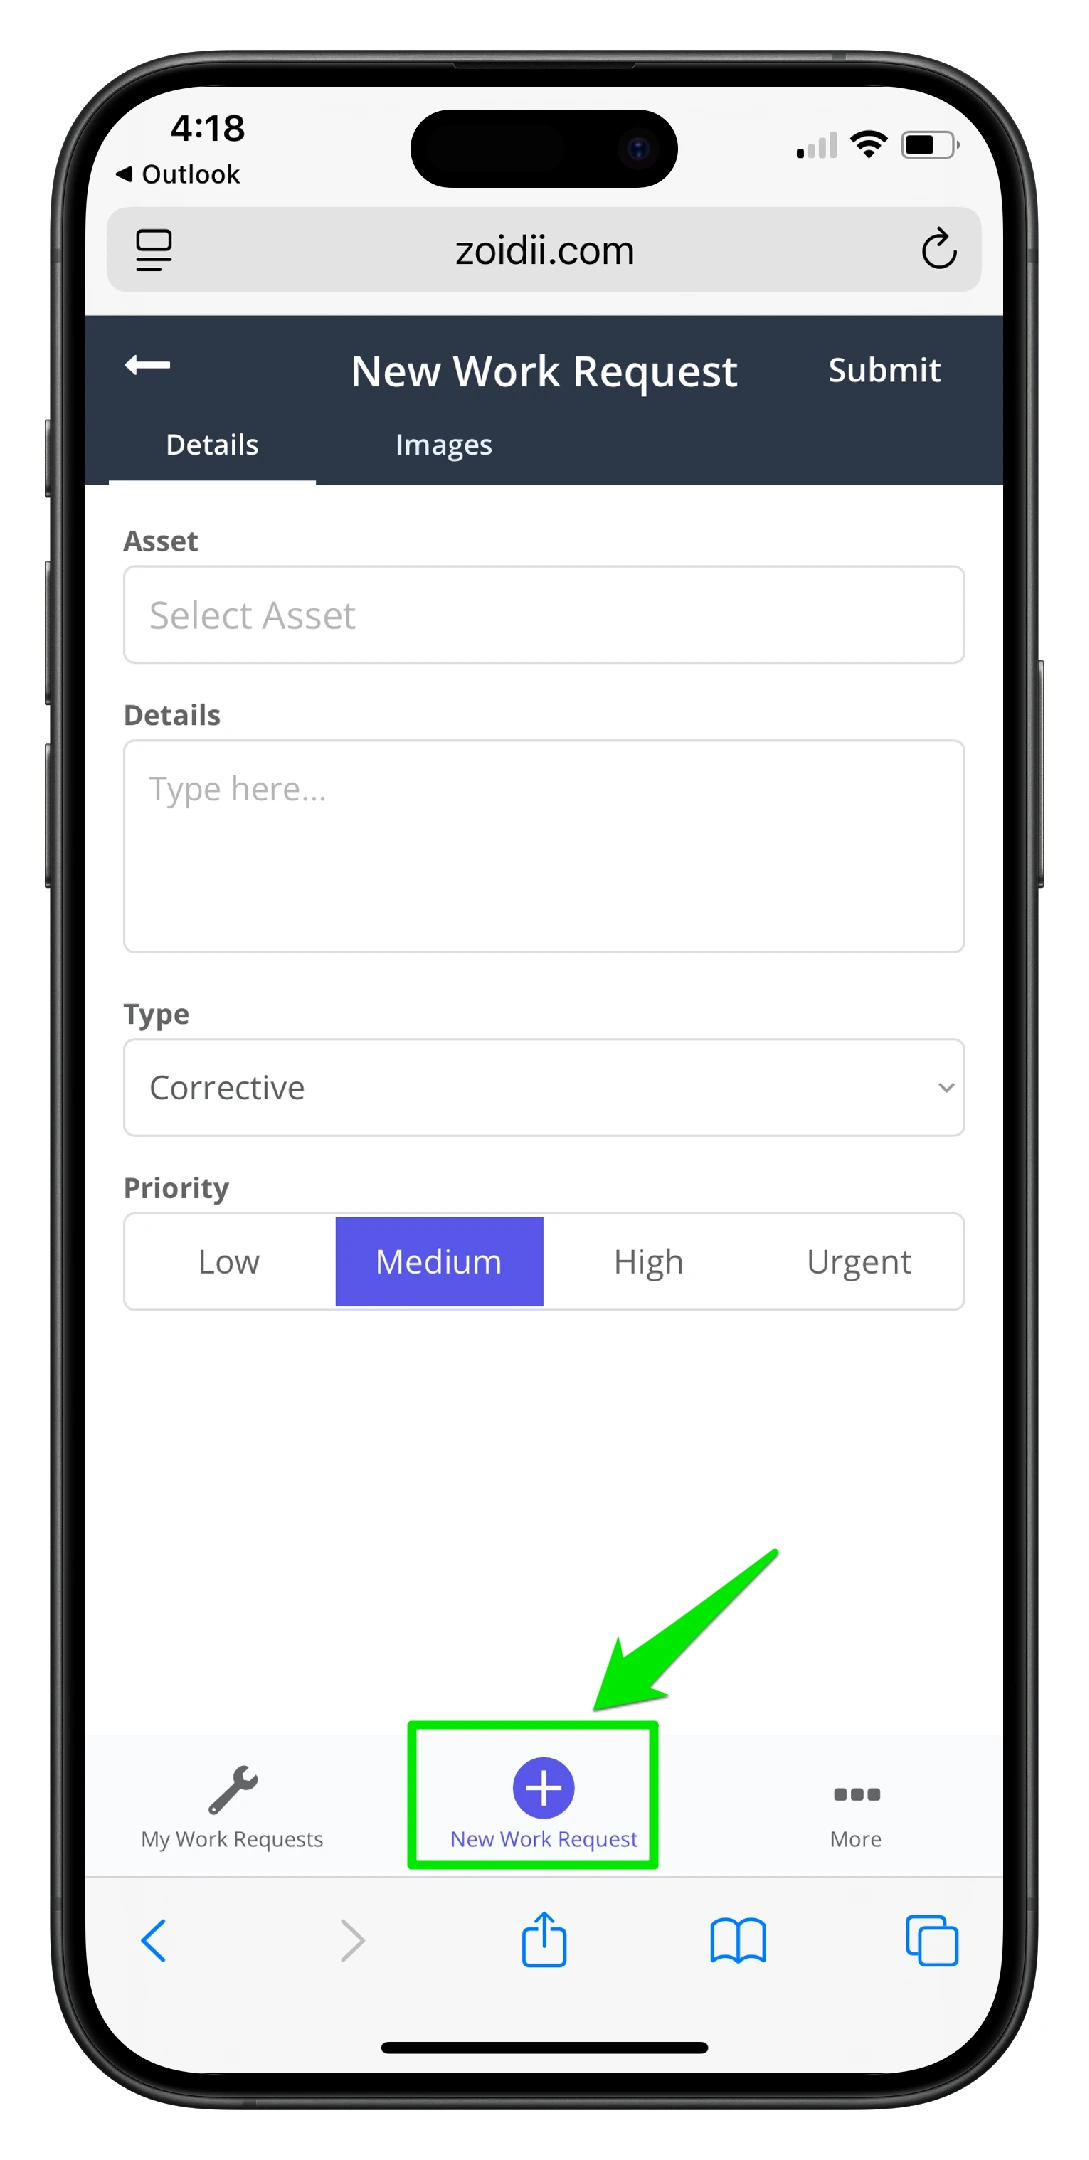
4. To create a new work request, click Select Asset
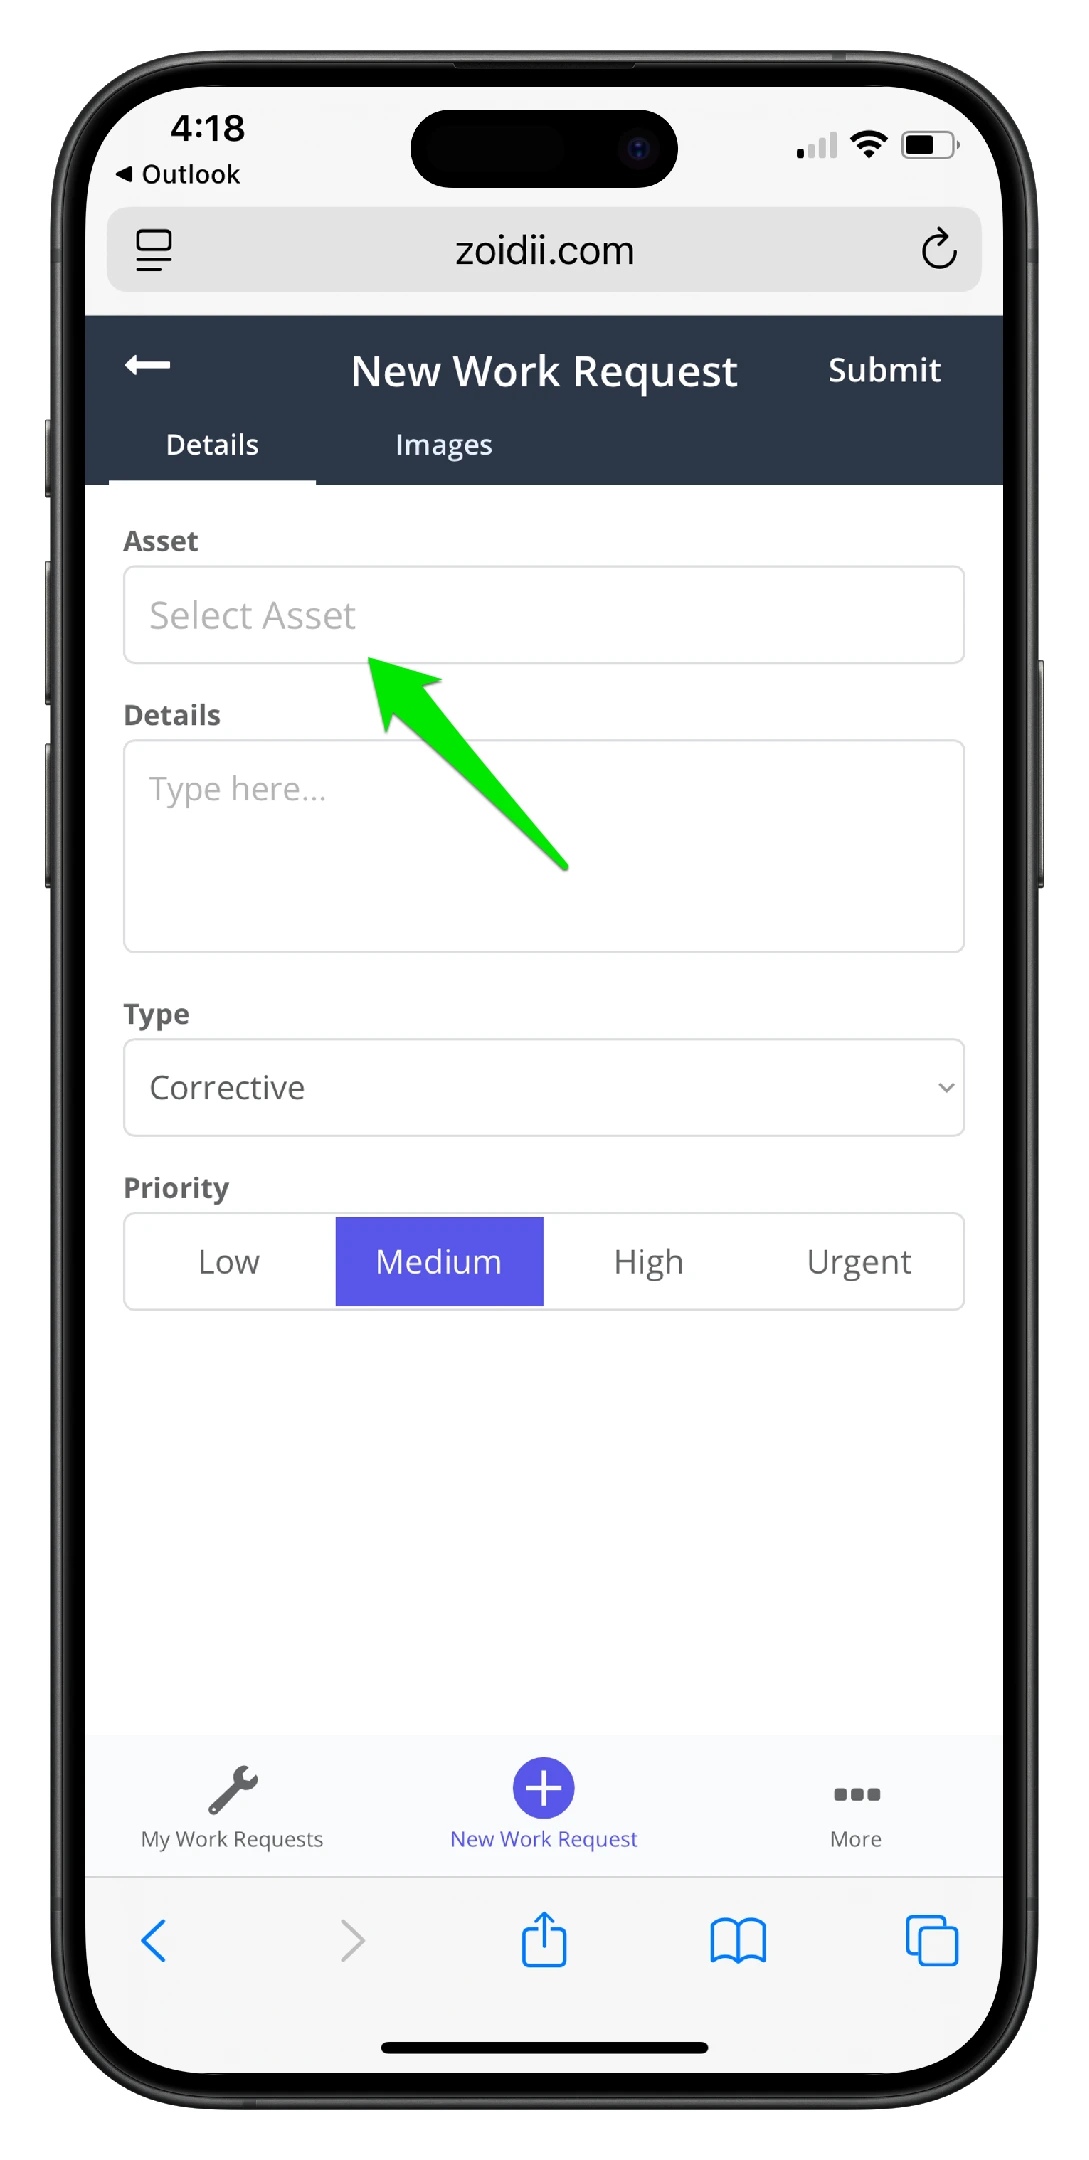
5. Select the asset from the list. Use the search feature or barcode scanner to find the asset quickly
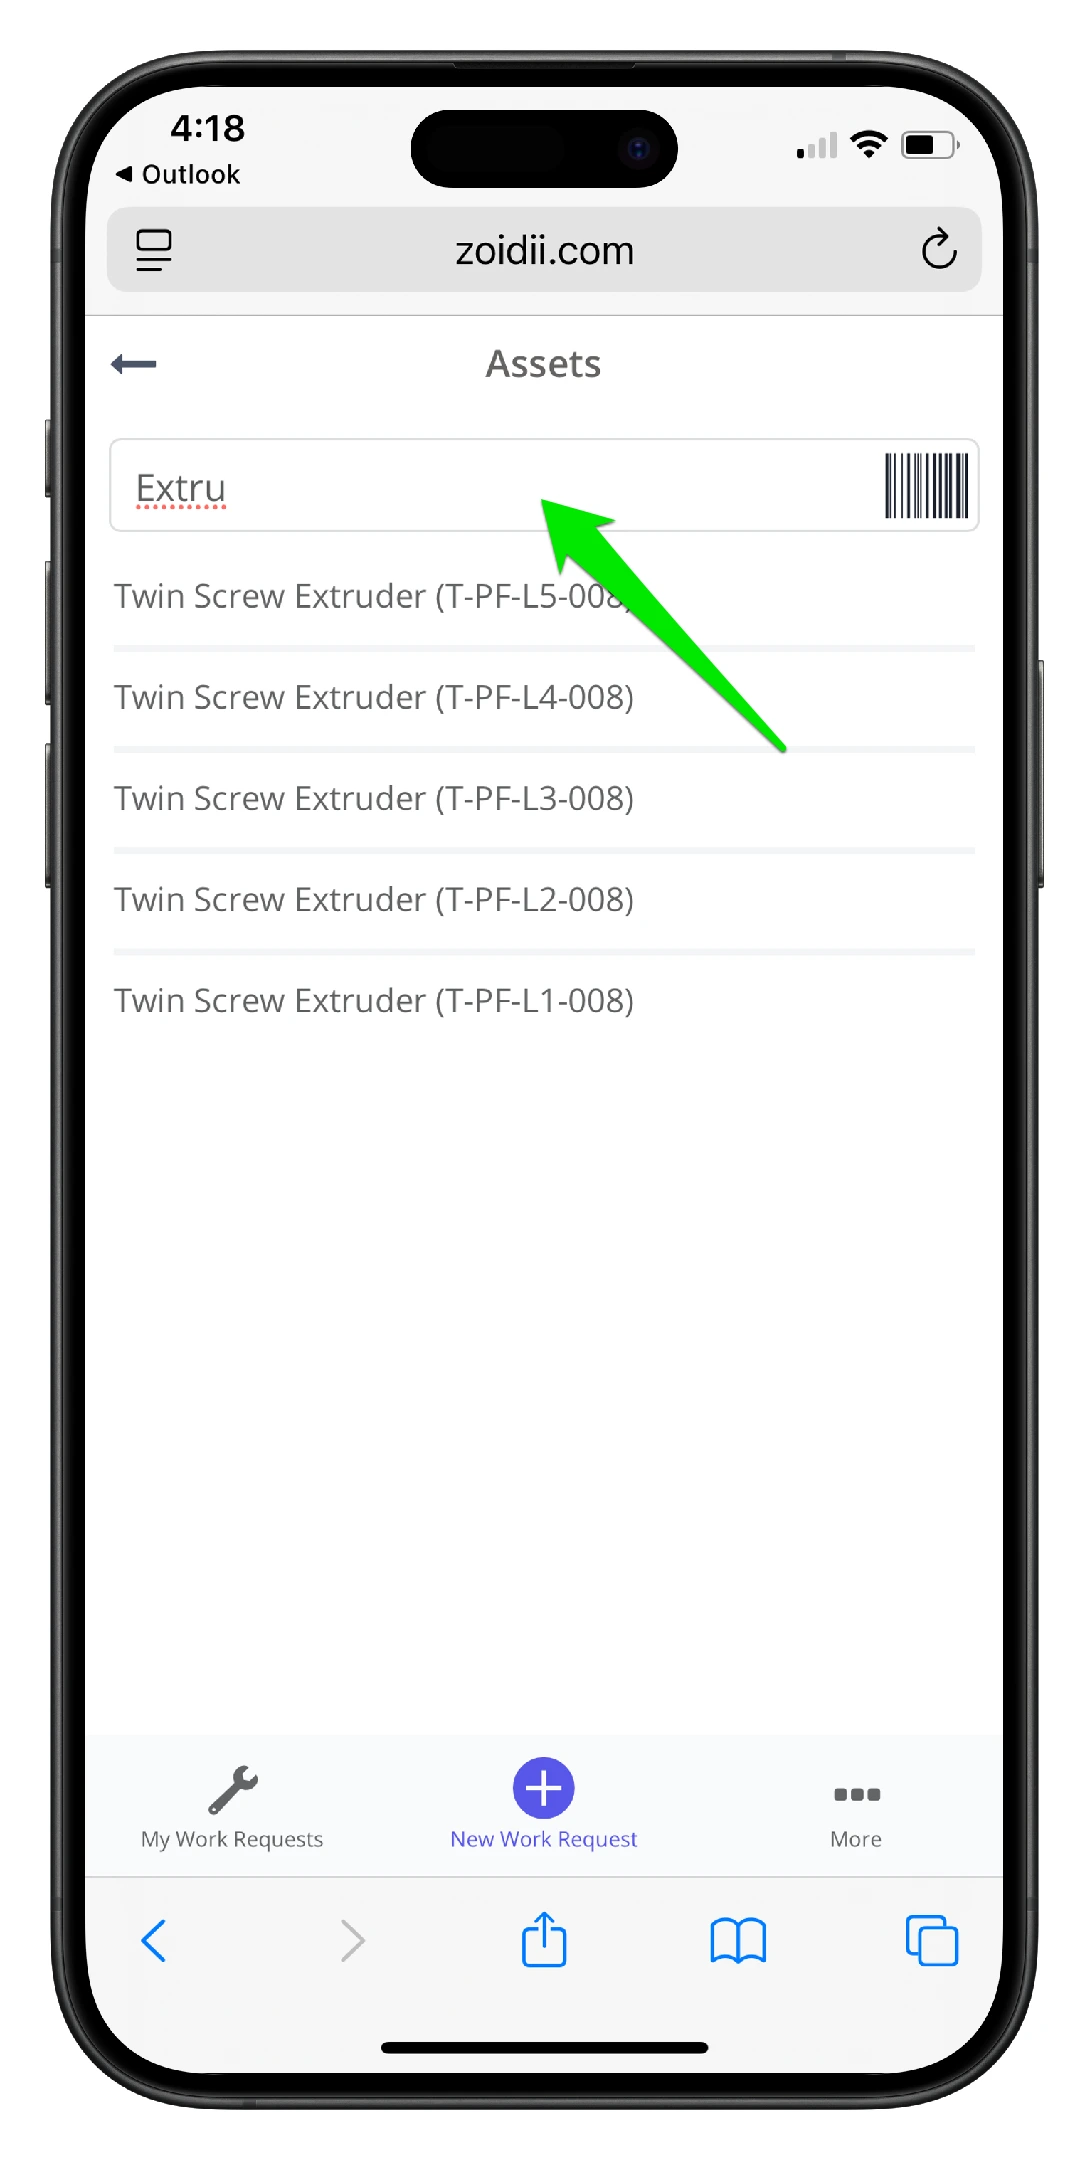
6. Once the asset is selected, any known issues will be displayed in the Known Issues panel
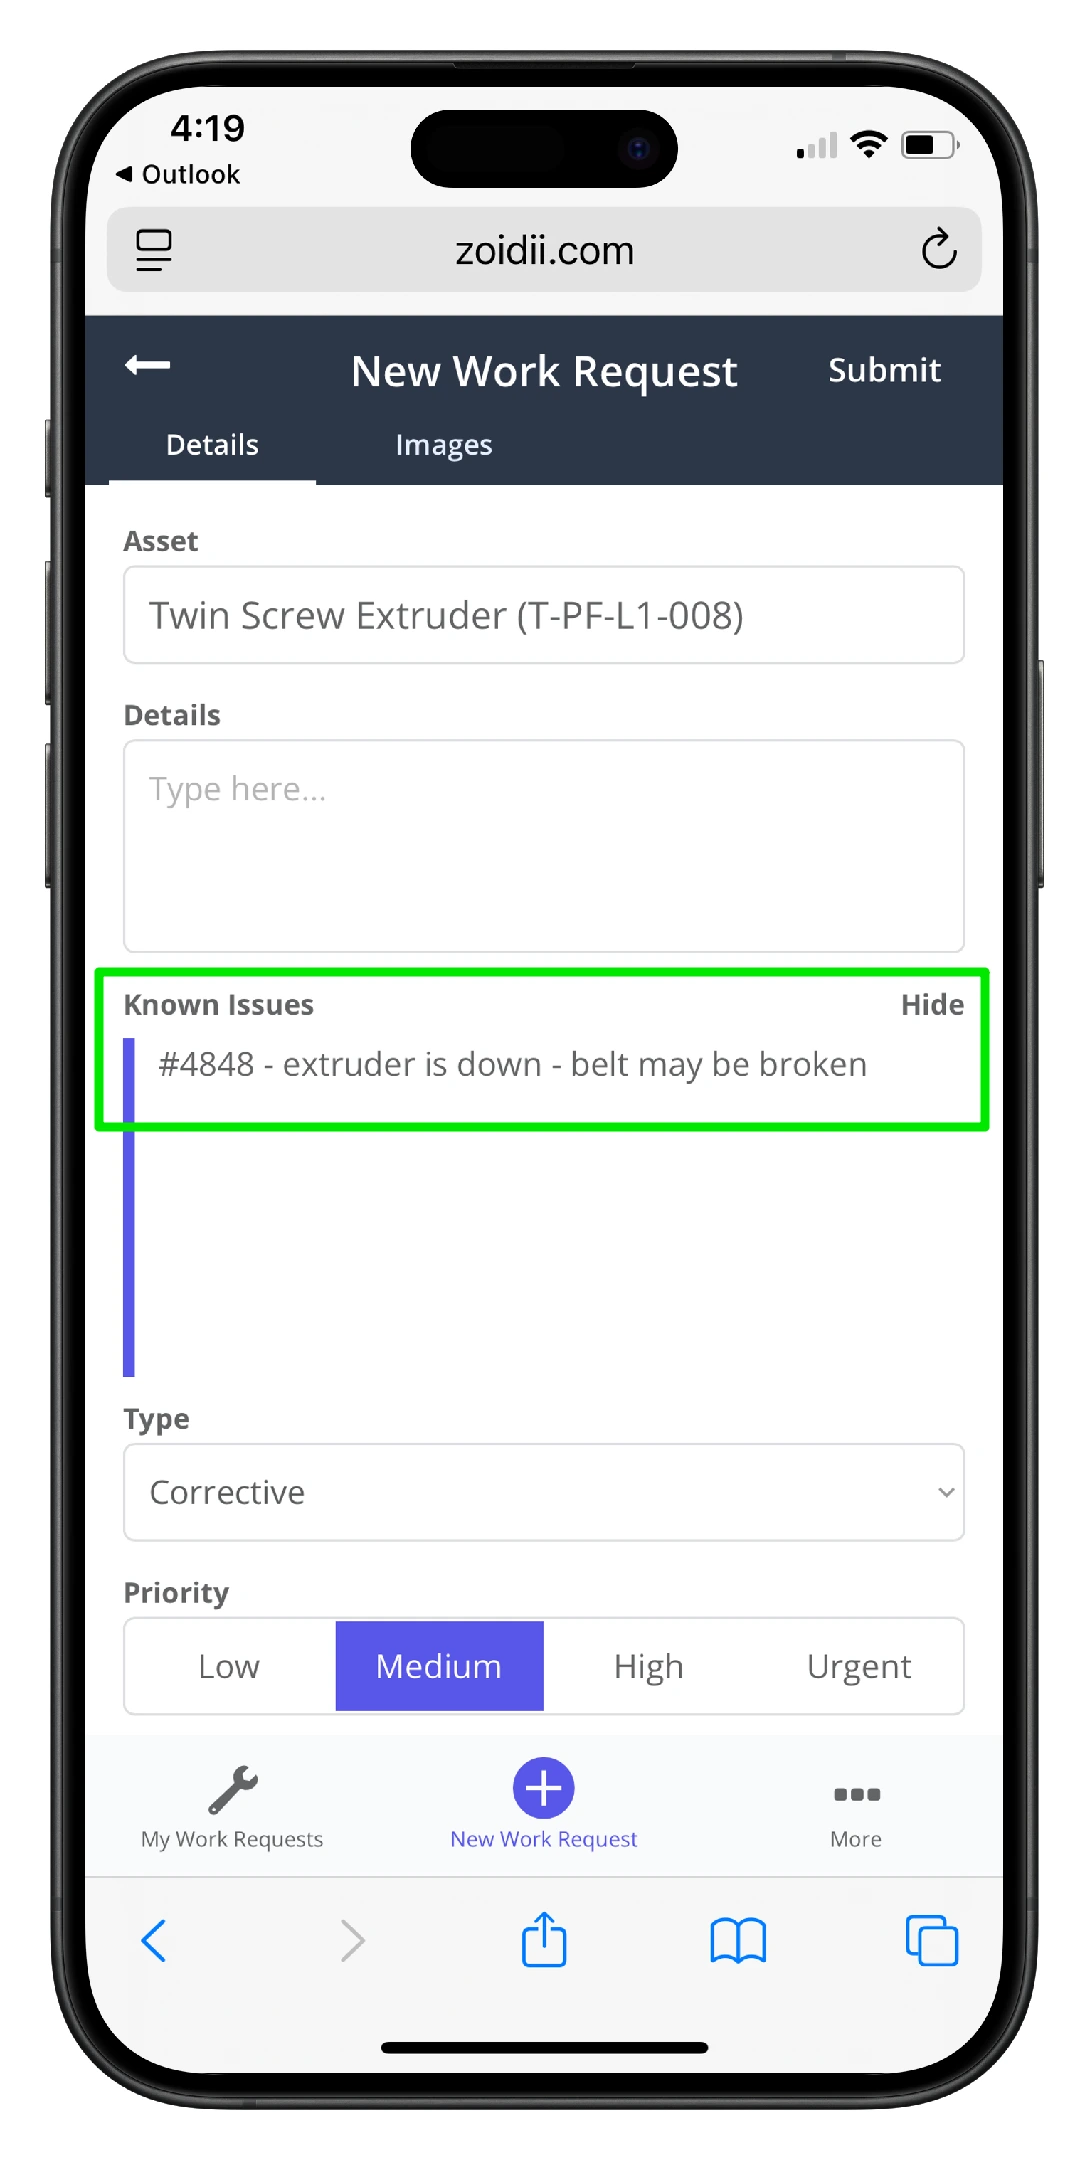
7. Click to hide the known issues panel if needed
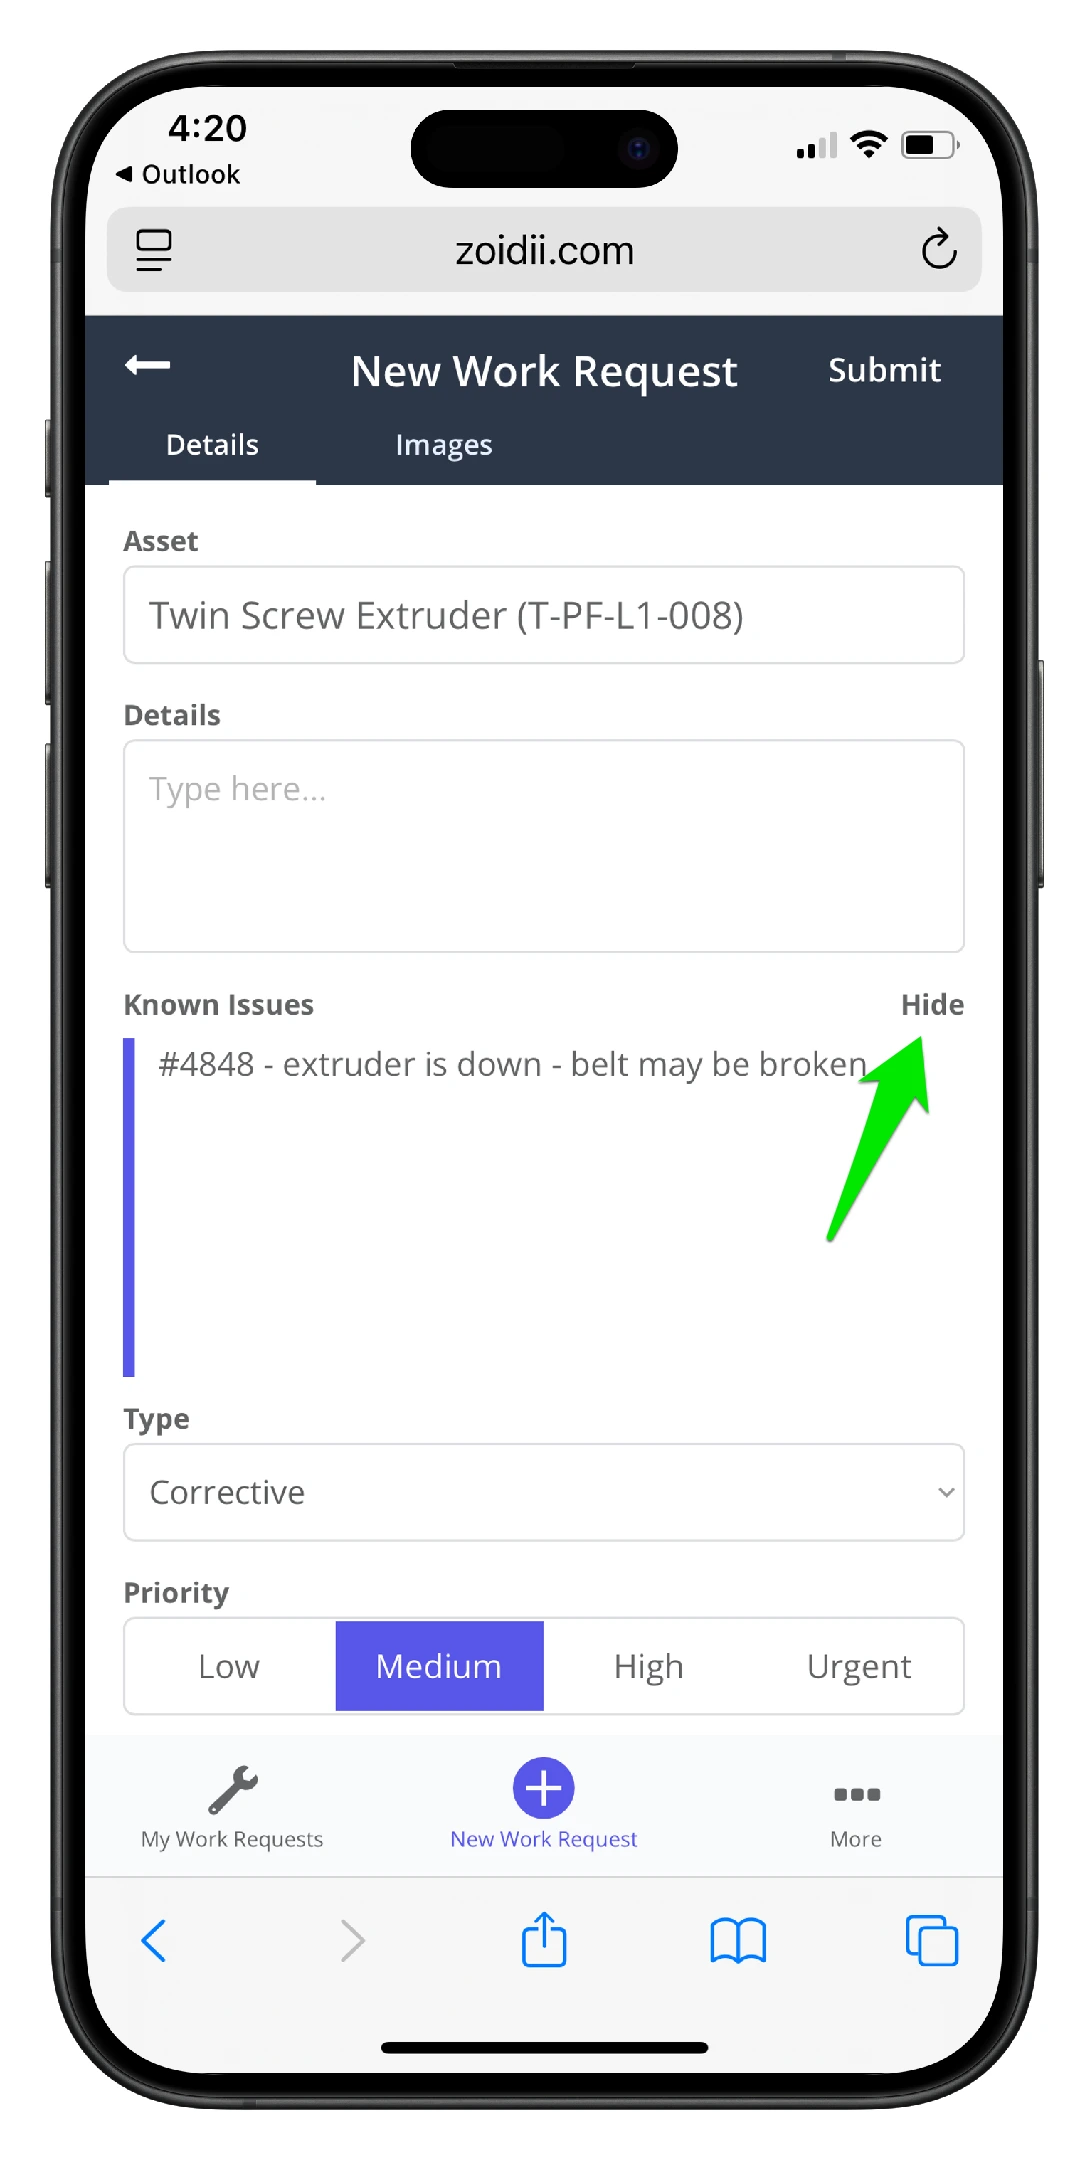
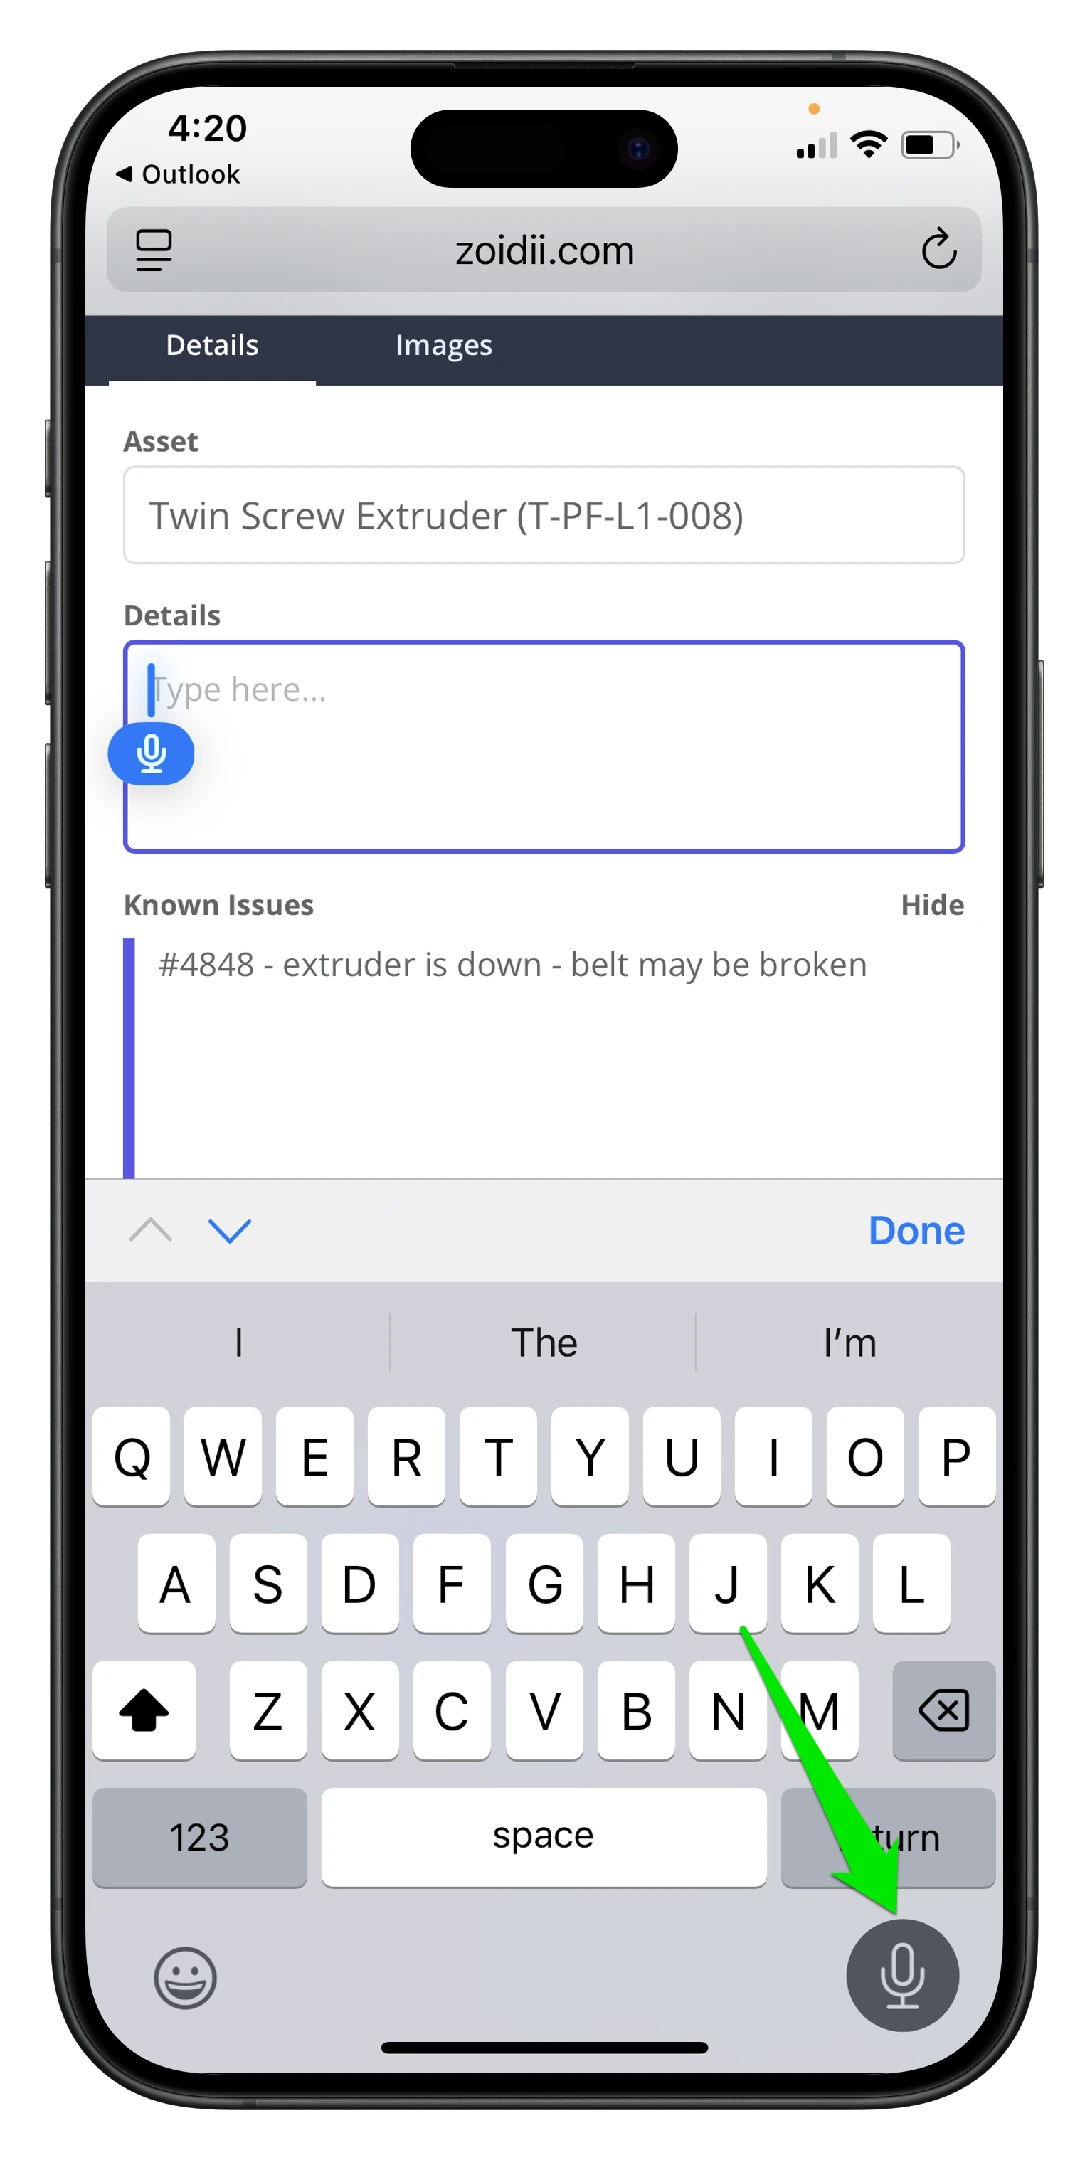
8. Click to add a description of the issue using the keyboard or voice-to-text. The more detailed, the better for the maintenance team. Write a strong description using the 5-bullet rule:
- Symptom: What you see/hear/measure (no diagnoses yet).
- Context: When/frequency, operating state, load/speed.
- History: Last maintenance or similar issue (if known).
- Impact: Safety/quality/throughput; note if equipment is running/stopped.
- Evidence: Photos/videos/measurements attached.
“Pump broken—please fix ASAP.”
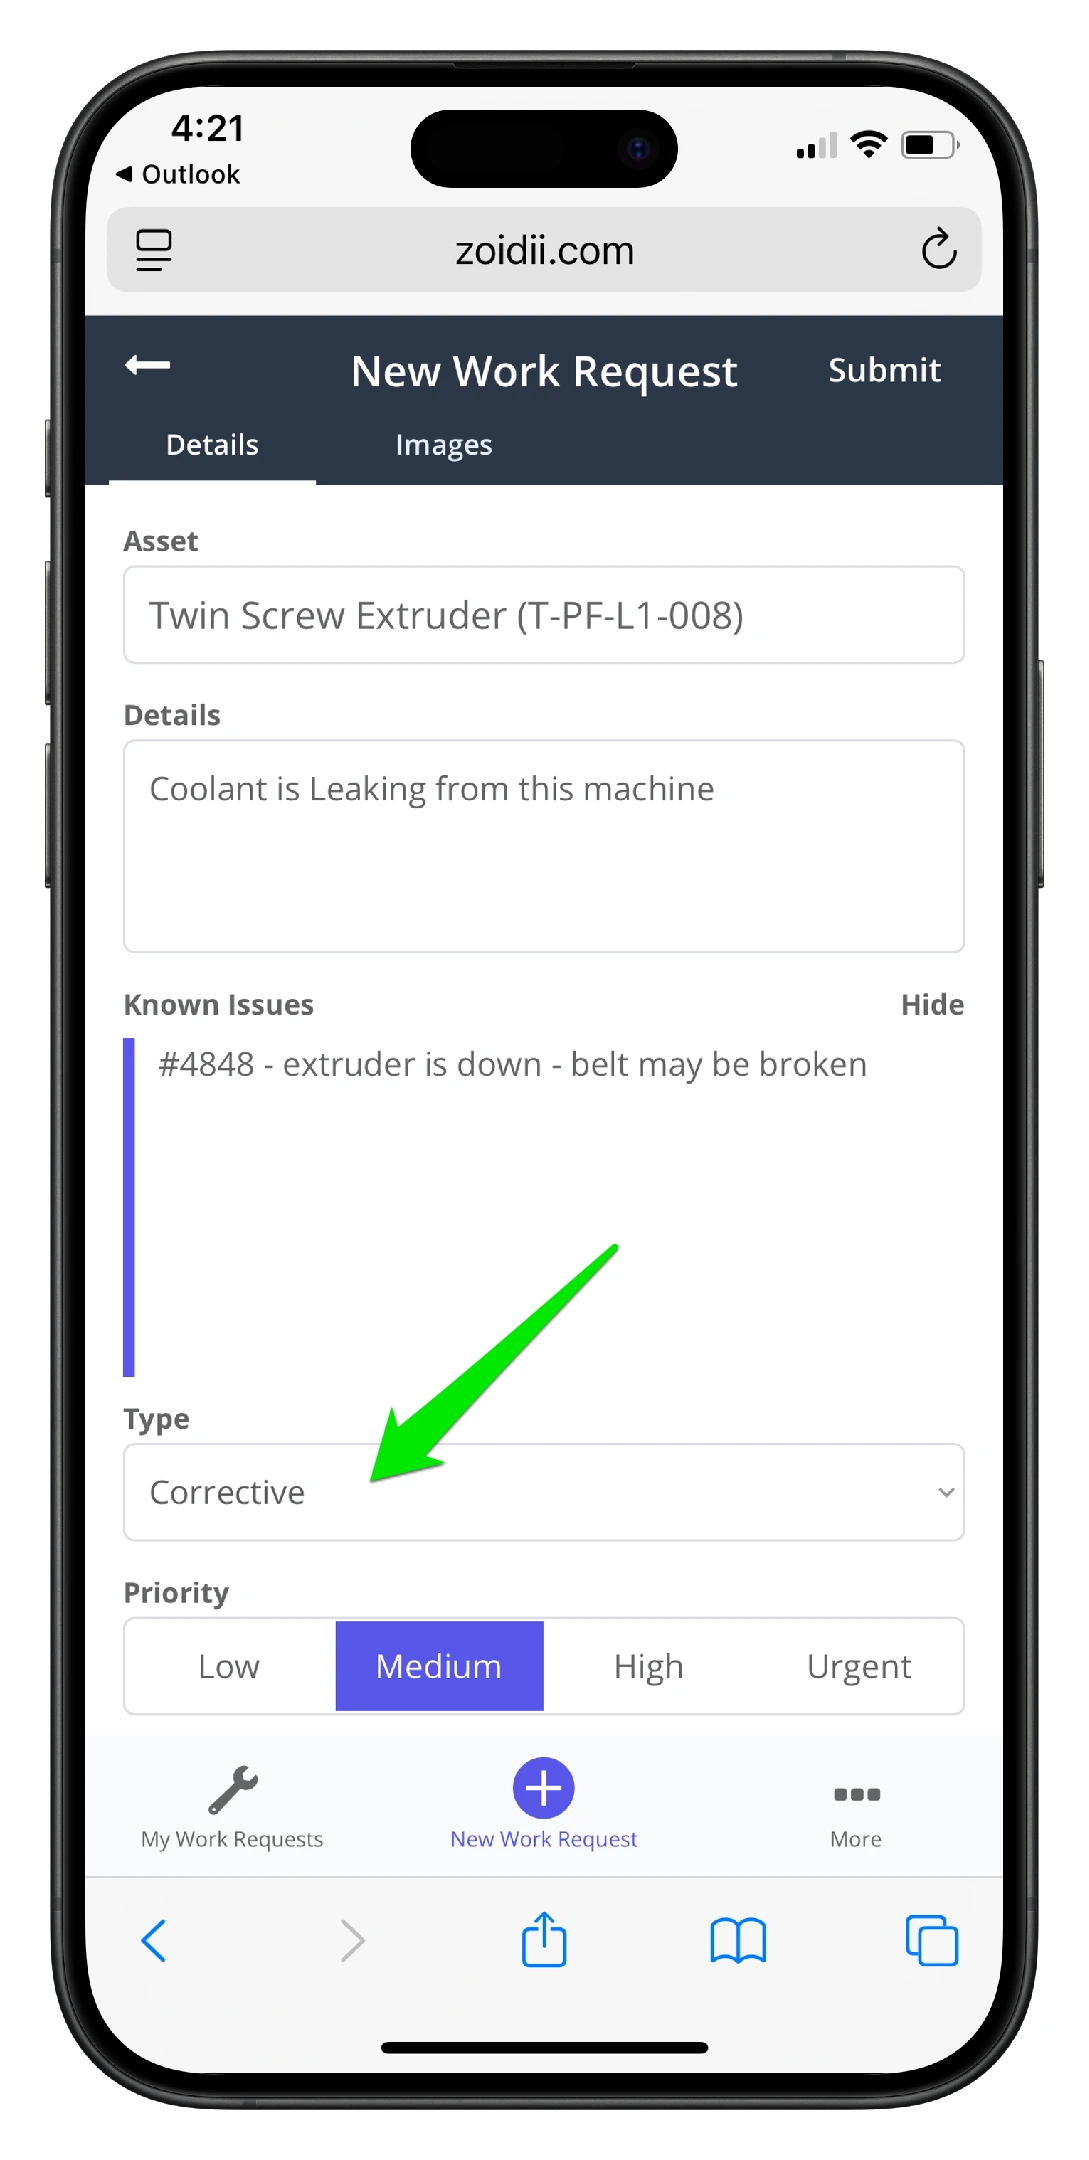
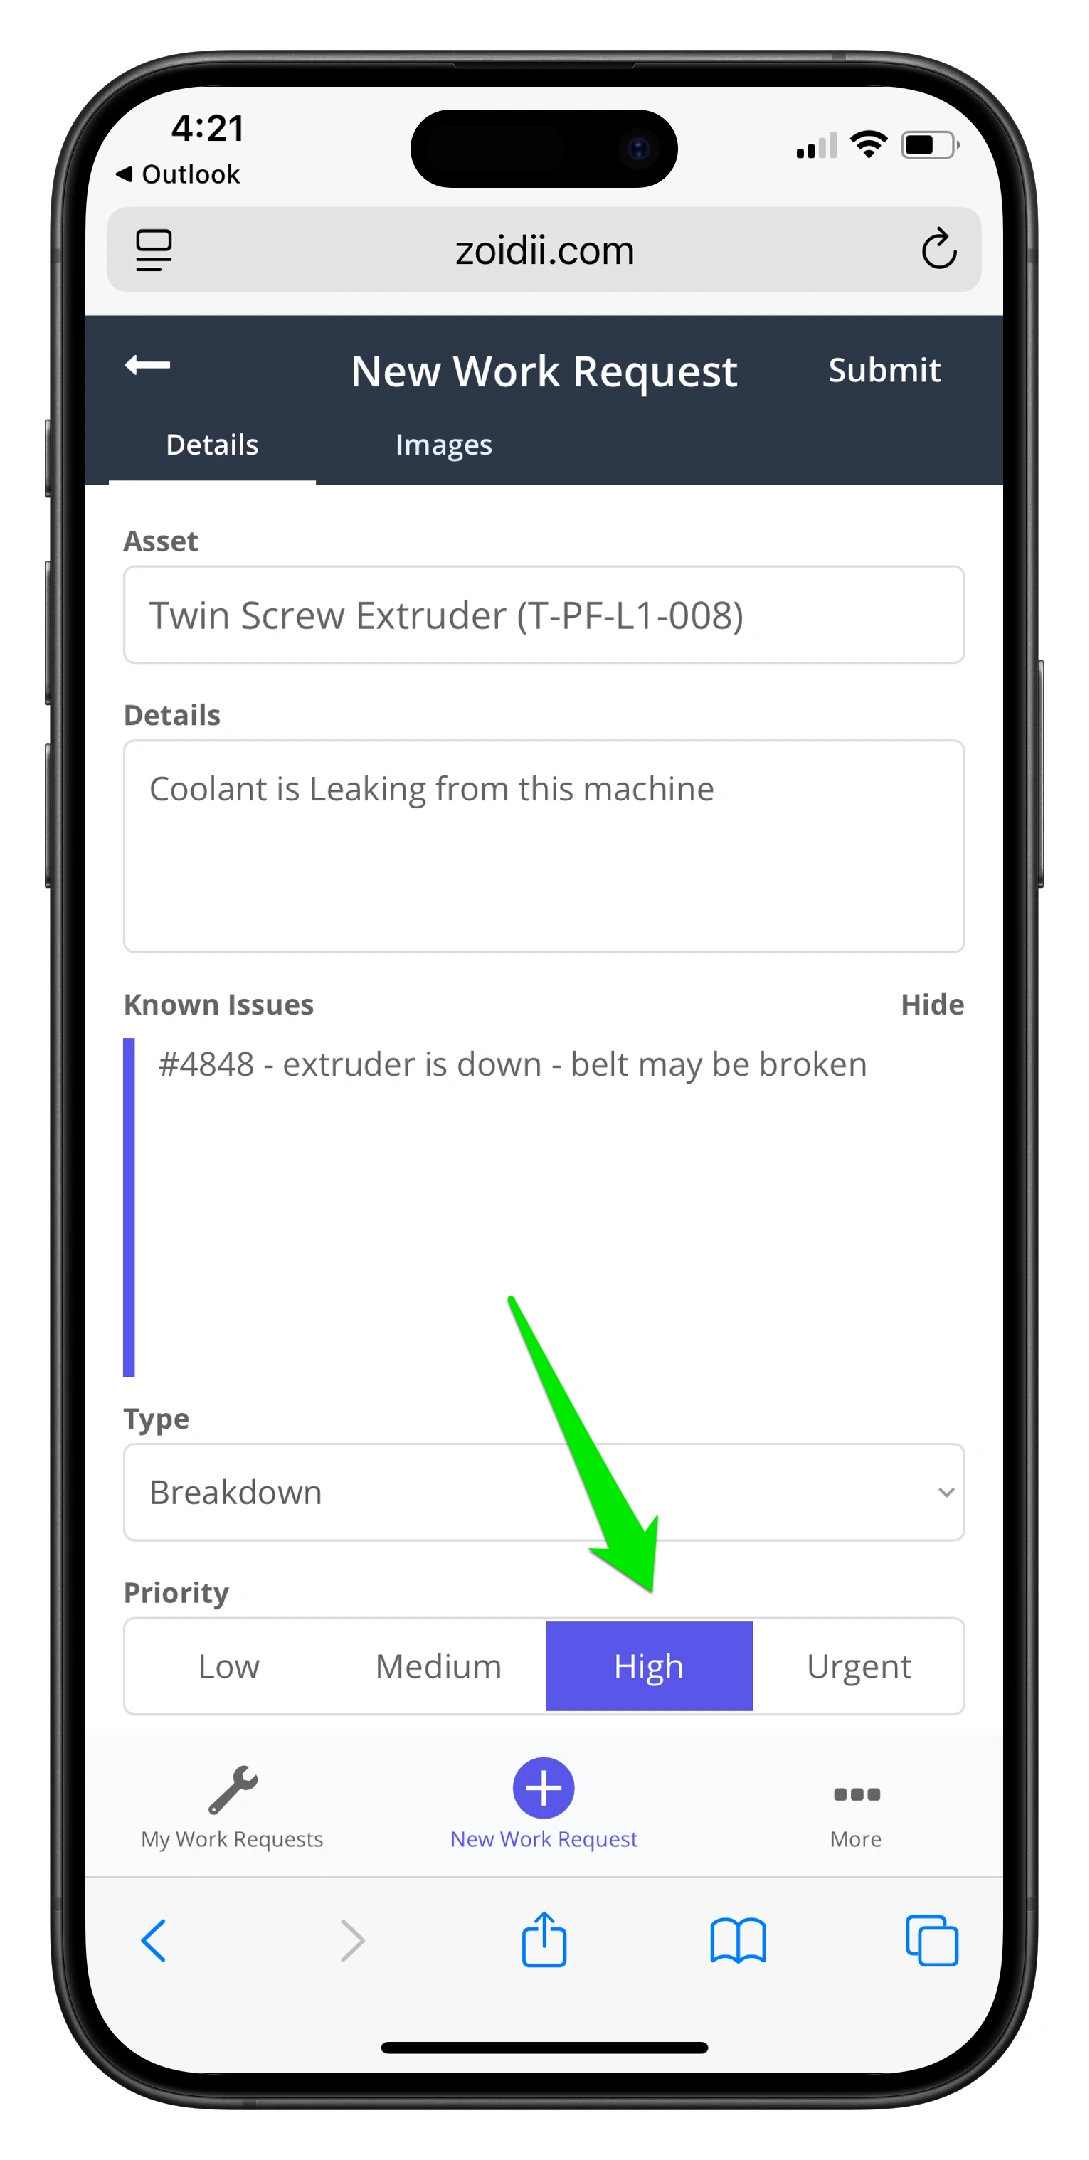
9. By default, the default guest request maintenance type is corrective. Click to change if needed
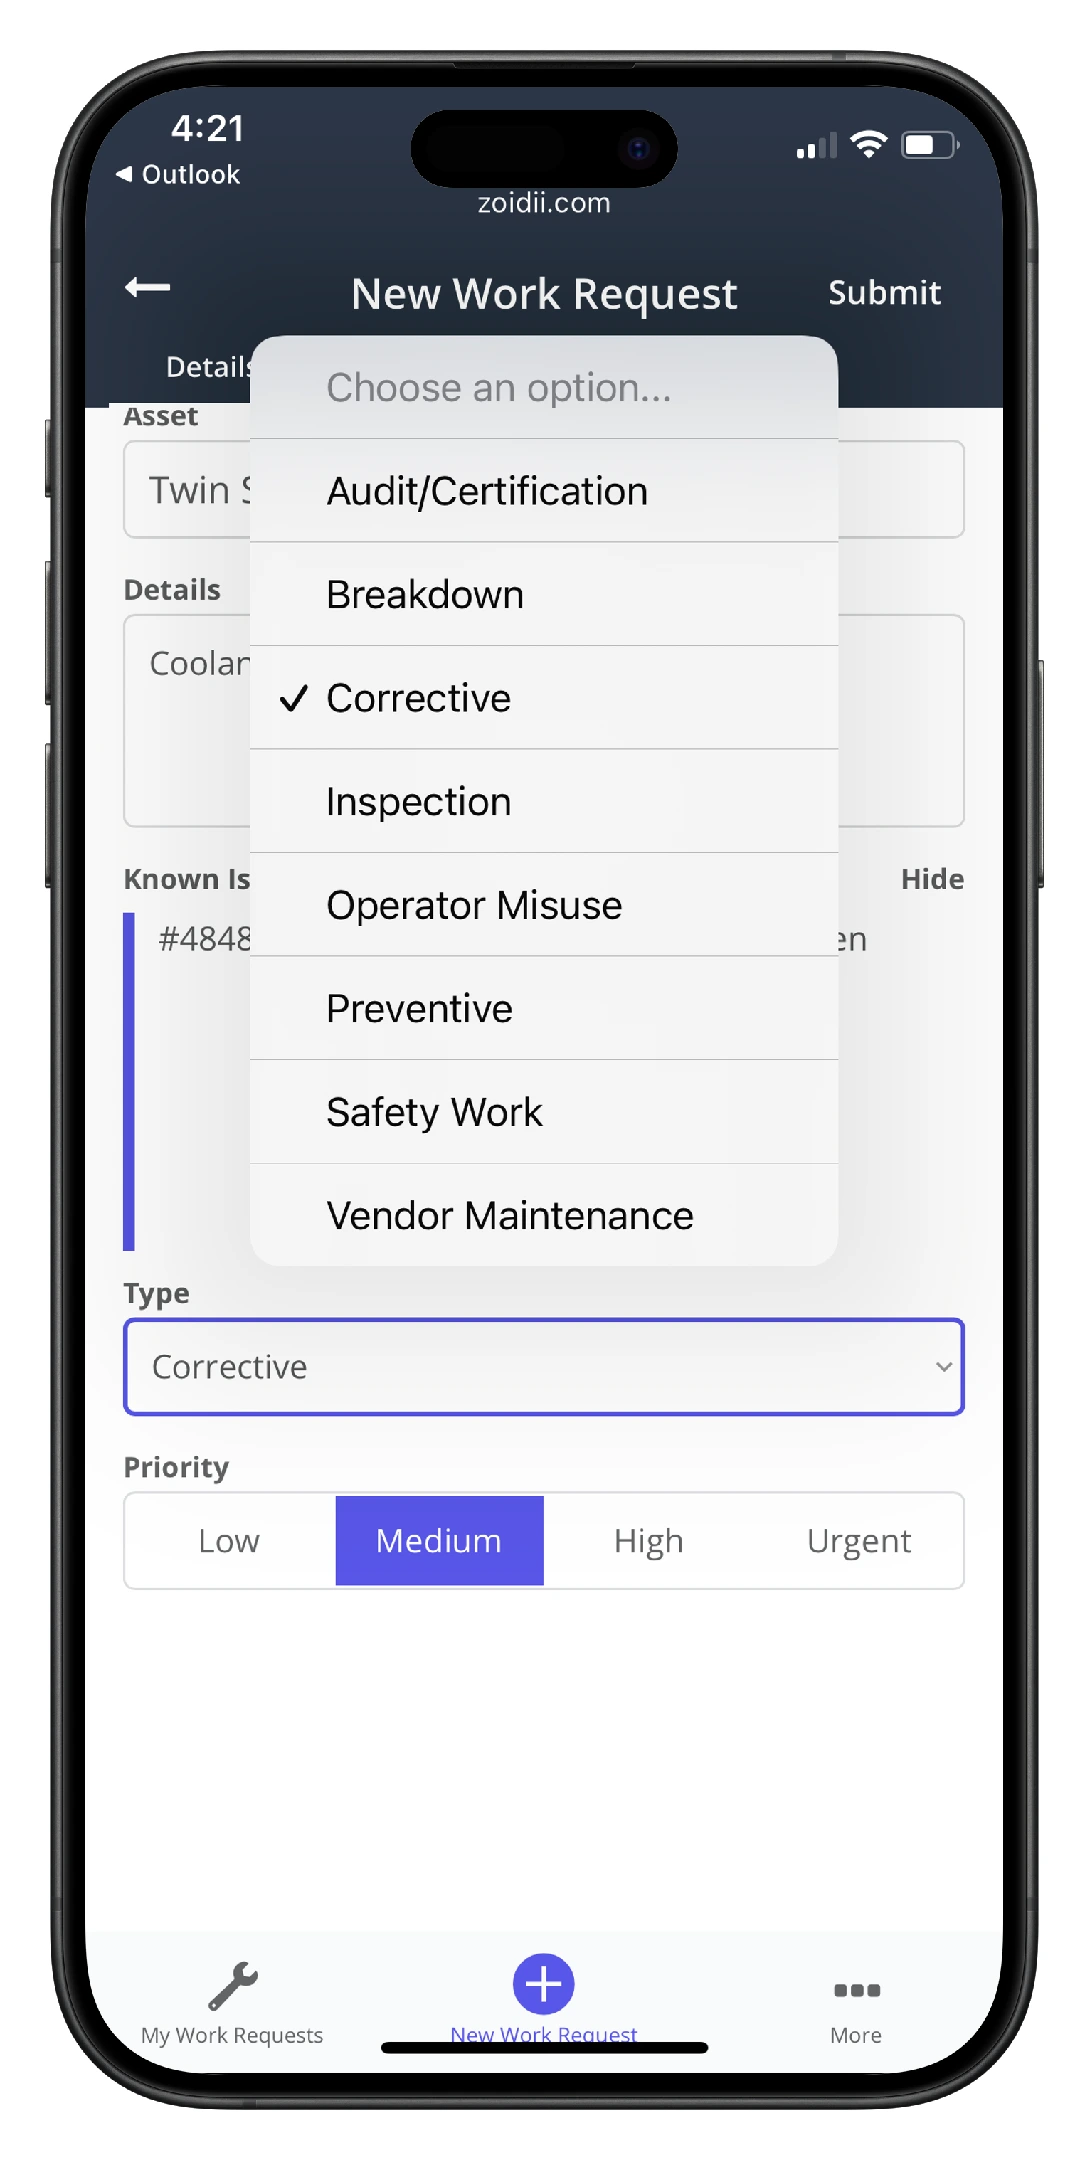
10. Select from the maintenance type list
11. By default, the default guest request Priority is Medium. Change if needed
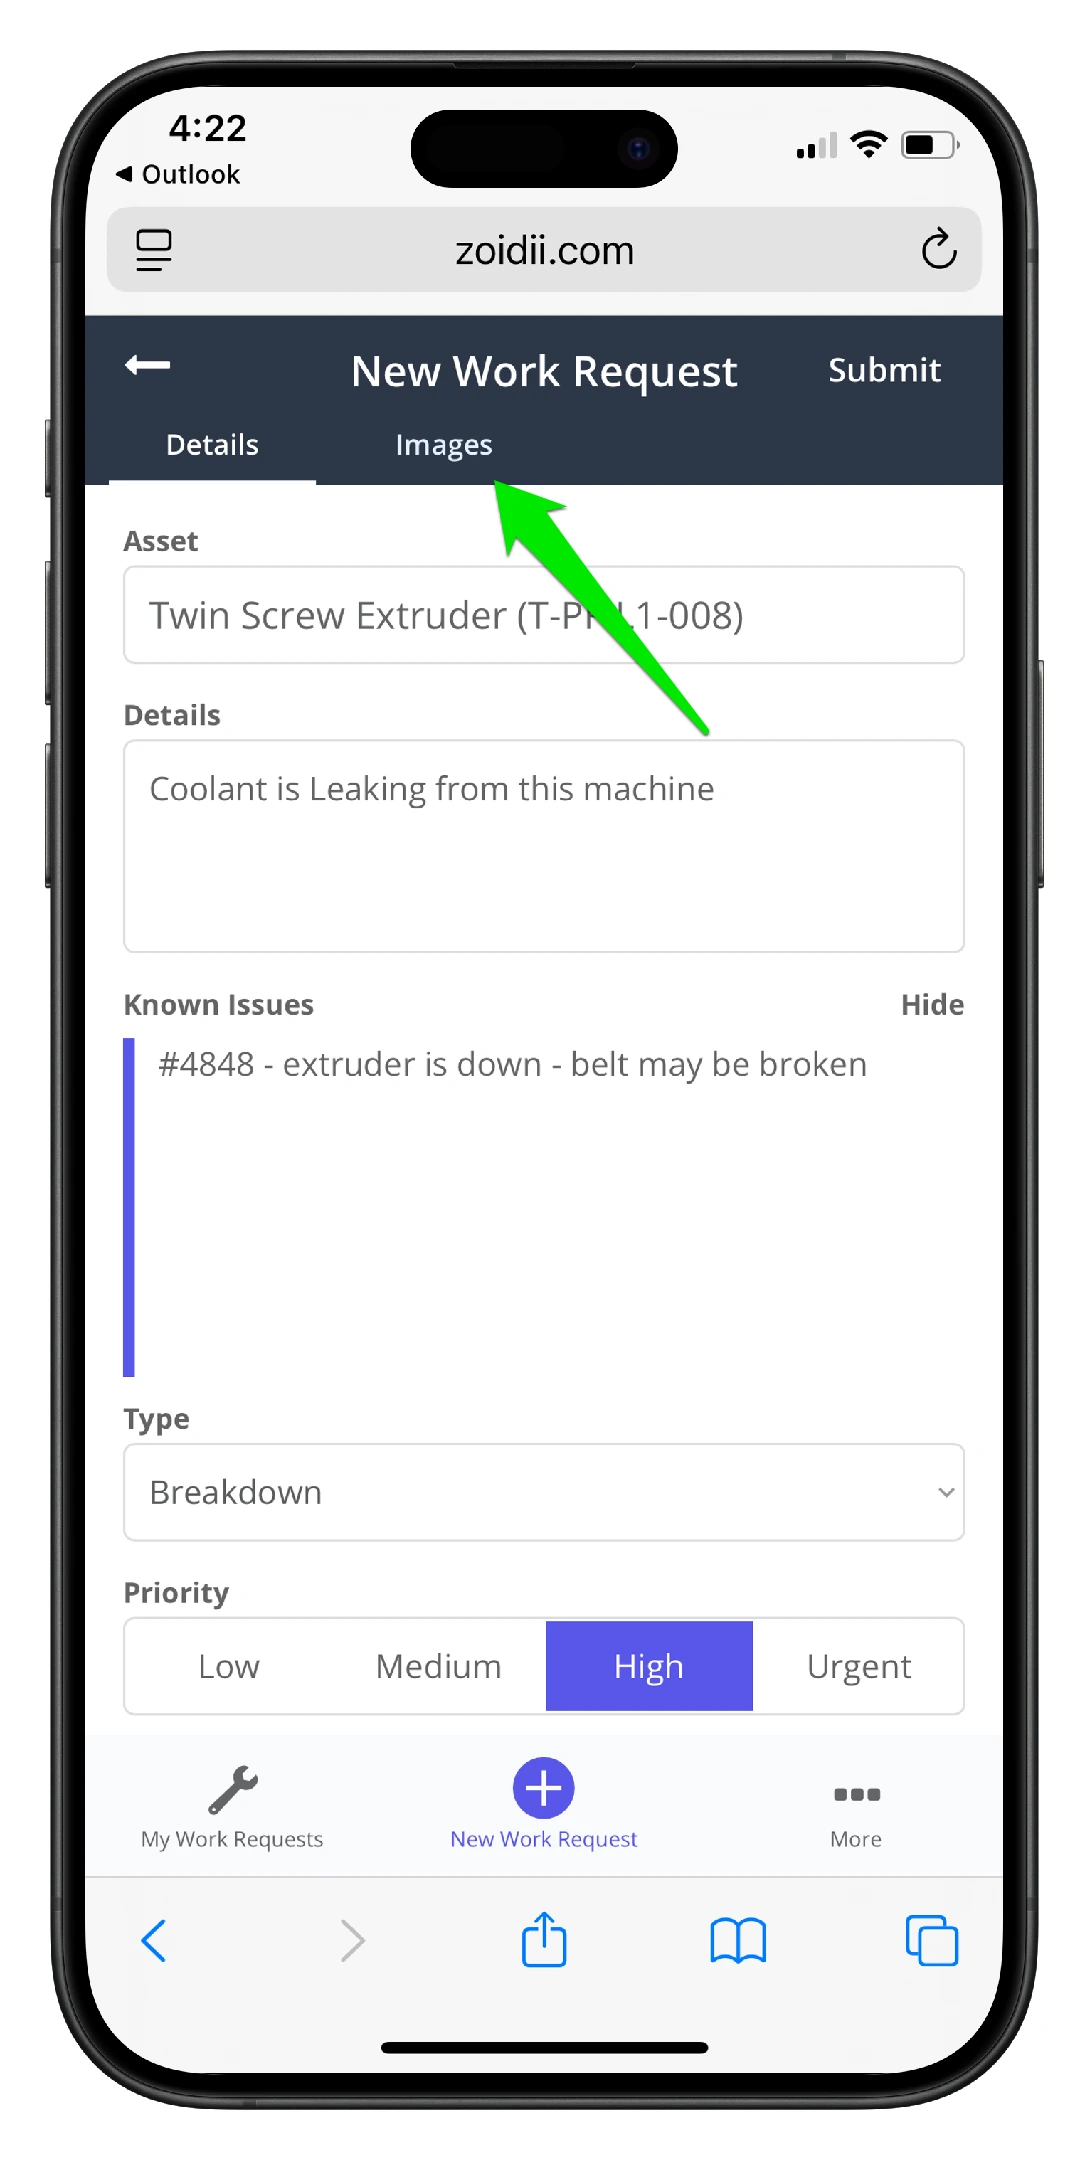
12. To add a photo of the issue, click the Images tab
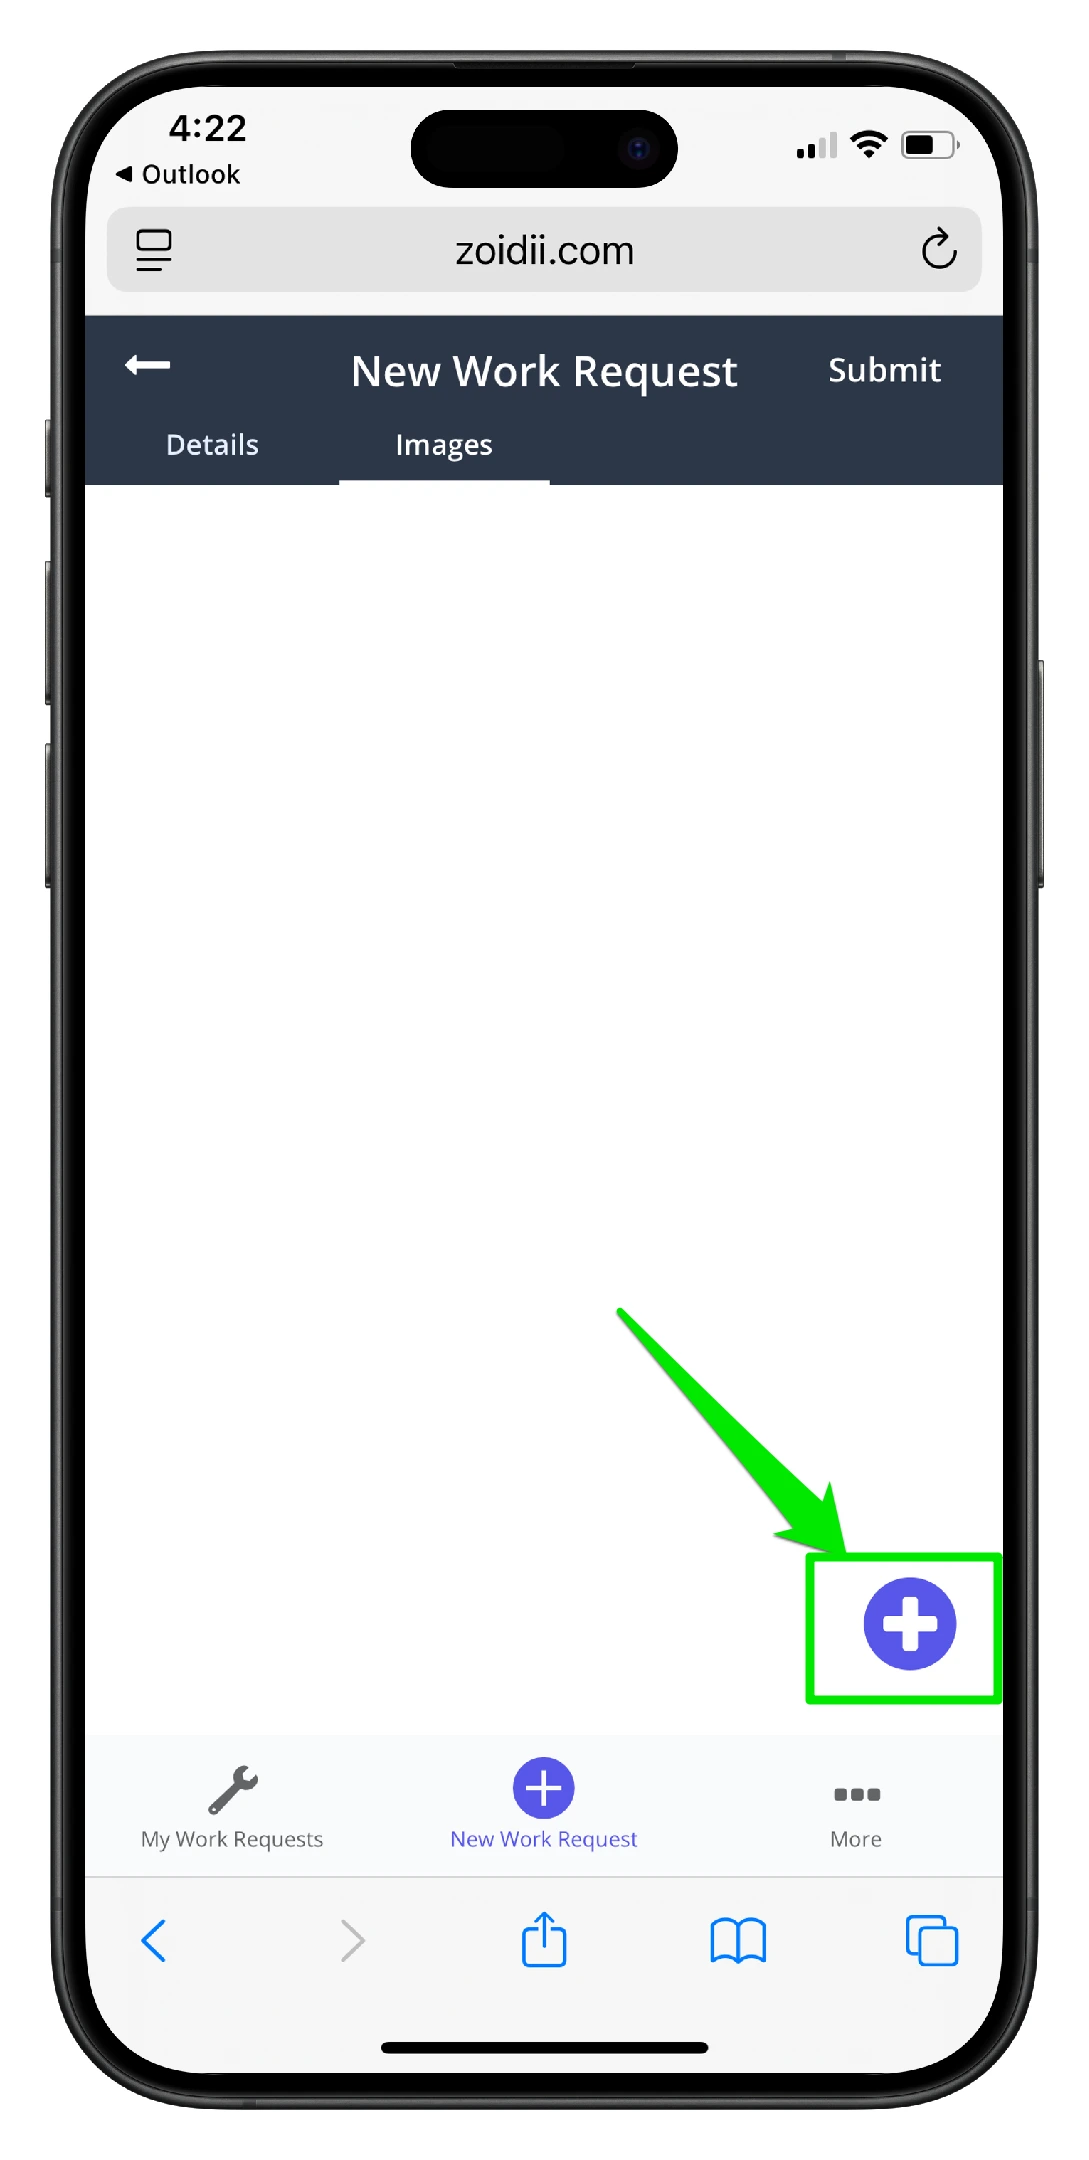
13. Click the Add icon
14. Select the Camera icon to take a photo or the Files icon to upload a file from the phone memory
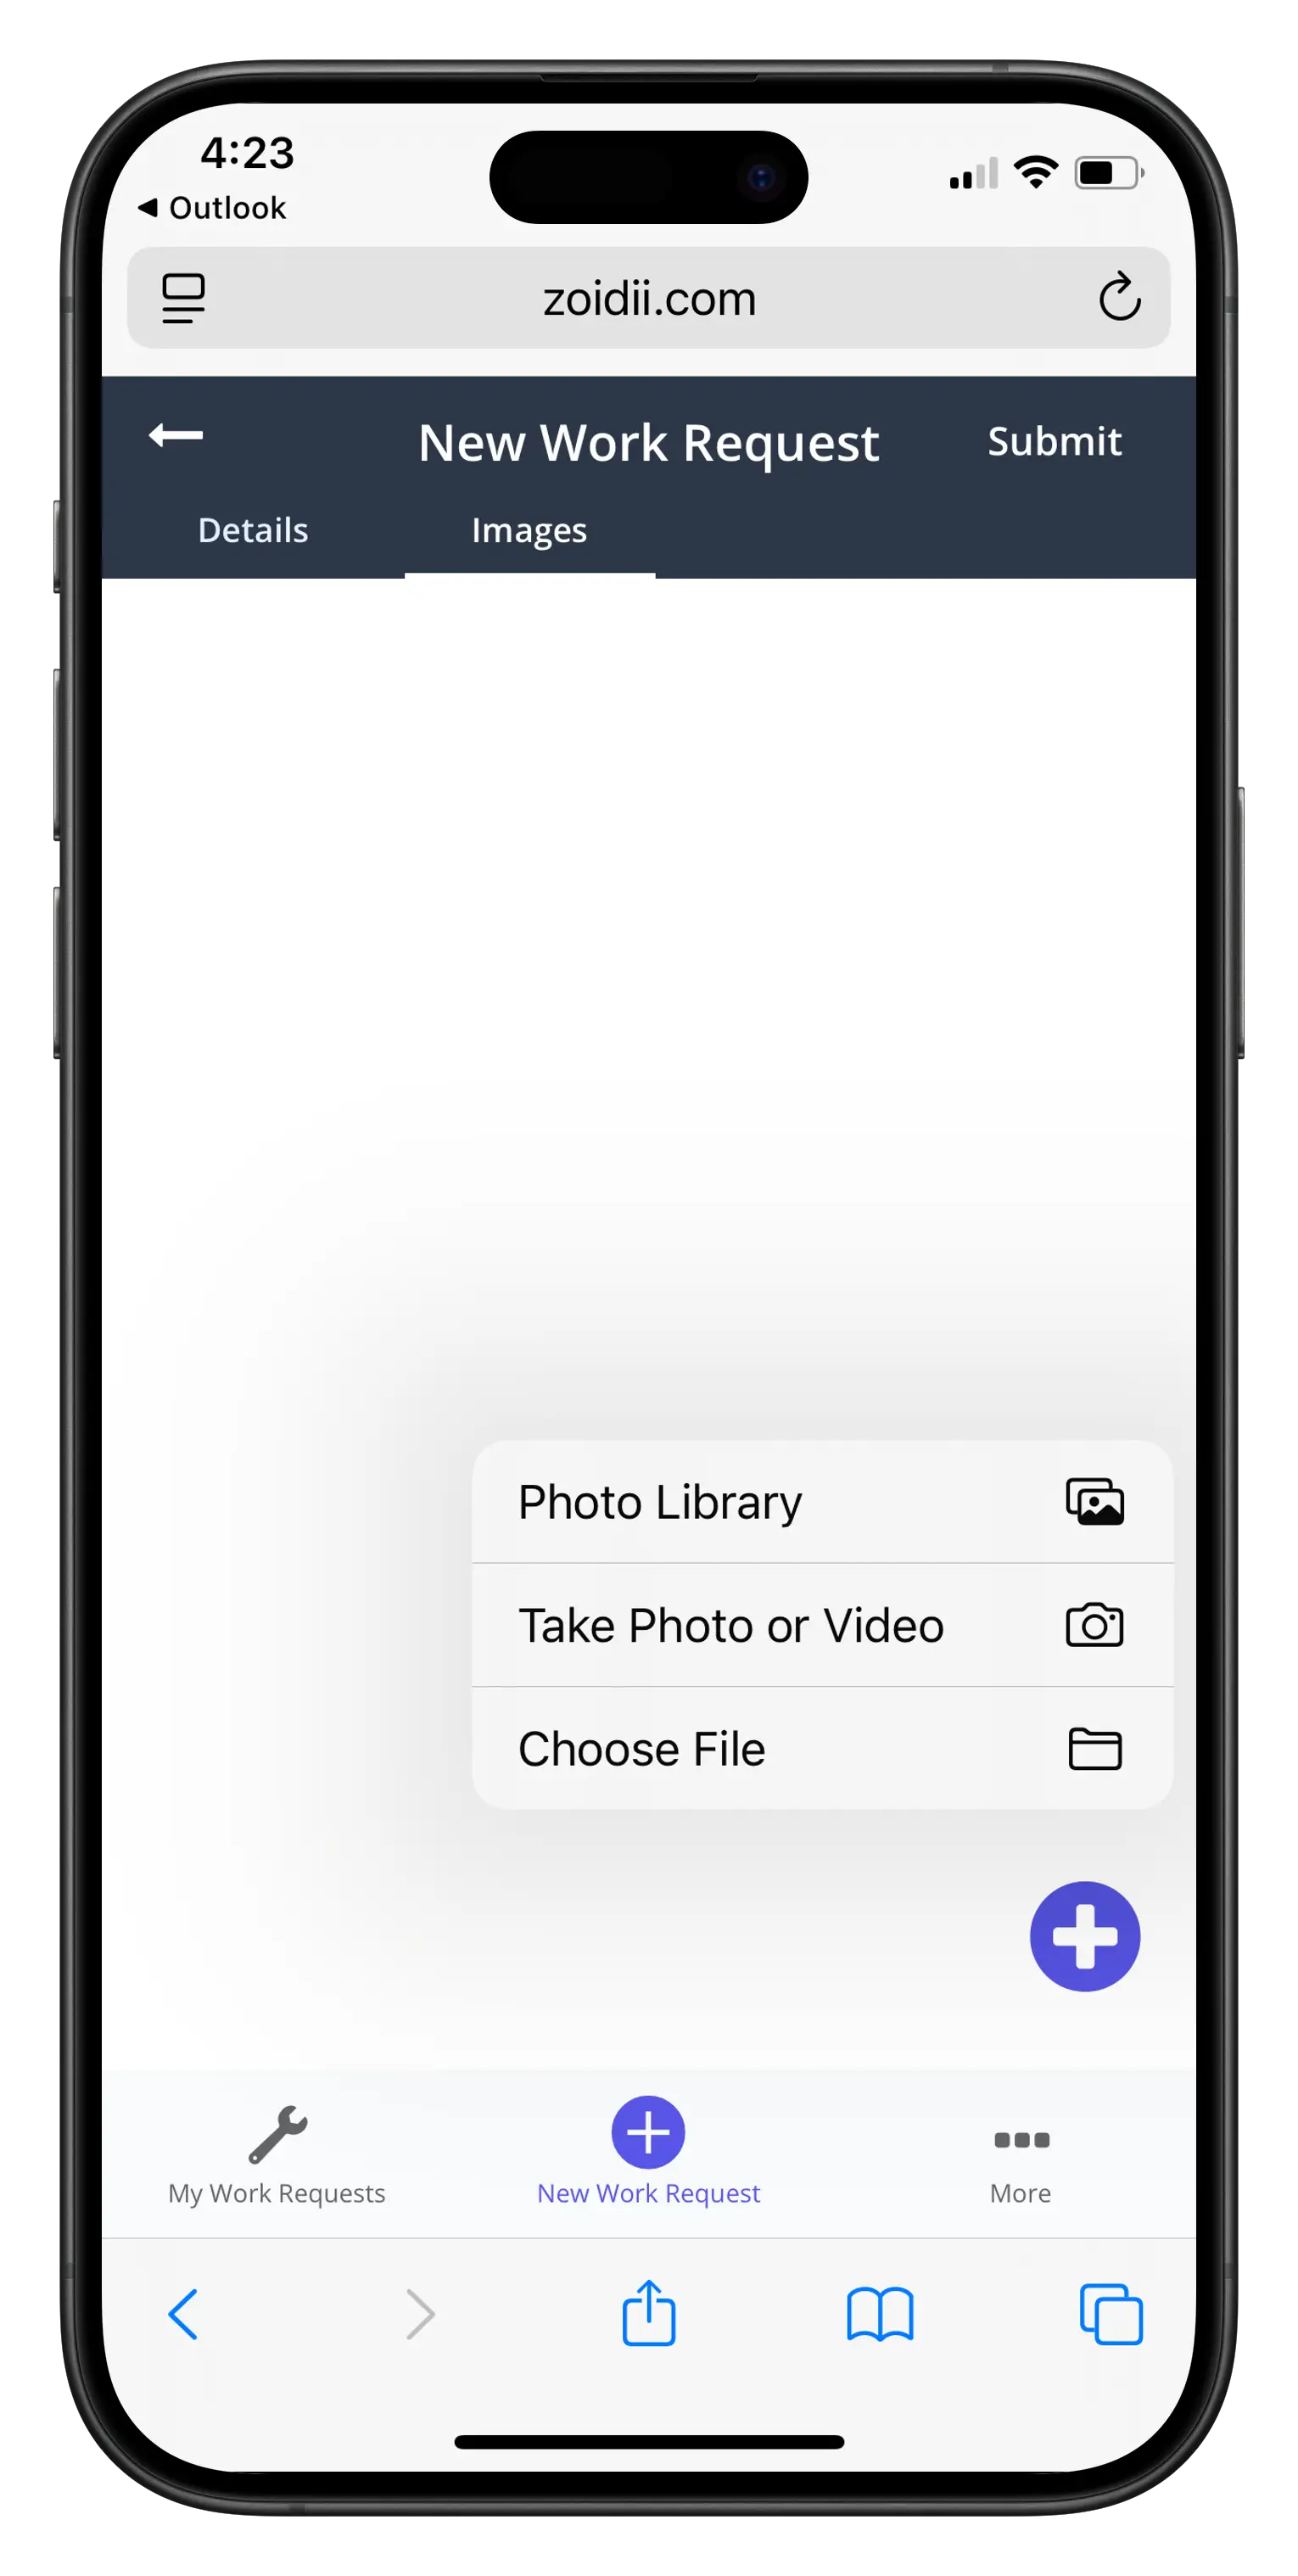
In this example, the camera option was selected and a photo was taken. Click OK to upload
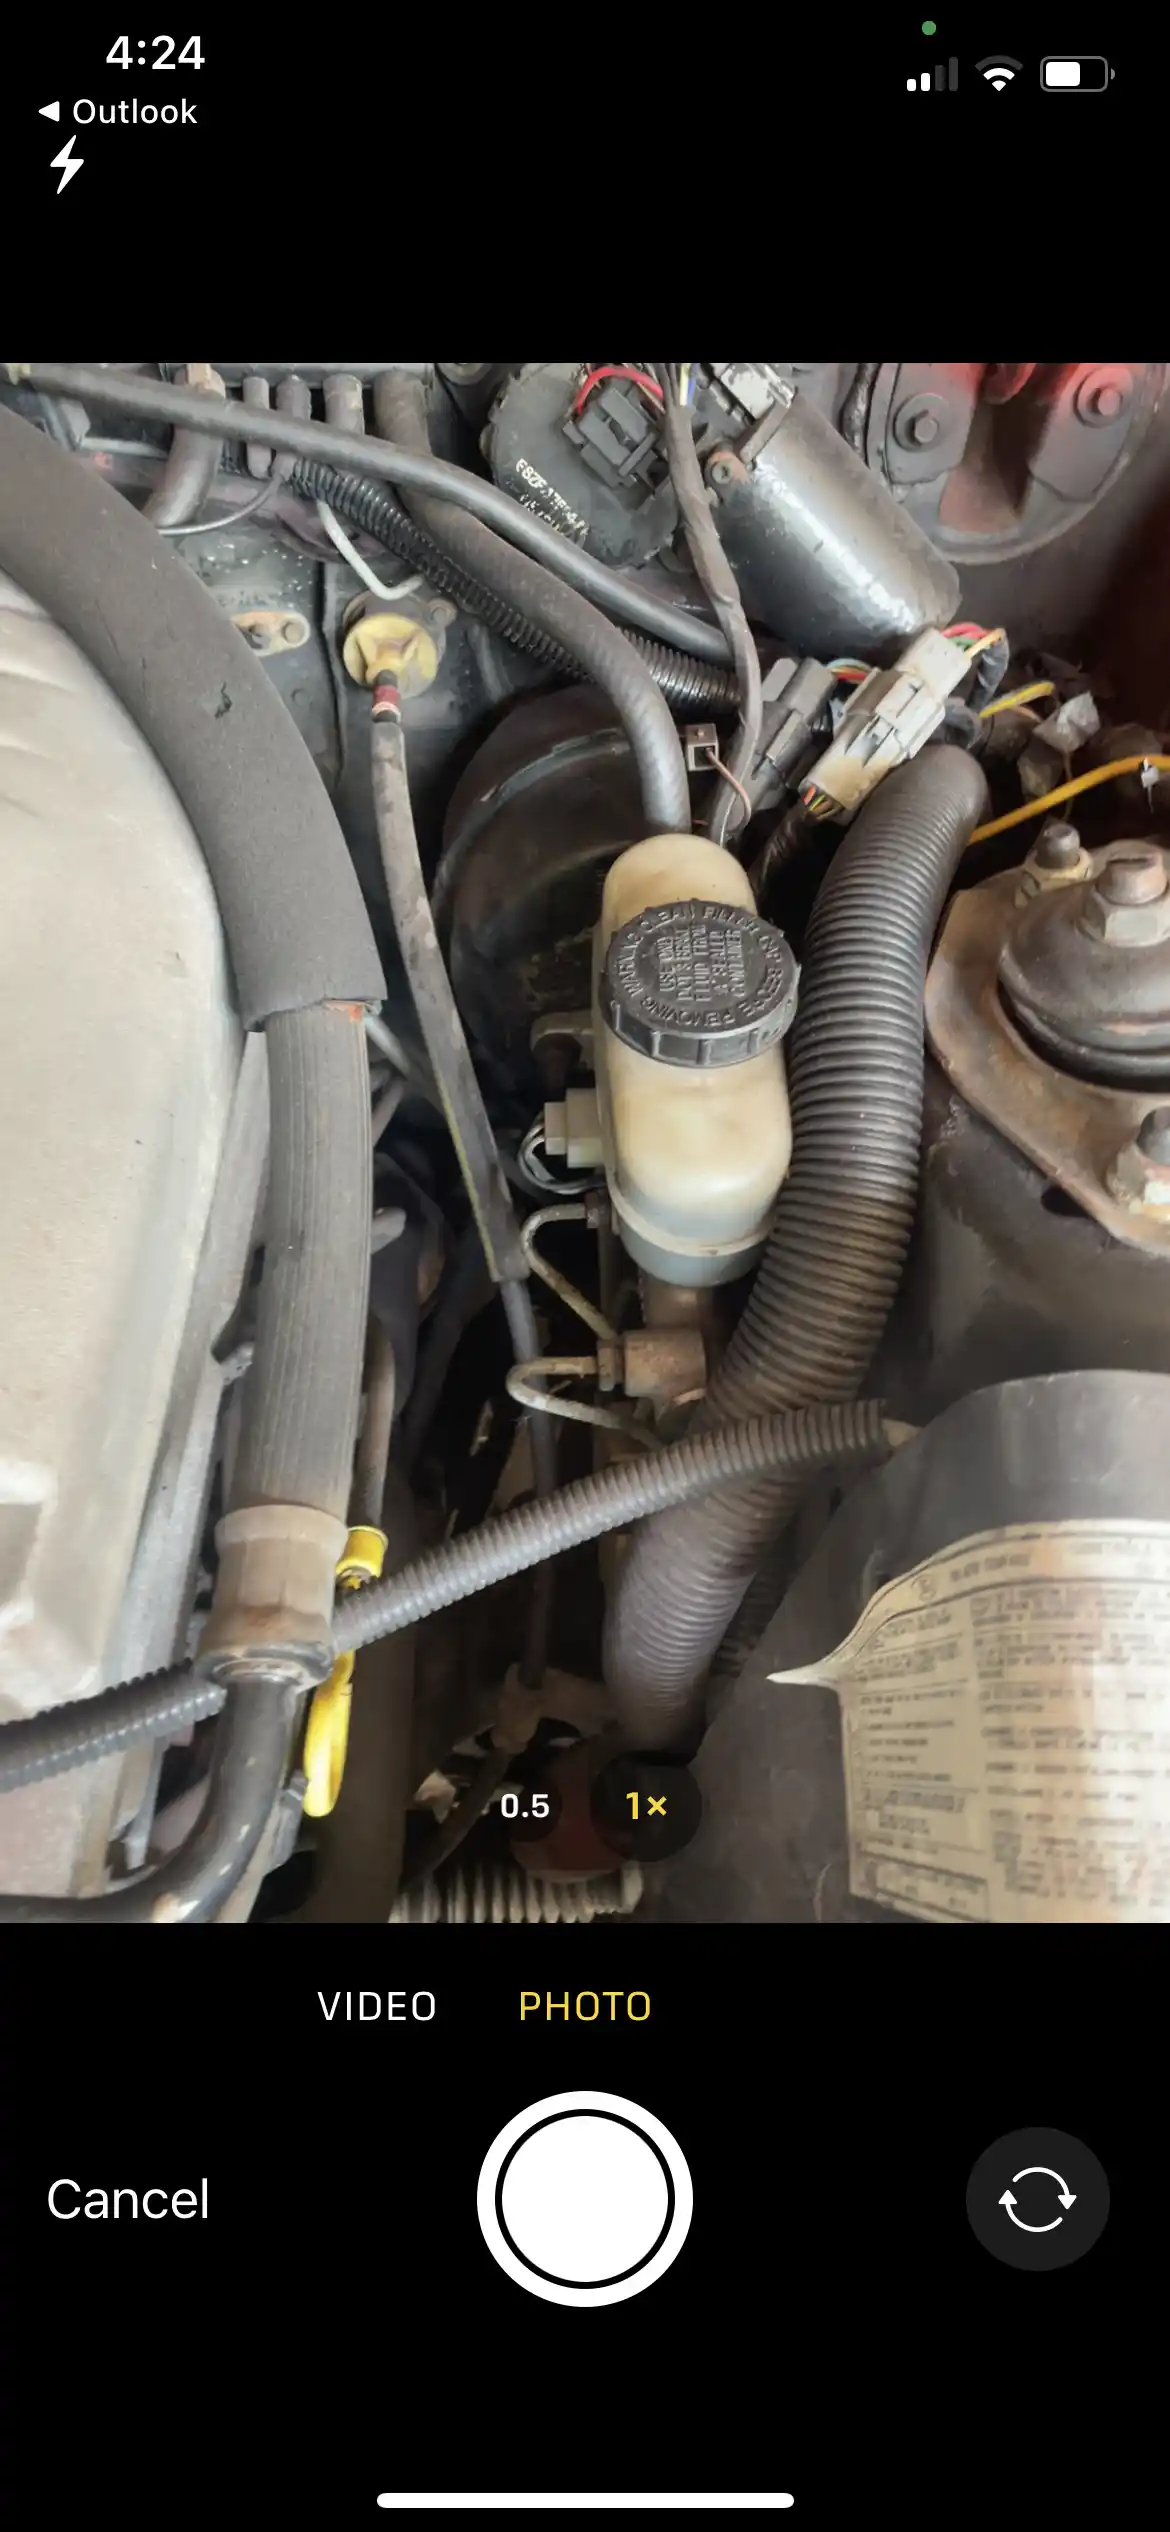
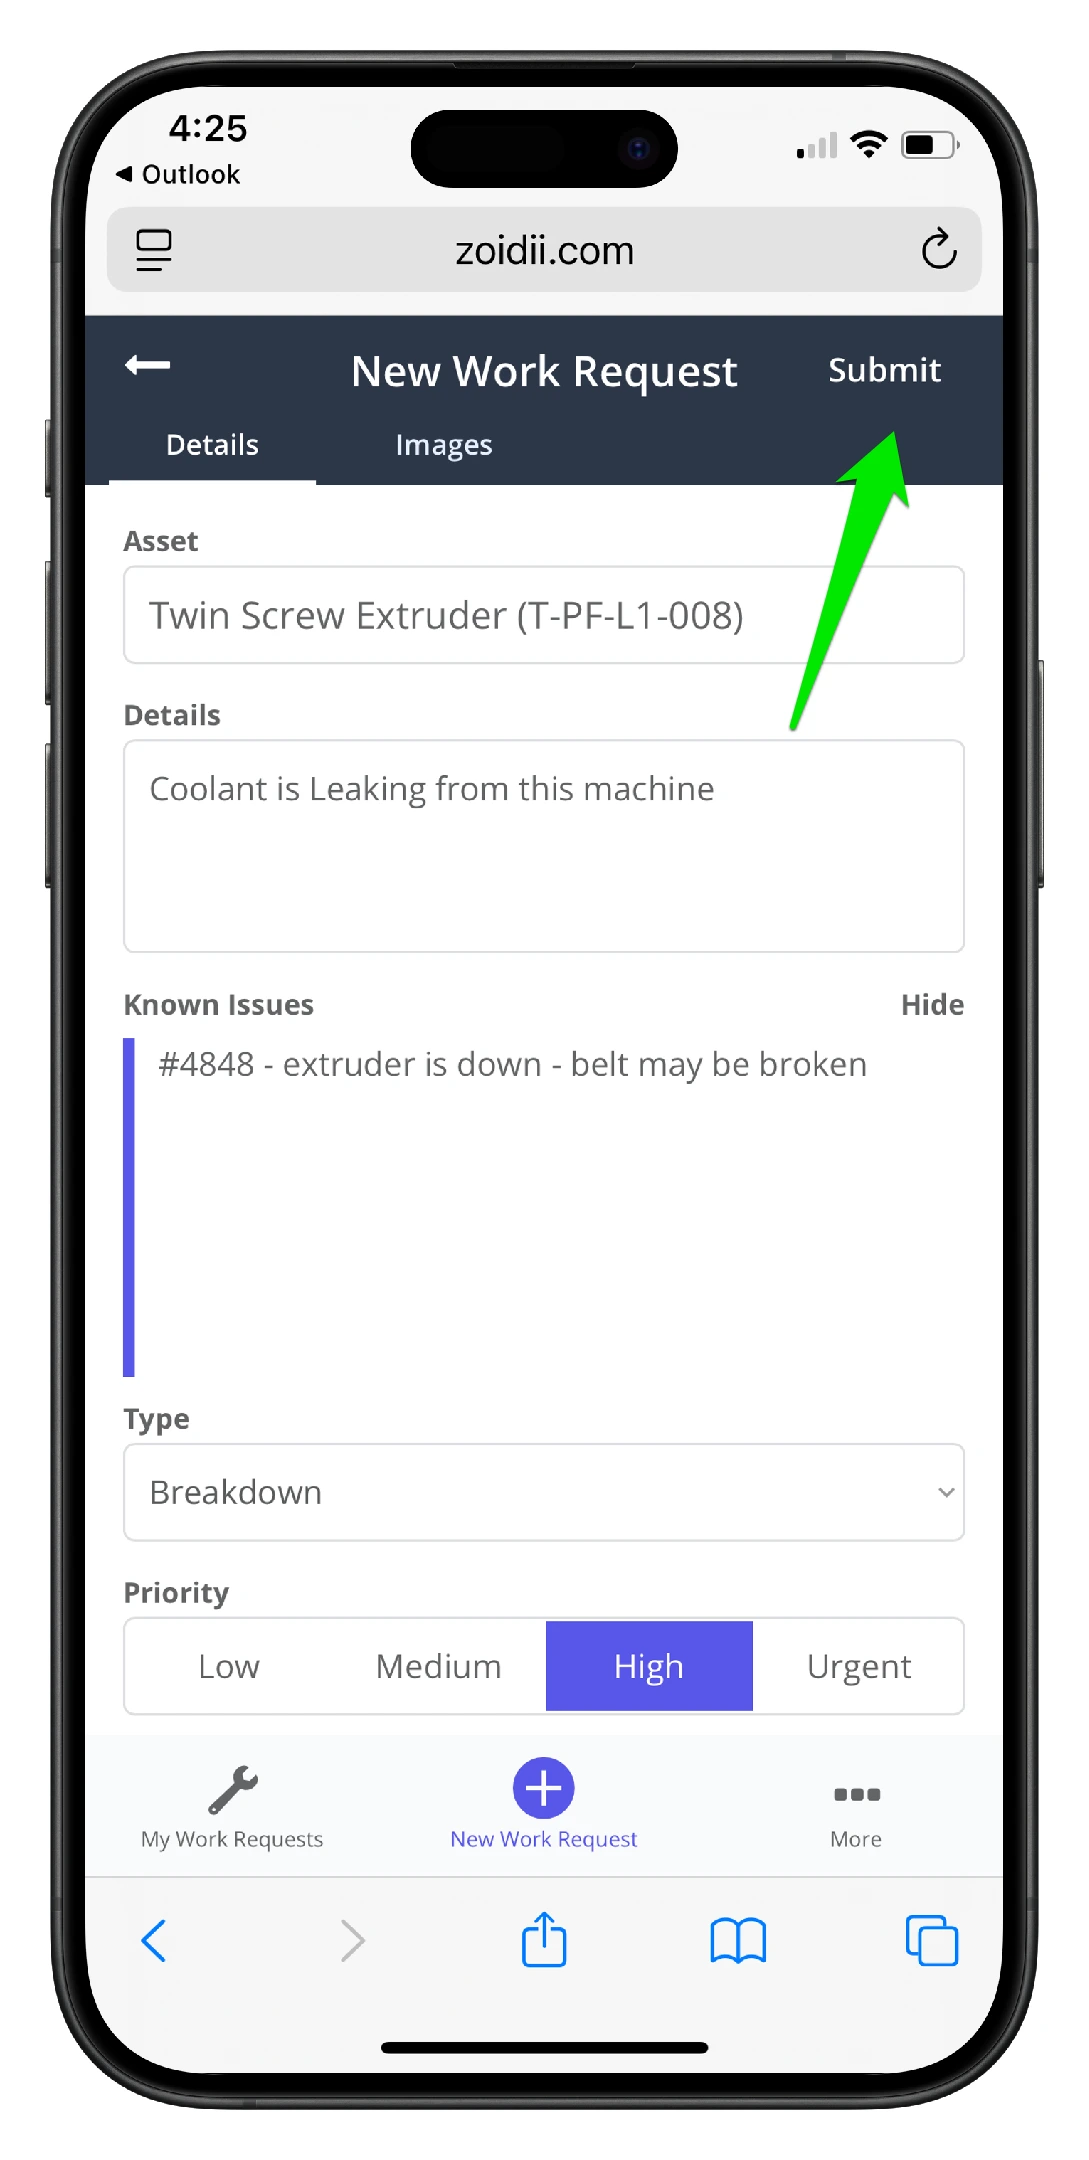
15. When the image is attached to the work order, click Submit to add the work request to the maintenance queue
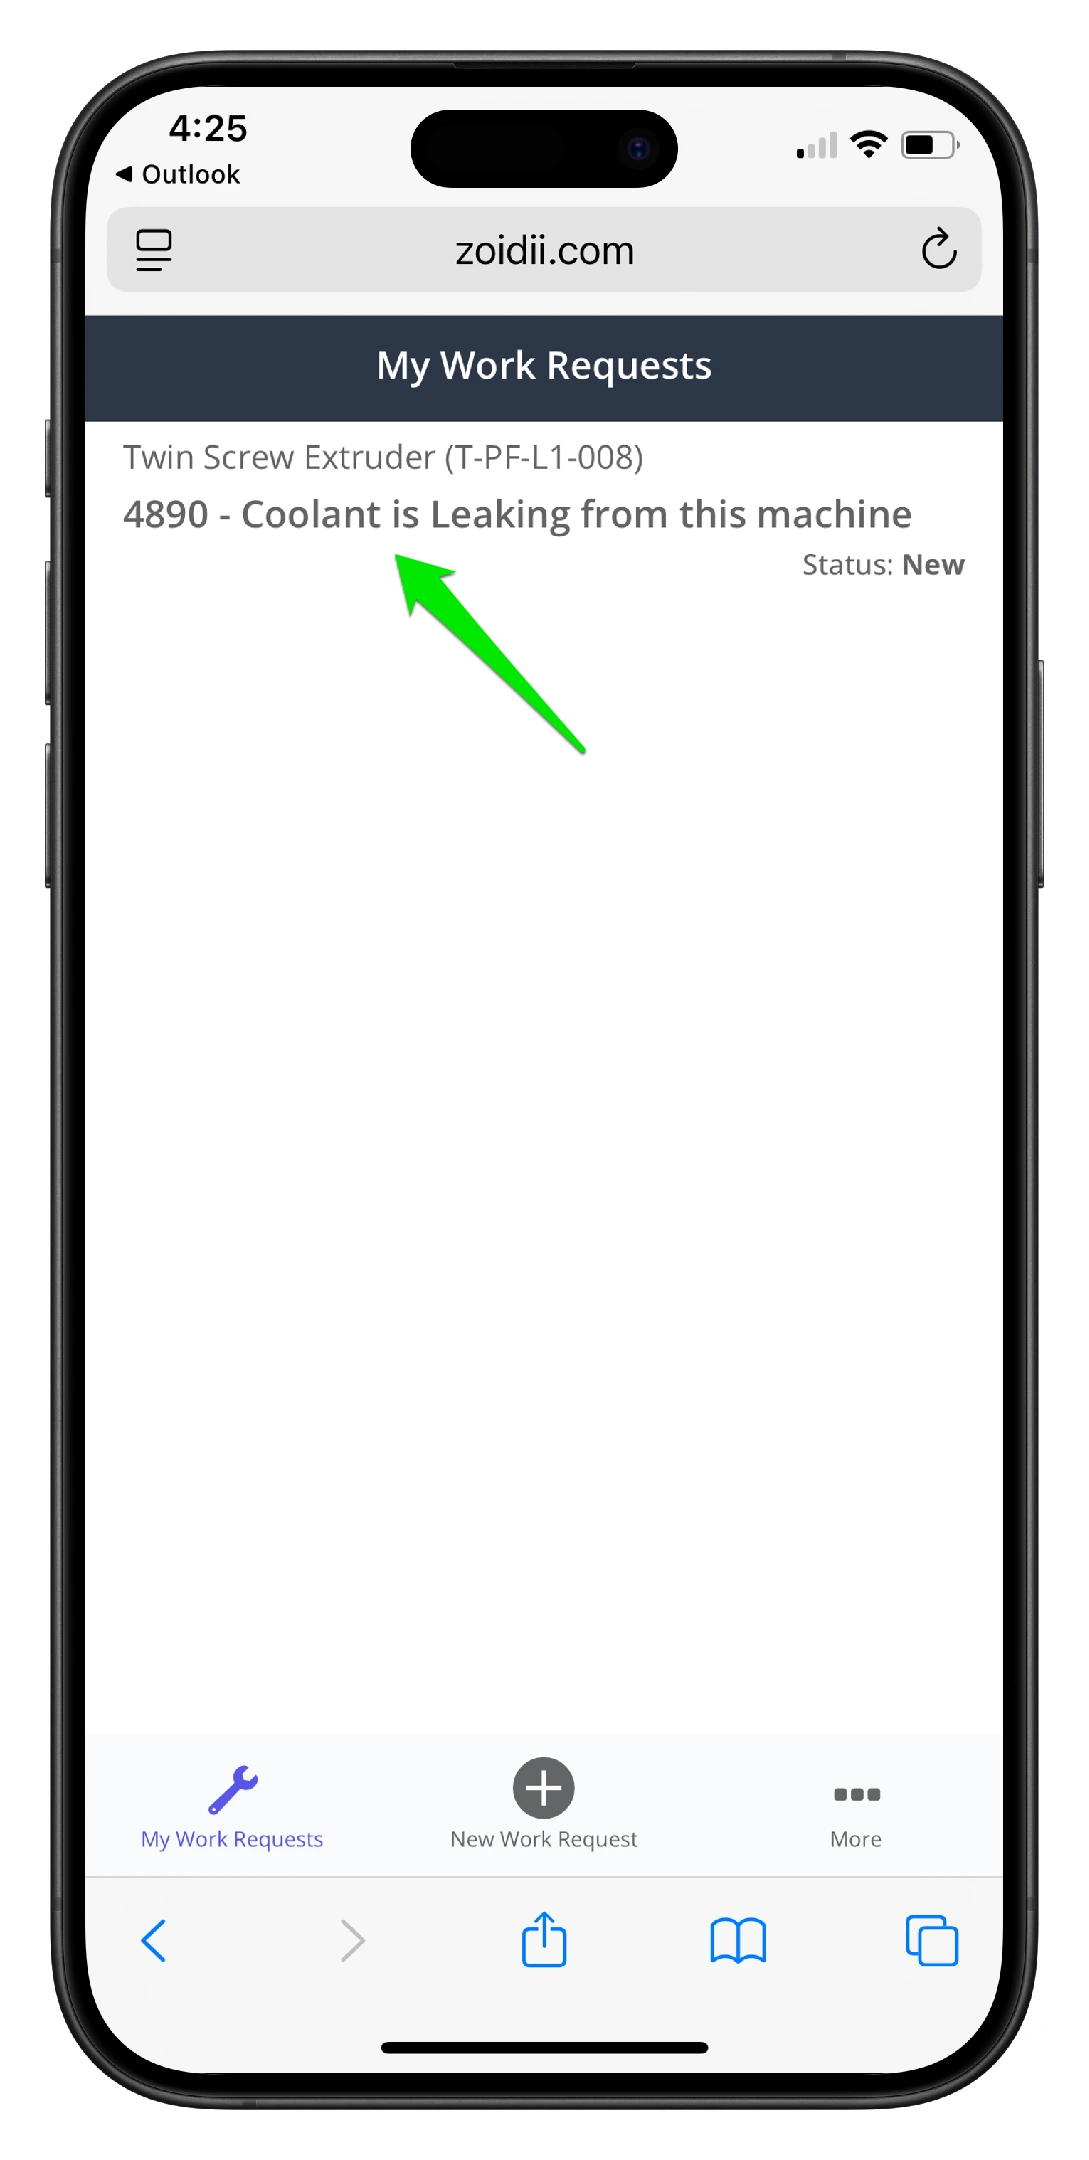
16. The work request is now visible in your work requests list
17. Check your email for confirmation the work request has been received. The email also contains the work order code for reference
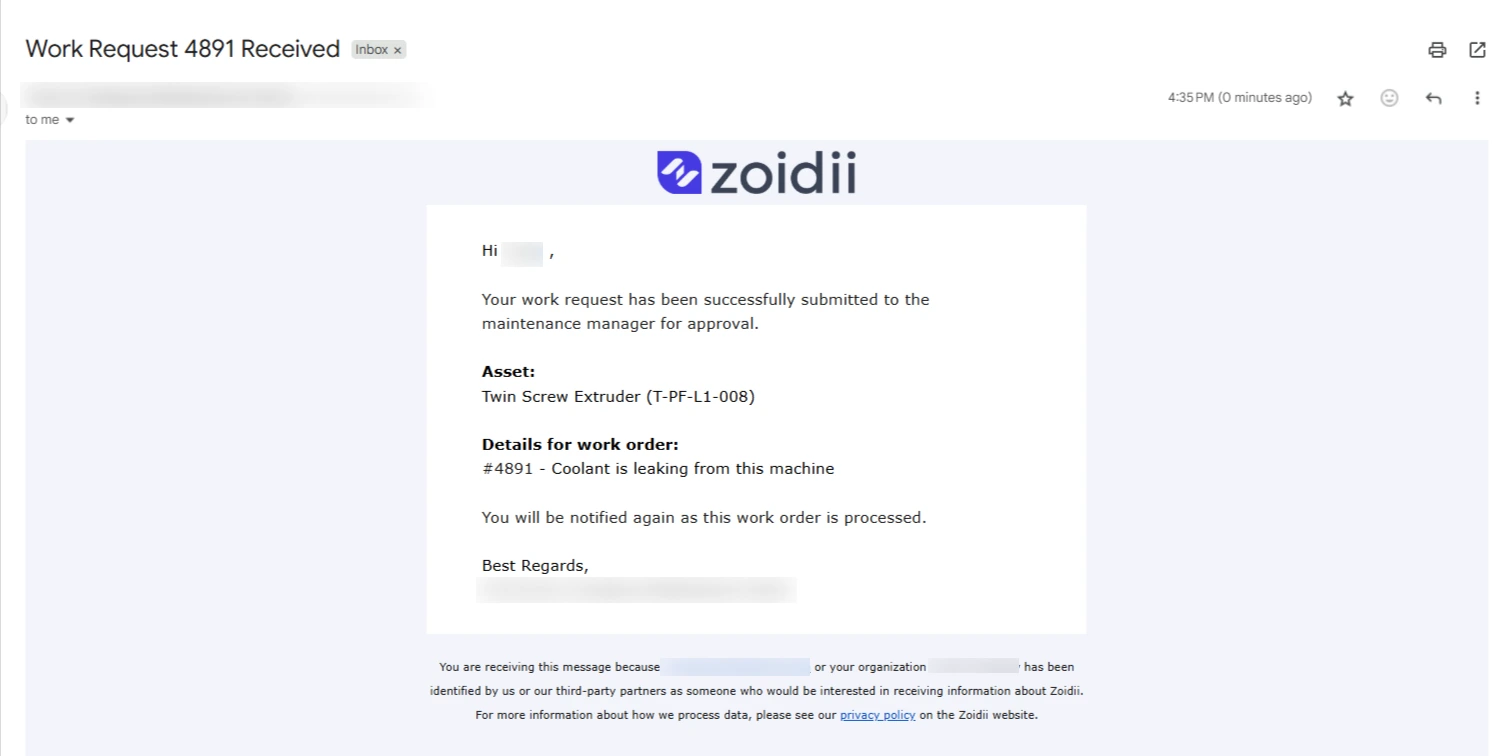
18. Guest users get updated via email as the work order transitions through the work order flow.