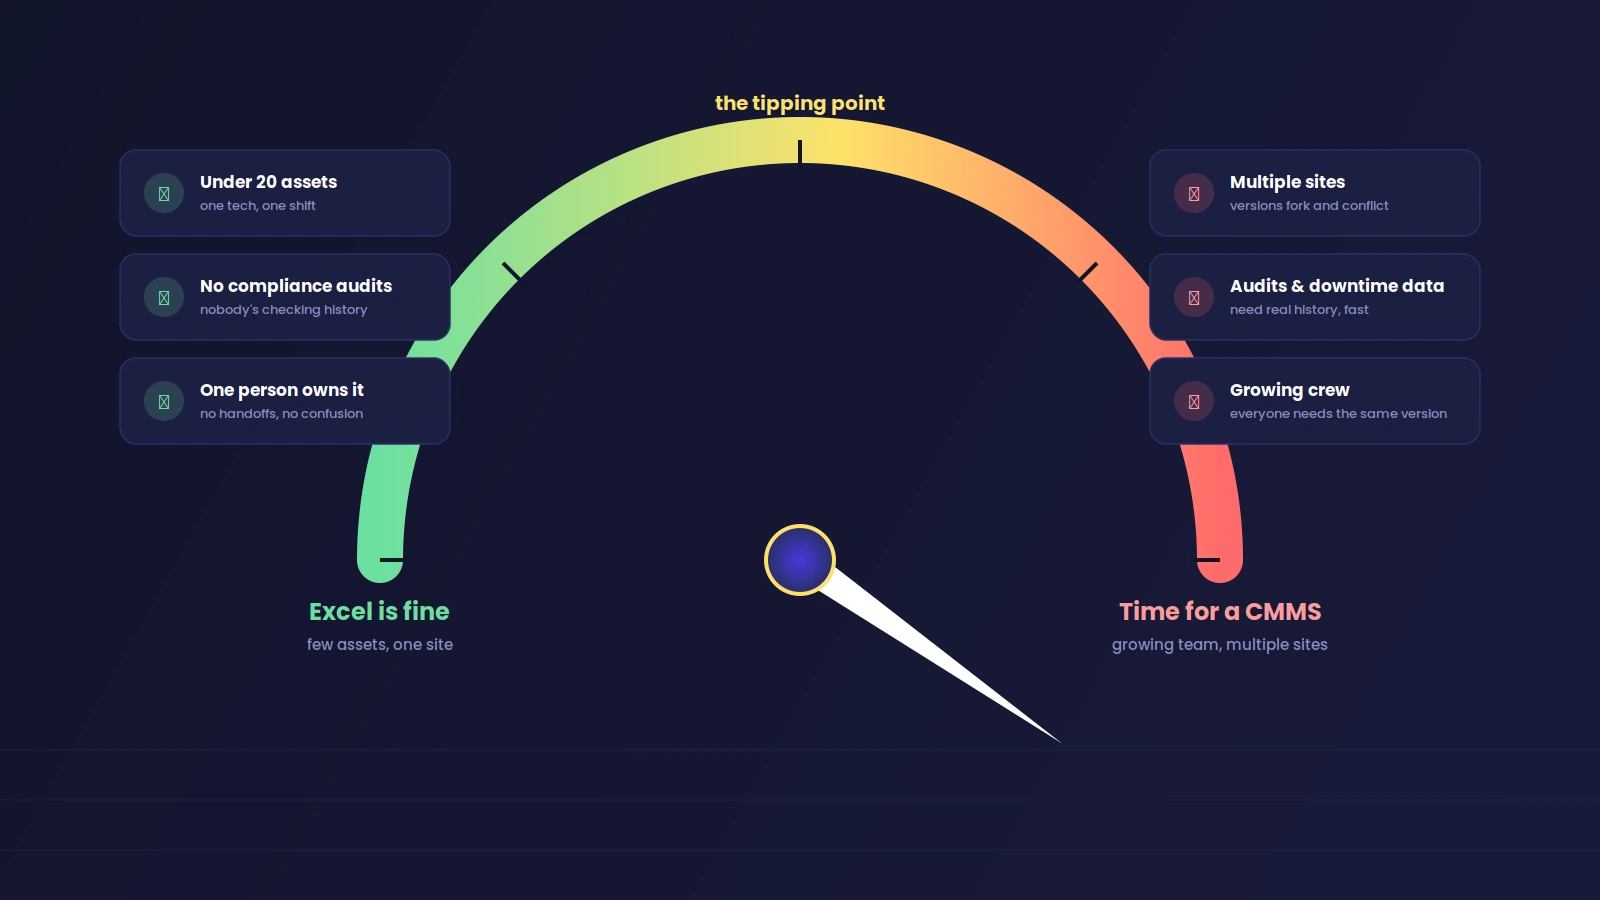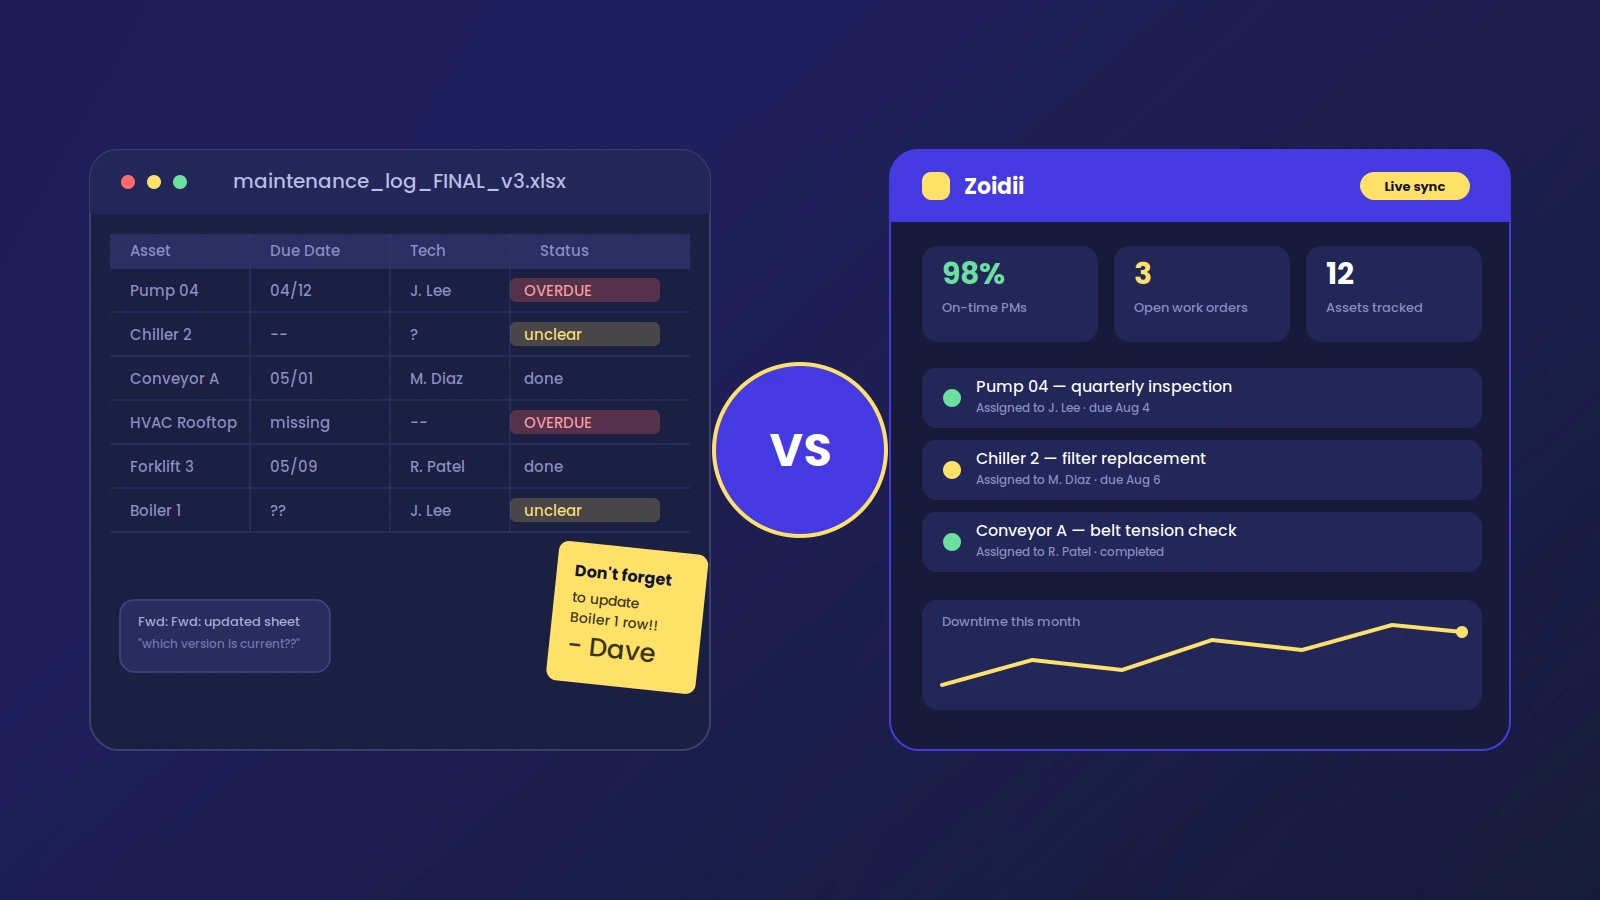

A good CMMS grows with you. It lets you turn on features in stages that match your team’s readiness, so you don’t need every function on day one.
Instead, you can introduce a small set of tools that fit where you are right now, measure your progress weekly, and build momentum. It’s an approach that turns a massive digital transformation into a series of small, manageable wins.
This article maps CMMS features to each of the five maturity levels, giving you a clear roadmap for growth.
Here’s what we’ll cover:
- The right CMMS functions to turn on at each stage of the maintenance maturity model.
- Simple setup steps to get each new feature up and running fast.
- The performance indicators (KPIs) should be tracked weekly to ensure you’re on the right path.
- How to run a maintenance maturity assessment to figure out your starting point.
What “Supporting Maturity” Means
This just means using your CMMS software to guide your team’s growth, one step at a time. It’s all about activating a few features, using them well, and then adding more. This keeps your team from feeling overwhelmed and makes sure each new tool actually gets used.
Start where you are. Don’t turn on every CMMS feature at once. Focus on mastering the basics that solve your biggest headaches right now.
A weekly look at your CMMS data shows you what’s working and where to adjust. This creates a steady rhythm of improvement, turning your move from reactive to proactive maintenance into a series of ninety-day sprints.
Level-by-Level Feature Map
Here’s how to line up CMMS features with each maturity level, from stopping the chaos at Level 1 to automating decisions at Level 5.
Level 1 – Reactive: Make Work Visible and Repeatable
At this stage, your one job is to stop the chaos. You need a central place for work requests, a clear way to set priorities, and a system to track jobs from start to finish. This gives you a single source of truth for every maintenance task.
Features to Turn On Now:
- A central queue for all your work requests and work orders using work order software, complete with priorities and due dates.
- Work order templates for those common, repeatable jobs.
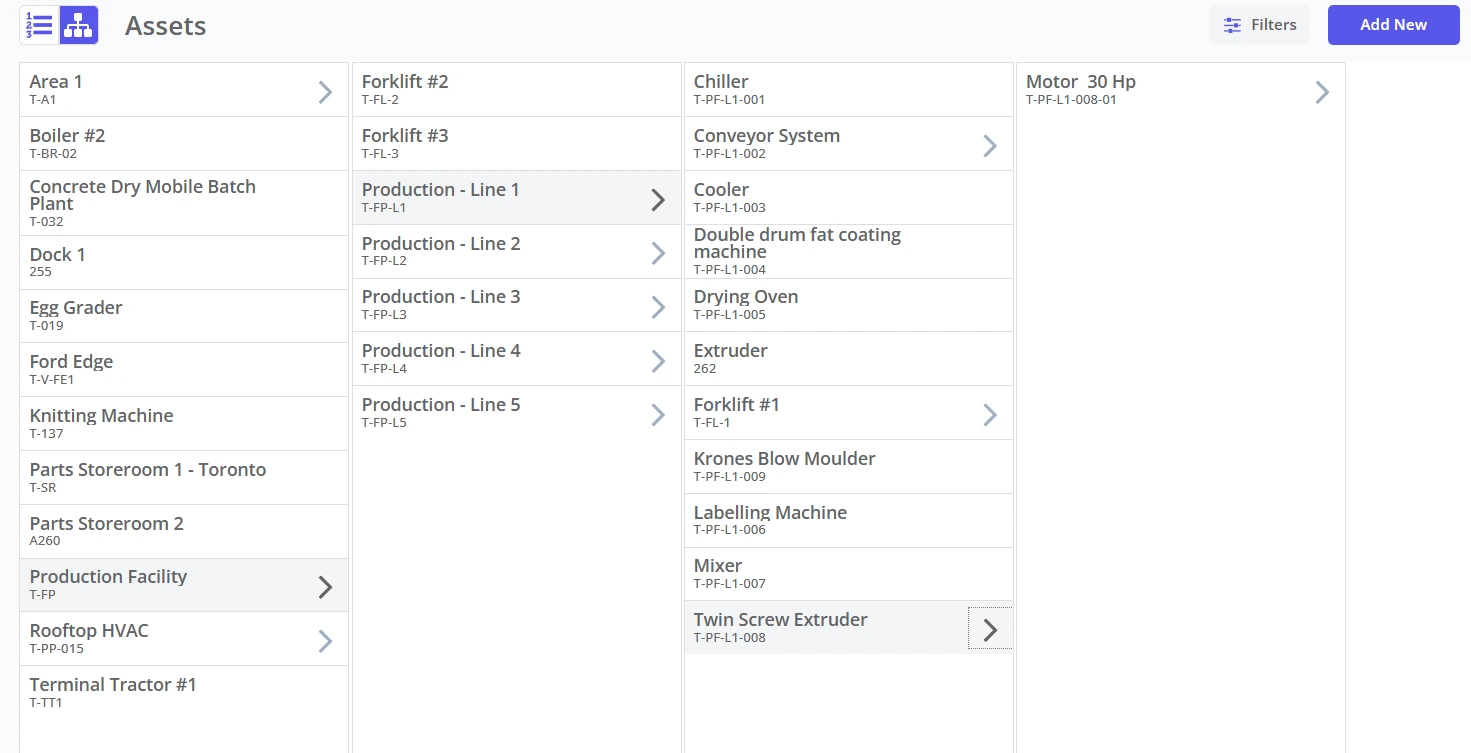
- A basic asset register with equipment ID, location, and how important it is.
1. Establish a single official channel for submitting work requests. No more texts, emails, or sticky notes.
2. Define three simple priority levels (like High, Medium, Low).
3. Hold a daily ten-minute meeting to go over new work orders.
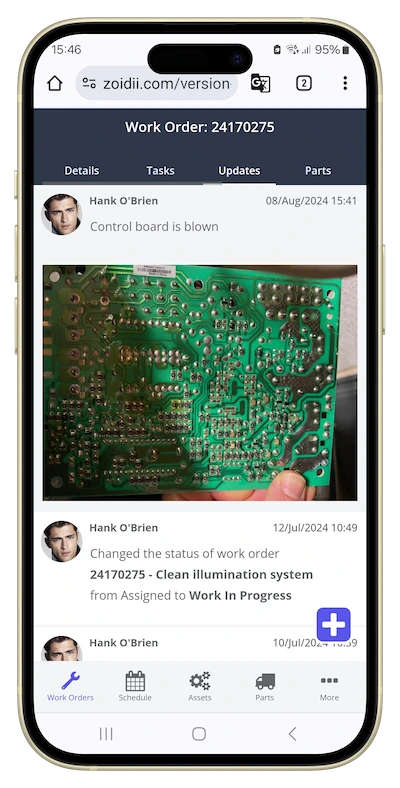
4. Make it a rule for technicians to add closeout notes and time spent on every single job.
Measure Weekly - Work order aging, average response time, and the percentage of emergency work. As you get better, you’ll see a clear path to building a preventive maintenance program.
You can use a maintenance maturity assessment to set your baseline and check your progress later.
Level 2 – Preventive: Standardize and Schedule
Now that work is visible, you can finally get ahead of it. The goal here is to build a library of preventive maintenance (PM) tasks, standardize your procedures with checklists, and get it all on a calendar.
Features to Turn On Now:
- A PM library with tasks triggered by time (like monthly) or usage (like every 500 hours).
- Digital maintenance checklists are attached to your work orders.
- A calendar or scheduler view so you can see all upcoming work.
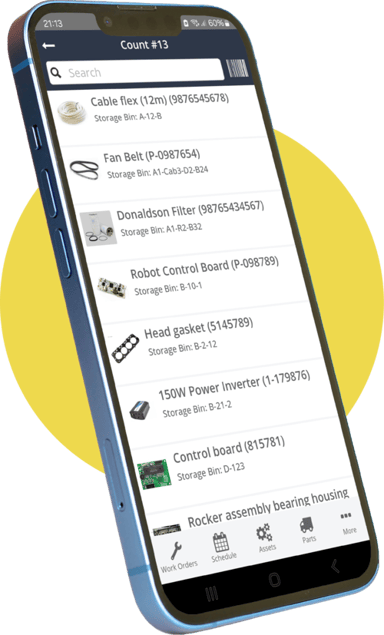
- Mobile CMMS software so technicians can log work and check off tasks in the field.
1. Create PMs for your top 10 most important assets.
2. Attach a simple checklist to each PM to make sure the job is done the same way every time.
3. Schedule the upcoming week’s work on the calendar.
4. Have technicians close out all PMs on their mobile devices before they leave the job.
Measure Weekly - PM compliance rate, the number of overdue PMs, and your top three recurring failures. As you master scheduling, you’ll be ready for more advanced maintenance PMs.
Level 3 – Condition-Based: Act on Signals
At this level, you stop relying on fixed schedules and start acting on real-world conditions. Work gets triggered by meter readings and inspection results, failure codes tell you why things are breaking, and QR codes make data entry a breeze.
Features to Turn On Now:
- Meters and inspection forms that can trigger work orders when a reading is out of spec.
- Failure codes (like cause, action, delay) are required on work order closeout.
- QR code equipment maintenance tags for fast asset lookups and storeroom scans.
- Kitting and parts availability checks tied to CMMS spare parts.
1. Add meter readings or inspection forms to your most important assets in your preventive maintenance software.
2. Set thresholds that automatically create a work order when a reading goes outside the normal range.
3. Require technicians to select a failure code before closing any corrective work order.
4. Tag your most important assets and parts bins with QR codes.
Measure Weekly - Percentage of work orders generated from condition readings, your backlog in weeks, Mean Time to Repair (MTTR) on important assets, and how often you run out of stock for critical parts.
Level 4 – Predictive: Time It Right and Prove Value
Now you’re using data to get ahead of failures and prove your team’s value. Dashboards and alerts drive a weekly review meeting where you can spot trends and plan your next move. You can even run small pilot projects to test out predictive models.
Features to Turn On Now:
- Dashboards that show PM compliance, backlog, MTTR, and stockouts.
- Automated alerts for high-priority jobs or upcoming critical PMs.
- Reporting tools that help you estimate avoided downtime and cost savings.
1. Set up a 30-minute review every Friday to review the dashboards as a team.
2. Pick one asset for a predictive maintenance pilot (for example, using vibration analysis).
3. Document the workflow from the initial trigger to the final work order closeout.
4. Report the estimated downtime you saved each month using a CMMS ROI tool.
Measure Weekly - Your PM compliance trend, alert-to-work-order cycle time, and avoided downtime. A predictive maintenance roi calculator can help you put a dollar amount on your success.
Level 5 – Prescriptive: Automate Decisions
This is the top floor. Your CMMS is now smart enough to recommend the best course of action based on cost, risk, and who’s available. It automates routine decisions, freeing up your team to tackle the really tough problems.
Features to Turn On Now:
- Automated workflows based on meter readings or inspection results.
- Approval flows for work orders that go over a certain cost or importance level.
- Integrations with other business systems, like your ERP or BI tools.
1. Start with one simple prescriptive rule (like, "If vibration exceeds X, auto-generate a high-priority inspection WO").
2. Add approval requirements for any work order over a specific budget.
3. Review the results of these automated decisions every month.
4. Expand to new rules only after you've had two successful cycles with the first one.
Measure Weekly - Percentage of auto-routed work, time saved per work order, and repeat failure rate. Reaching this point is the peak of the maintenance maturity model.
Data Capture Practices That Make Features Work
Look, your CMMS is only as good as the data you put into it. The secret is to keep data entry simple and consistent with these habits:
- Mobile First - Get your technicians using mobile maintenance software to record time, parts, and notes right at the asset. This makes the data more accurate and timely.
- Mandatory Fields on Closeout - Make failure codes and relevant meter readings required fields before a work order can be closed. No exceptions.
- Short, Standard Codes - Use a tight, standardized list of failure and action codes. Train the team on them once and build them right into the work order form.
- QR Everywhere That Matters - Use QR code equipment maintenance tags on high-use assets, storeroom bins, and PM routes to make data capture fast and nearly error-proof.
Dashboards and Weekly Cadences That Keep Progress Steady
A thirty-minute weekly review is all it takes to stay on track. Pull up your dashboard and ask these four questions:
- PM Compliance Trend - Is it going up? If it drops, find out what’s blocking your team.
- Backlog Weeks - How many weeks of work are sitting in the queue for each area or production line?
- MTTR - What’s the average repair time for your top few most important assets?
- Stockouts - How many jobs got delayed because a part wasn’t on the shelf?
Quick-Start Configurations by Persona
Set up your CMMS so it’s easy for each person on your team to do the right thing from day one.
Planner
- Build the PM library for your top 20 assets.
- Add checklists and meter triggers to those PMs.
- Set a weekly schedule freeze and assign out the work.
Supervisor
- Run the daily ten-minute work order triage meeting.
- Enforce closeout notes and failure code requirements.
- Lead the Friday thirty-minute KPI review.
Technician
- Use mobile maintenance software to start and stop time and complete checklists.
- Scan a QR code to pull up the right asset or work order instantly.
Stores
- Set min/max levels for critical spares in your CMMS inventory management system.
- Kit parts for planned jobs to save your technicians’ time.
- Use a simple purchase order software flow for repeat buys.
Common Pitfalls and Fast Fixes
- Too Many PMs, Not Enough Signal - If you have a mountain of PMs, it's time to clean house. Merge or delete tasks that don’t add real value. Try replacing a time-based PM with an inspection that has a clear pass/fail threshold.
- Closeouts with No Cause/Action - Make failure cause and action codes required fields. Keep the list of codes short, sweet, and easy to follow.
- Stockouts Stall Jobs - Use your CMMS inventory management system to set min/max levels for your most important spares and review stock levels weekly.
- Everyone Has “Highest Priority” - Define three clear priority levels and train your team to stick to them. If everything is an emergency, nothing is.
- Compliance and Safety Anxiety - Run a short CMMS audit once a quarter to double-check that safety procedures and regulatory requirements are being met.
FAQs
1. Which CMMS features should we turn on first?
Start by getting your work visible with work orders. Then add preventive maintenance to the schedule, attach maintenance checklists to standardize them, and get your team using mobile for in-field data capture.
2. Can we skip to sensors and predictive maintenance?
It’s tempting, but you really want to get your basic inspections and meter readings working like a well-oiled machine first. Once you have a steady stream of good data, you can start adding sensors or predictive models. Our preventive maintenance software supports you at every step.
3. How do we prove this is working?
Track your weekly KPIs and use a cmms roi tool to estimate avoided downtime and cost savings. The numbers will tell the story.
4. What if our team resists new steps?
Keep the changes small and focused. Introduce one new habit at a time, give clear training, and measure your progress every week to build momentum and show them the wins.
See How Zoidii Supports Your Growth
Zoidii makes it simple to turn on the right features at the right time.
If you’re unsure where to start, take a quick maintenance maturity assessment and book a free tour to see how you can organize work orders and schedule PMs in minutes