
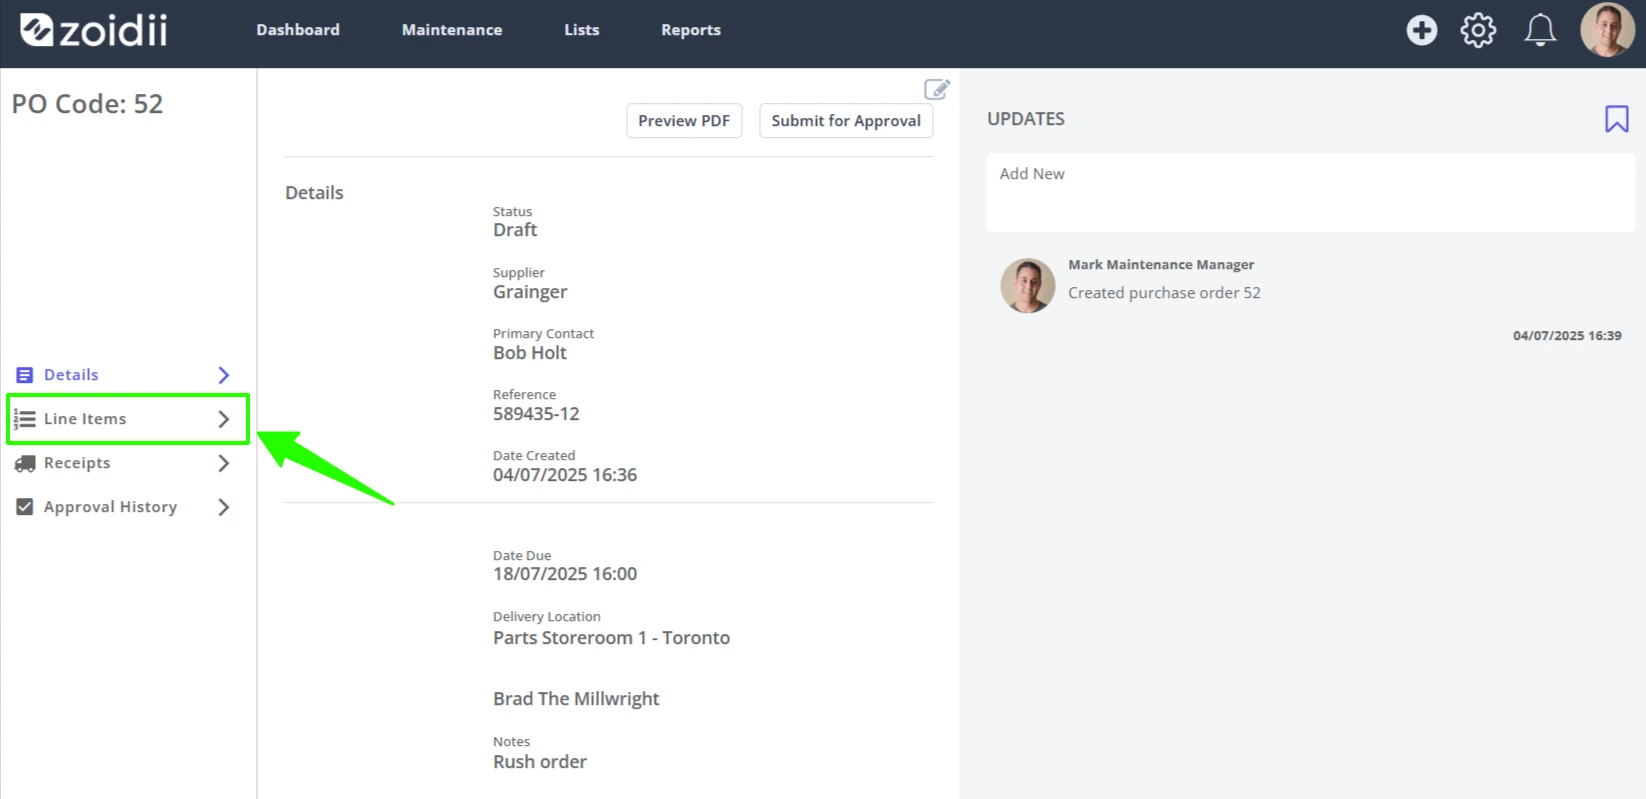
1. Open the purchase order and navigate to the Line Items tab
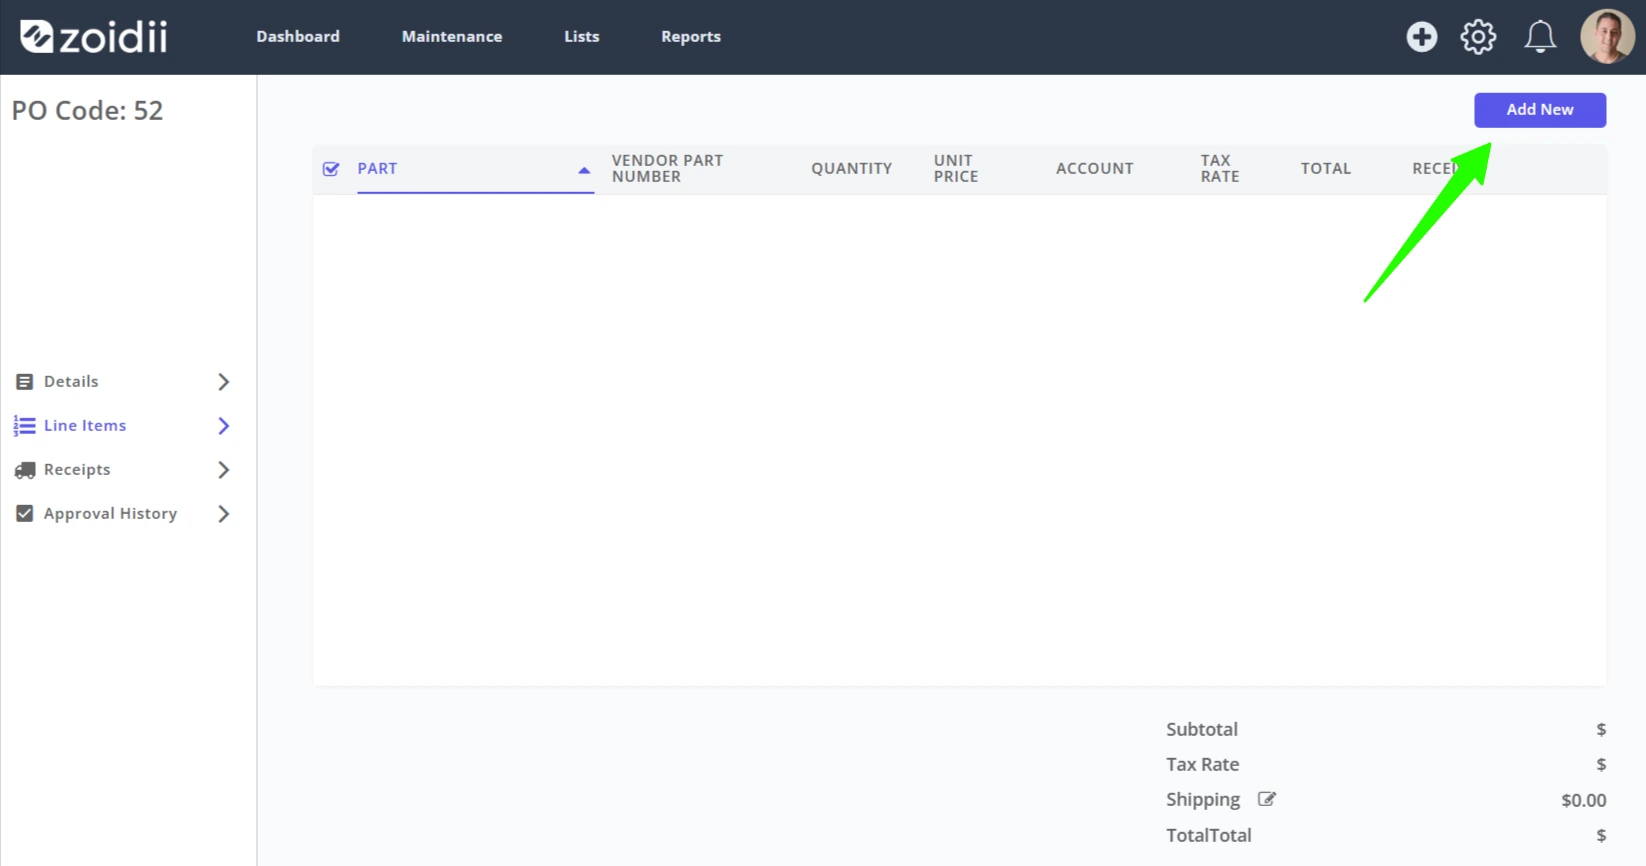
2. Click Add New
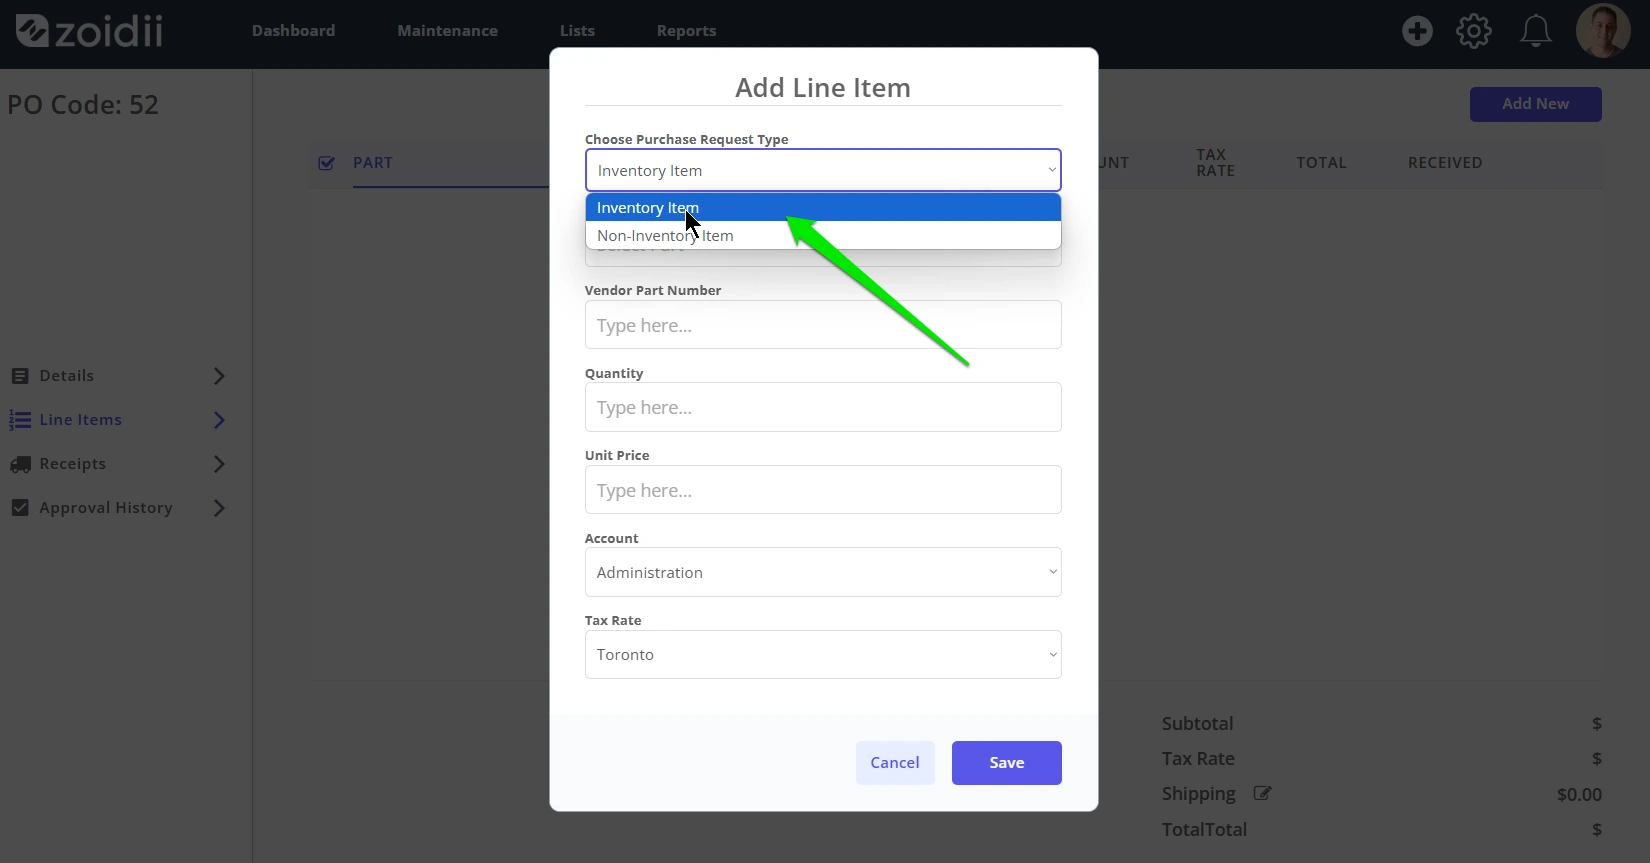
3. Chose the inventory item type in the dropdown
- Inventory item - something that is stocked in the storeroom and available to view in the parts section of the CMMS
- Non-inventory item - something that is not normally stocked in the storeroom or available to view in the parts section of the CMMS
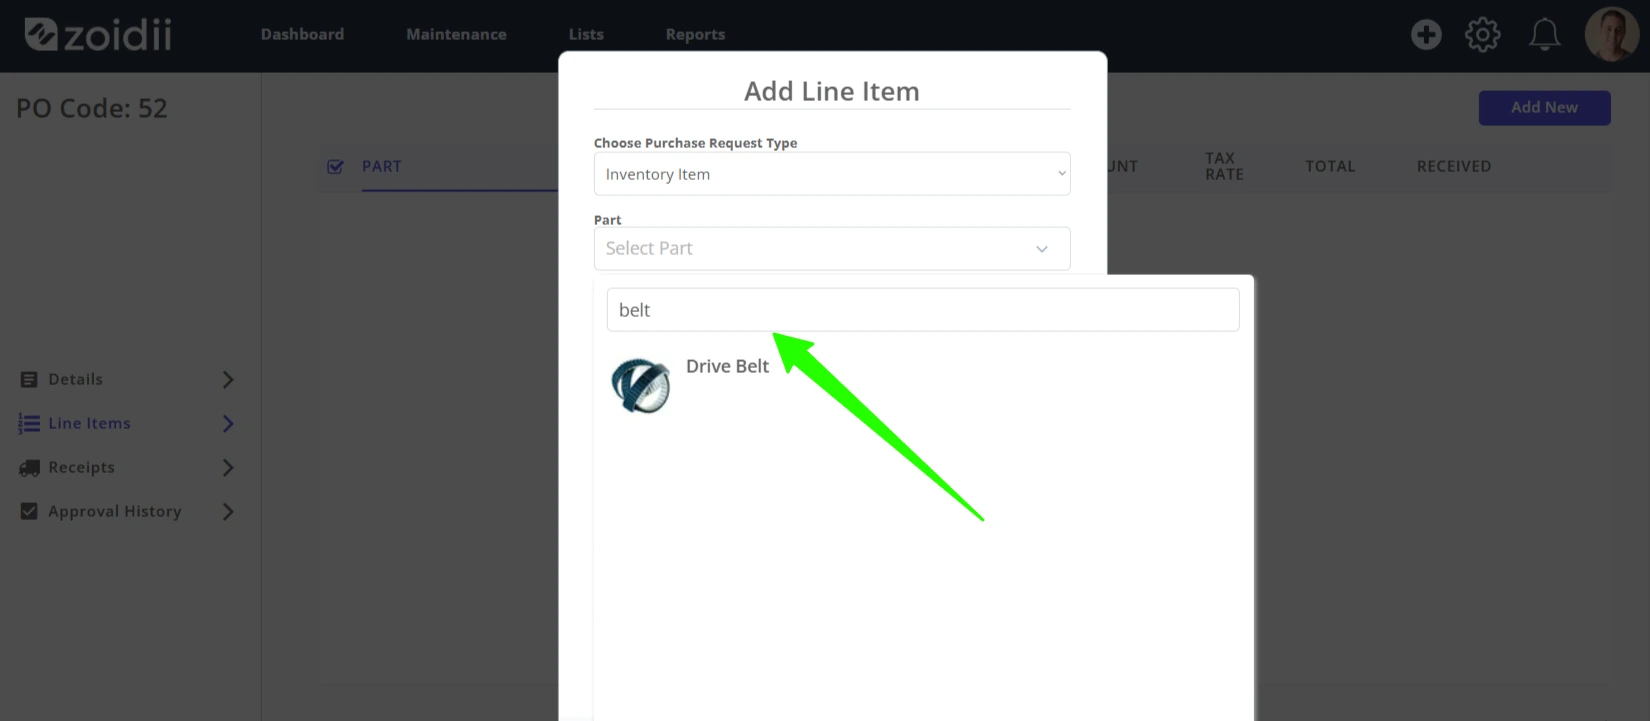
4.1 For inventory items, select the Part from the parts list. Use the search to find the part quickly.
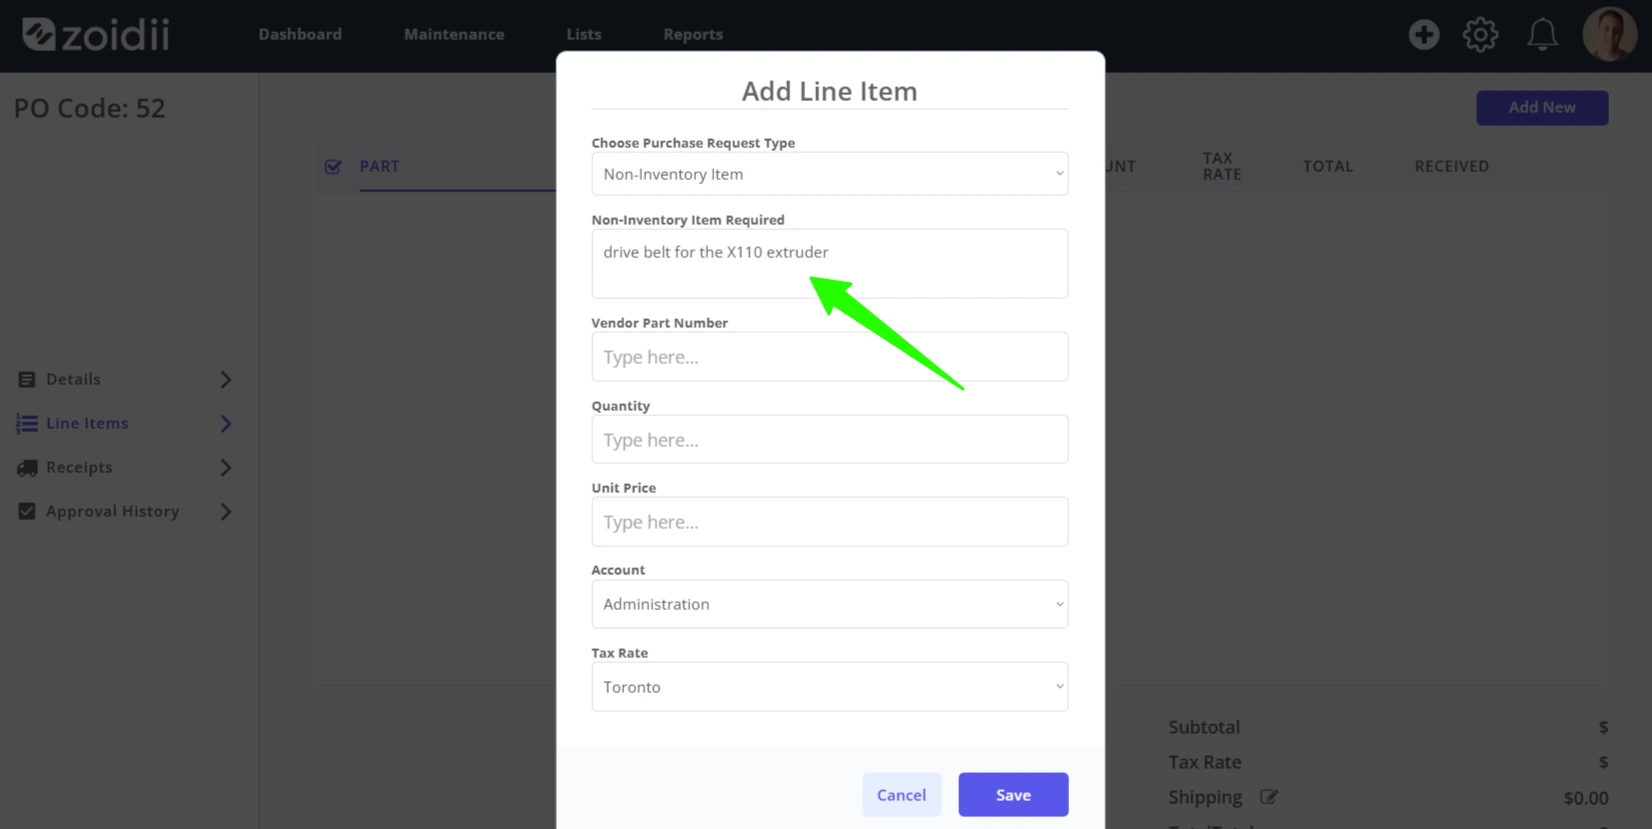
4.2 For non-inventory items, add as much details as possible to the Non-Stocked Item Required field
For this procedure, we will continue with the inventory item example
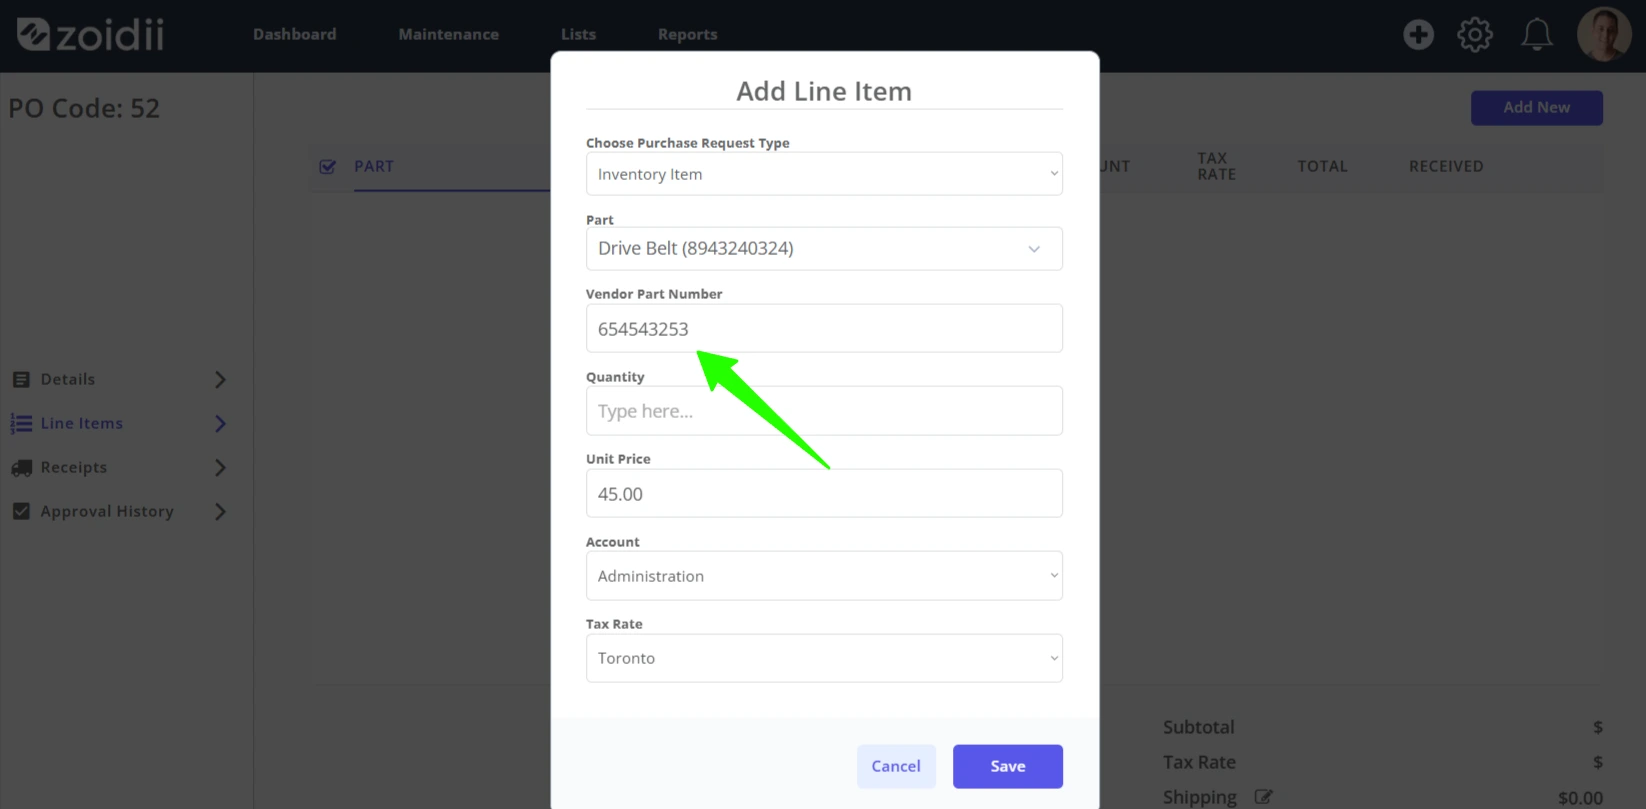
5. If the vendor listed on the purchase order is already associated with the part, the Vendor Part Number will auto-populate. Edit the vendor part number if needed. If the vendor and part are not associated on the part record, enter the vendor part number into the input field
6. Add the required Quantity
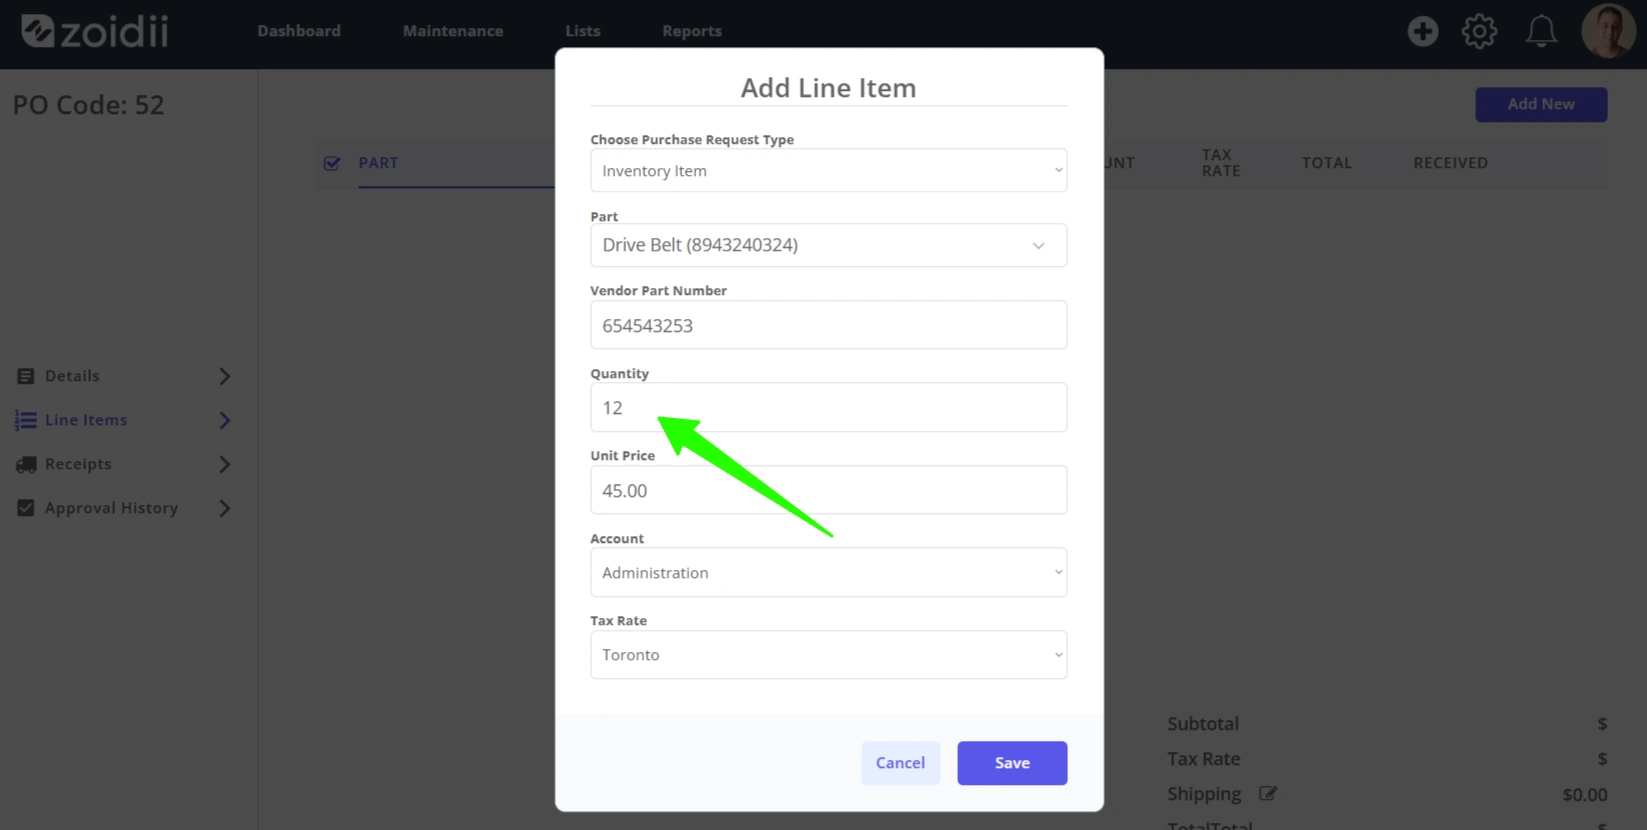
7. The Unit Price is pulled from the part record. Adjust if needed
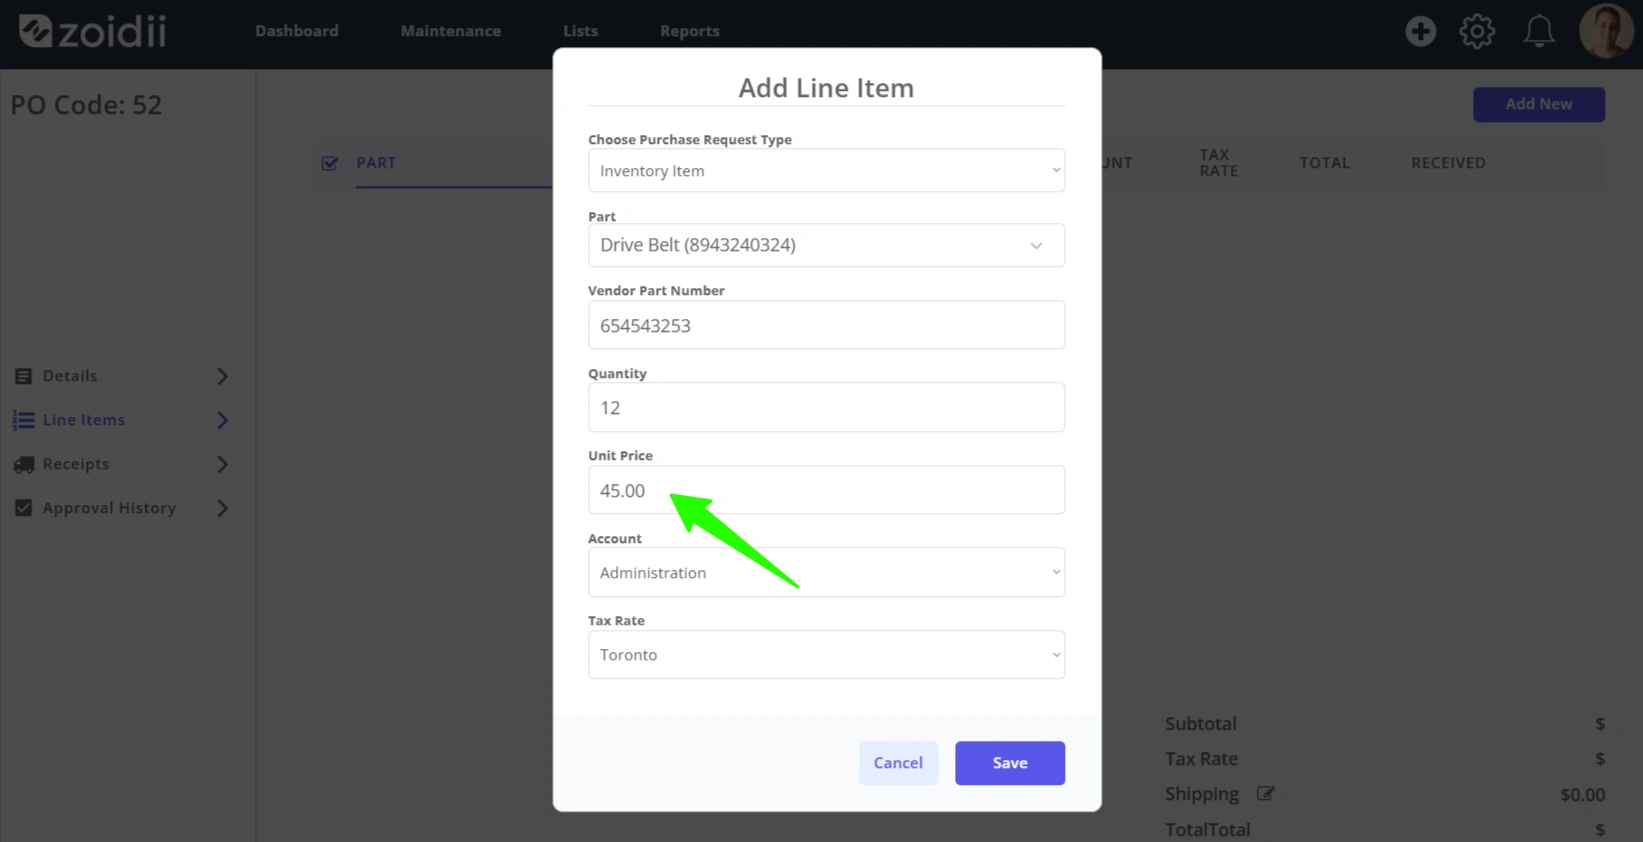
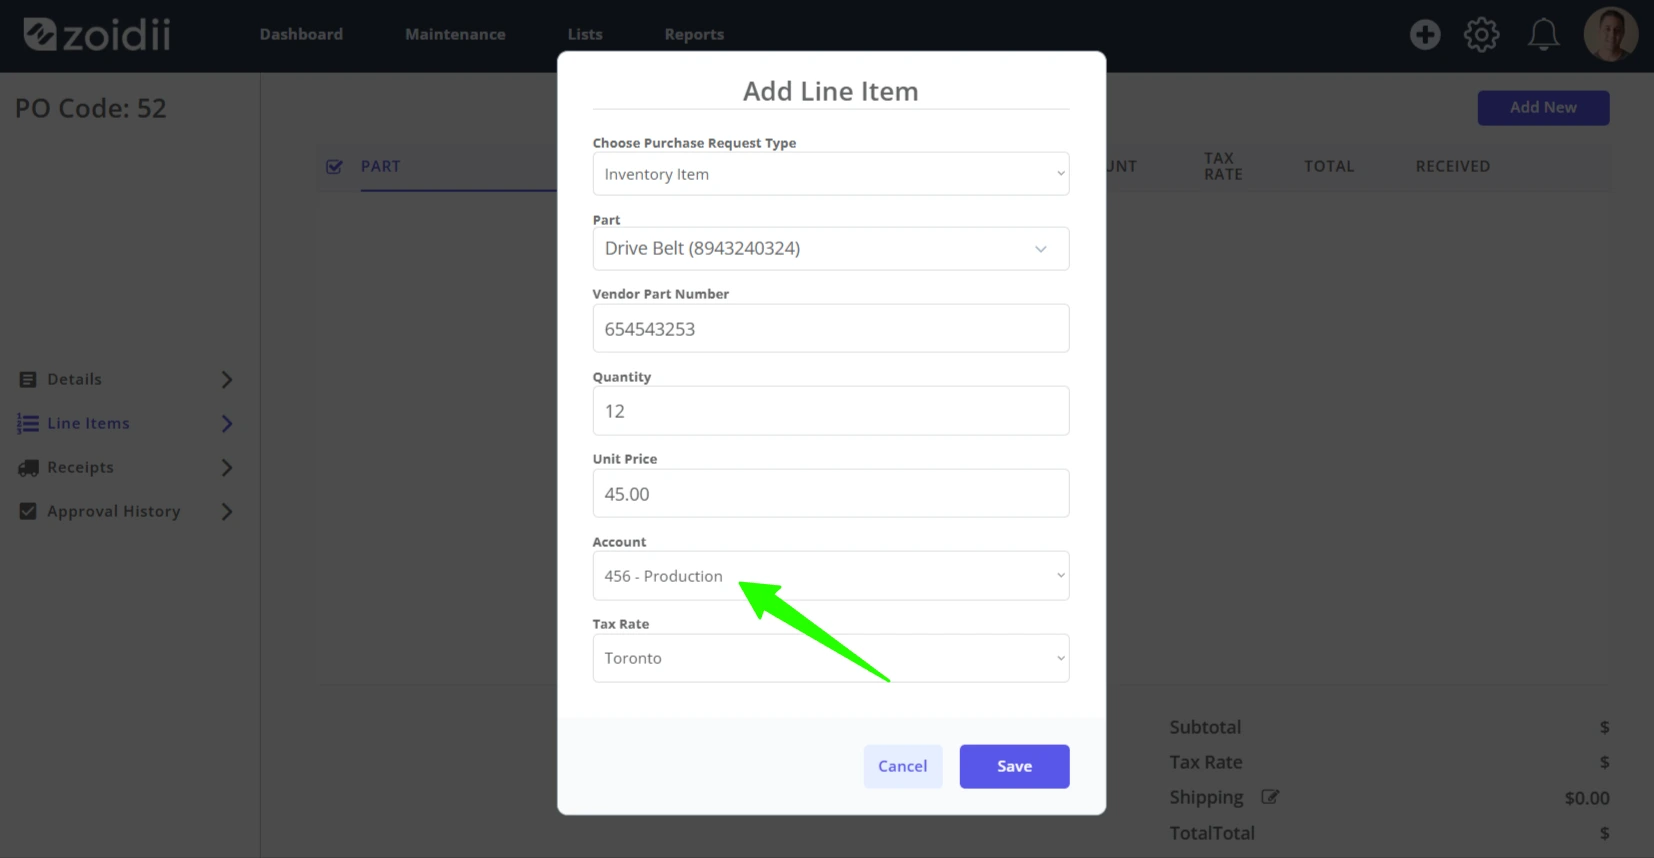
8. The default account is auto populated in the Account field. Adjust if needed
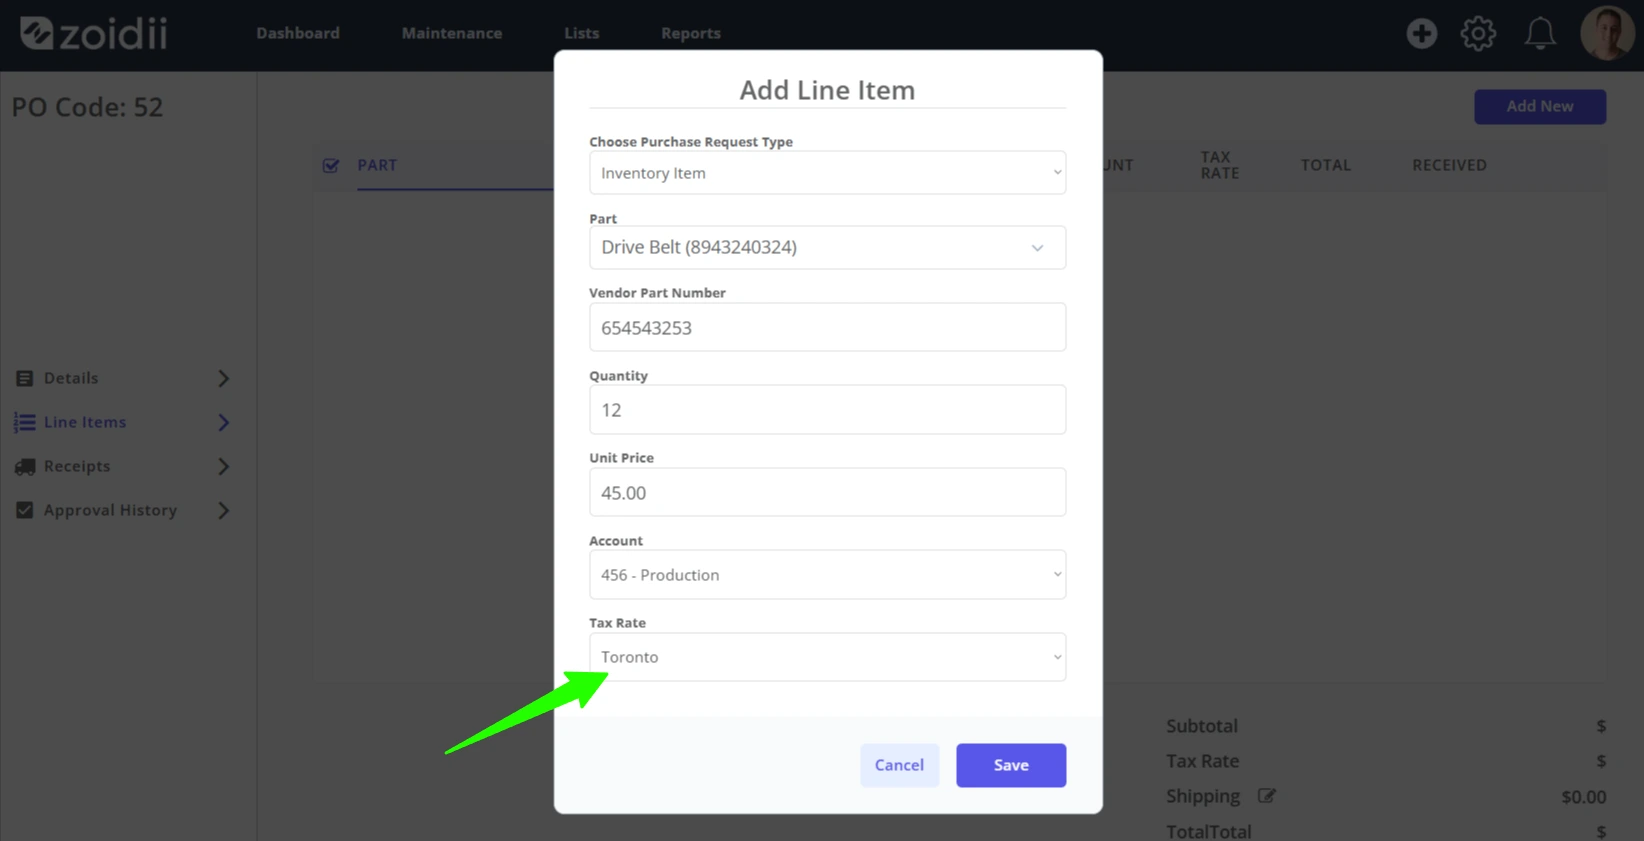
9. The default tax rate is auto populated in the Tax Rate field. Adjust if needed
10. Click Save when done
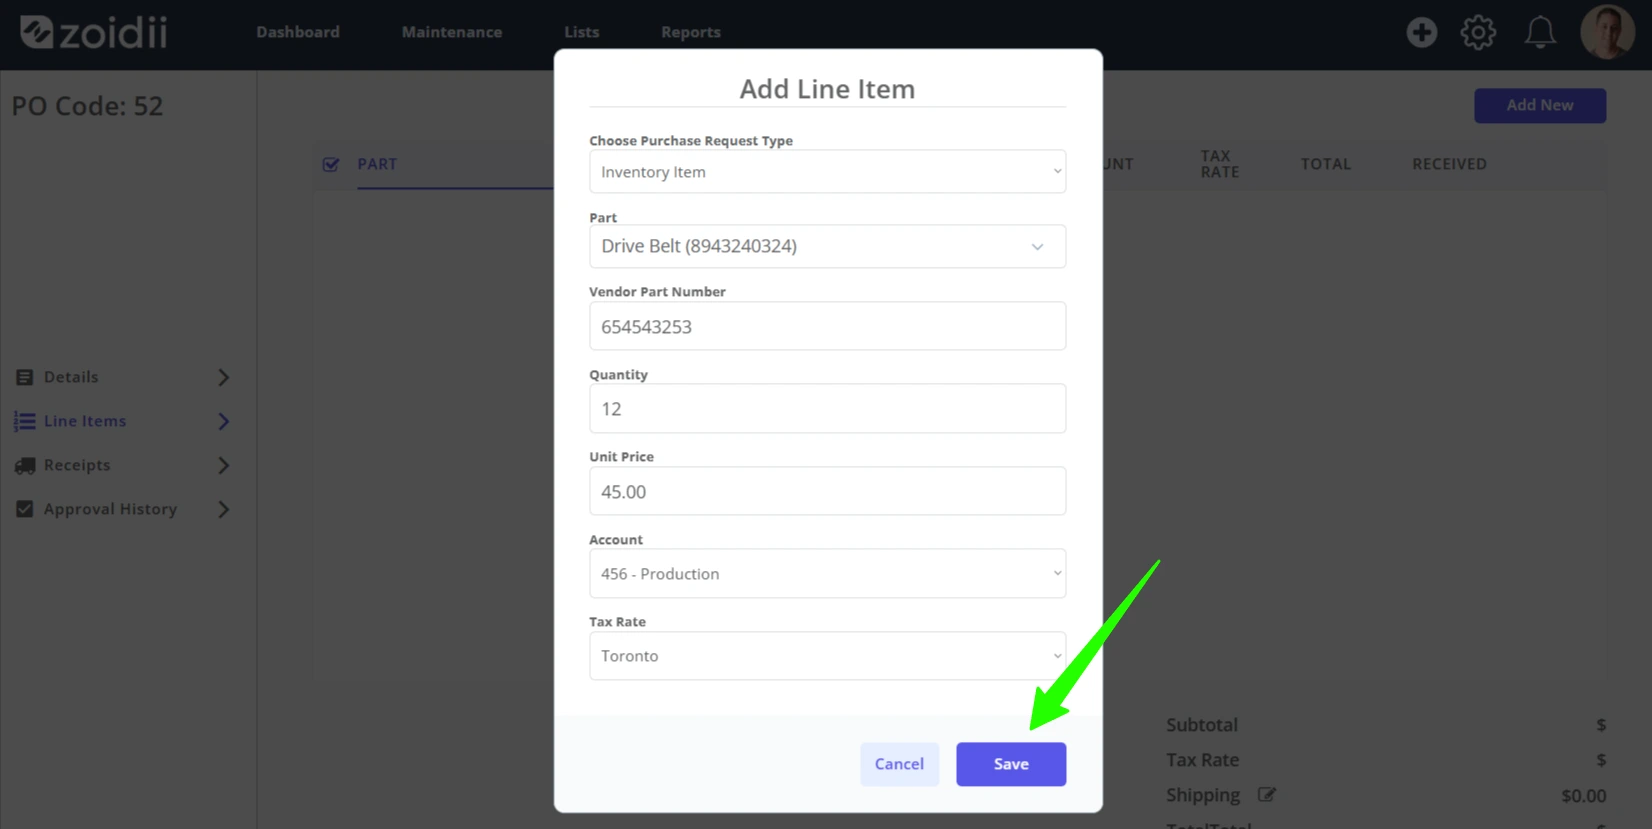
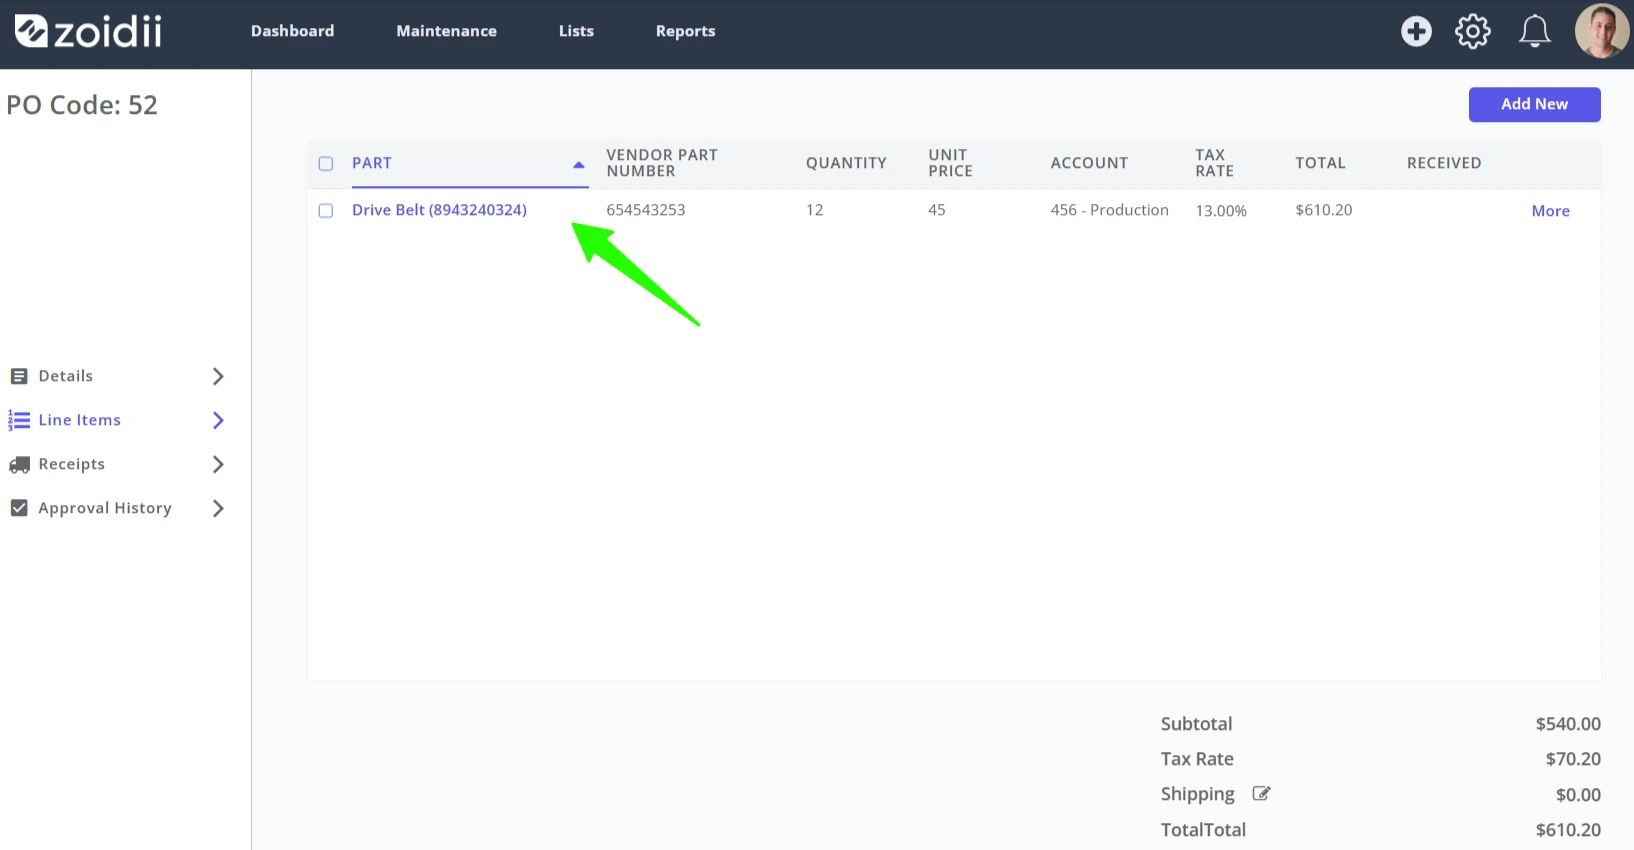
11. The line item is added to the purchase order. Repeat the process to add more inventory or non-inventory items to the purchase order.