
Background
This procedure is broken up into 3 parts:
- Add a part
- Add a parts storage location
- Add a parts vendor
1. Add a Part
1. Click Lists from the top navigation bar, and click Parts & Inventory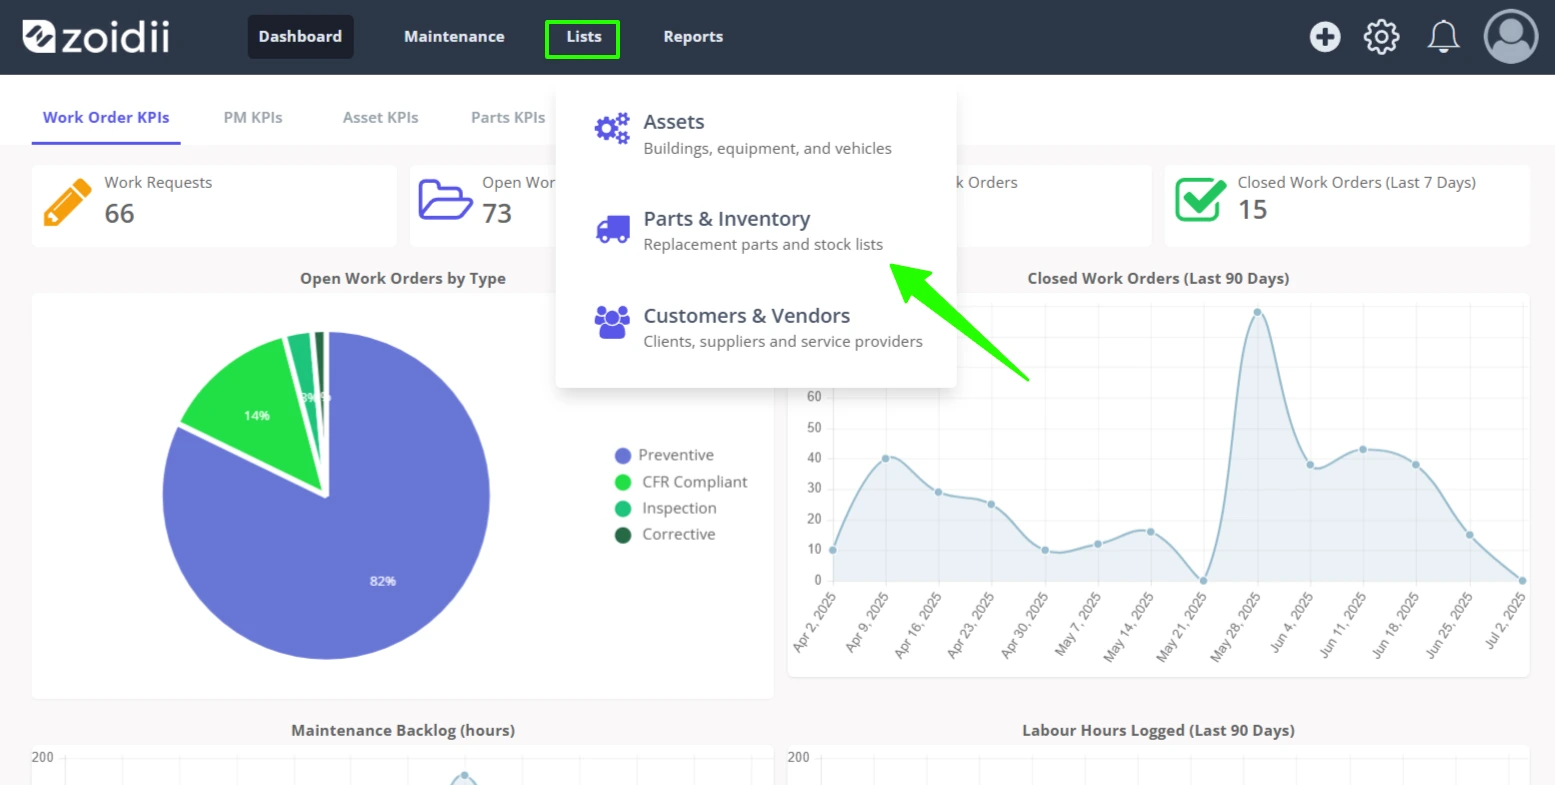
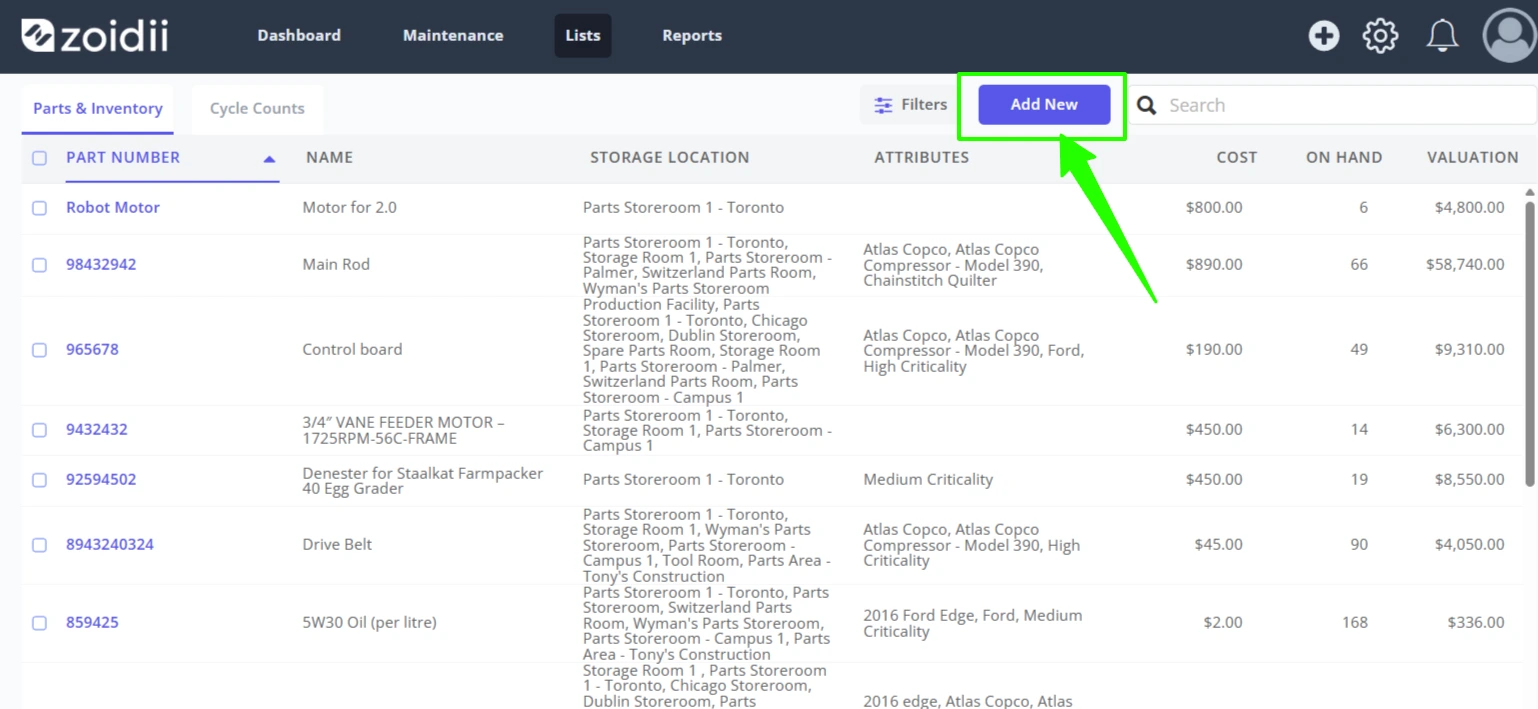
2. Click Add New
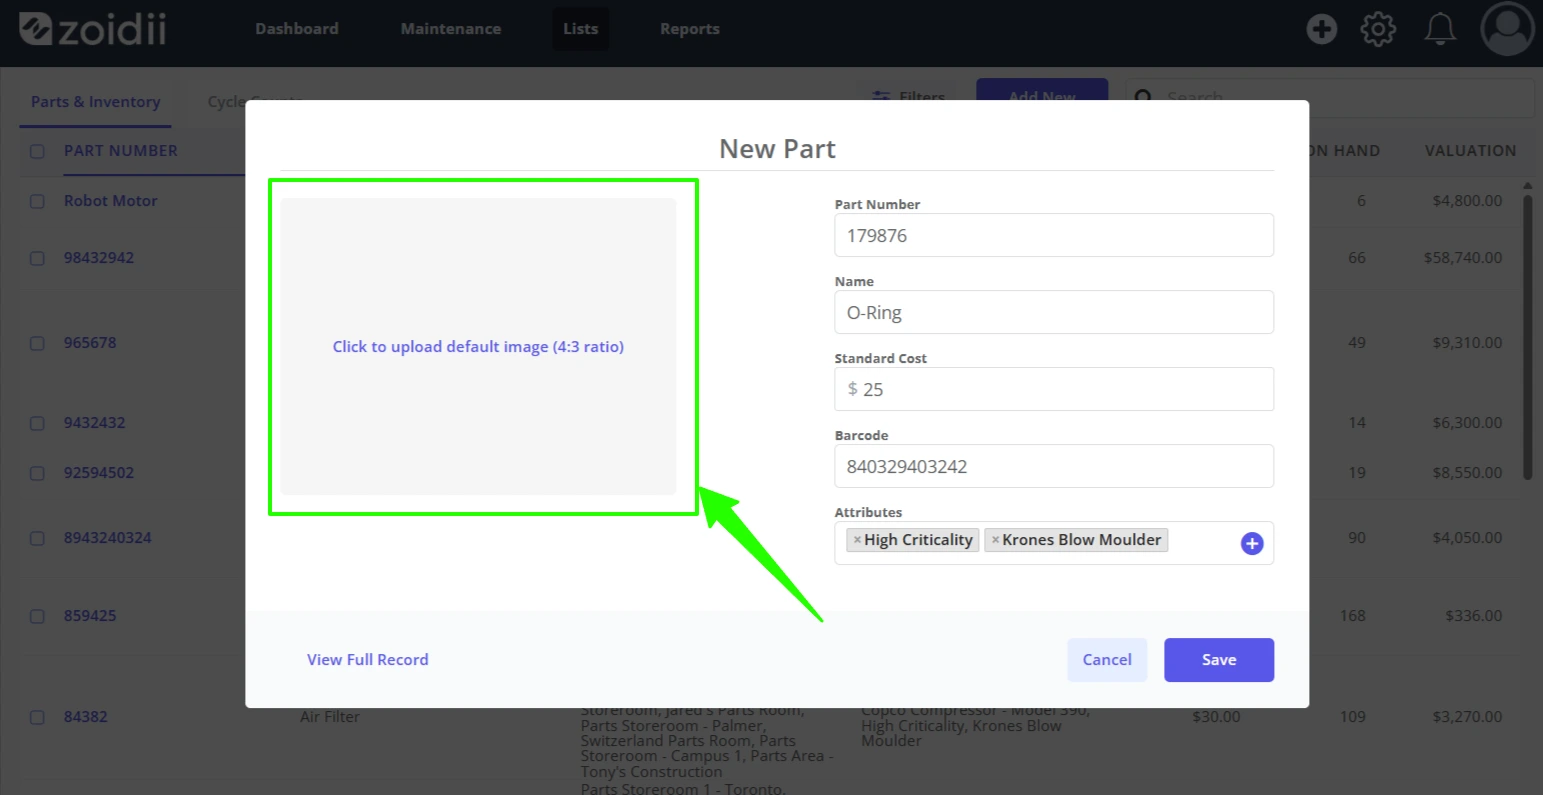
3. Fill in all the relevant parts details in the Add Part popup window
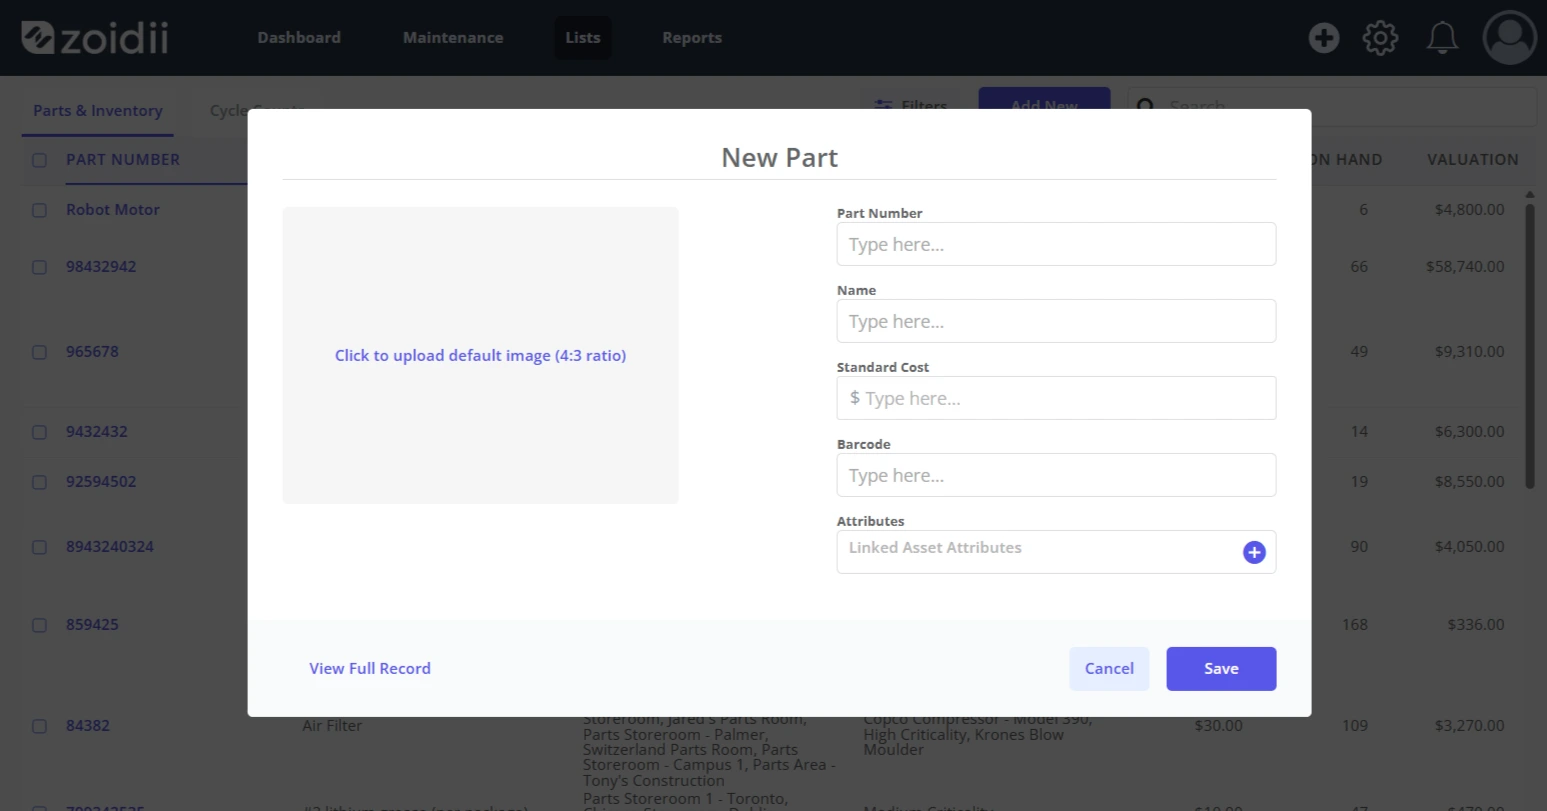
- Part number - this is the internal part number and may be taken from a vendor's part number
- Part description - also called part name. This is the text details for the part
- Standard cost - expected or predetermined cost for this part. This can be adjusted over time as needed
- Barcode - string of text that may appear on the part box.
- Attributes - used to attach “labels” to your assets and parts. Read more about attributes here.
4. When the part details have been added, click the image field on the left hand side to add an image of the part
5. Click Save when done
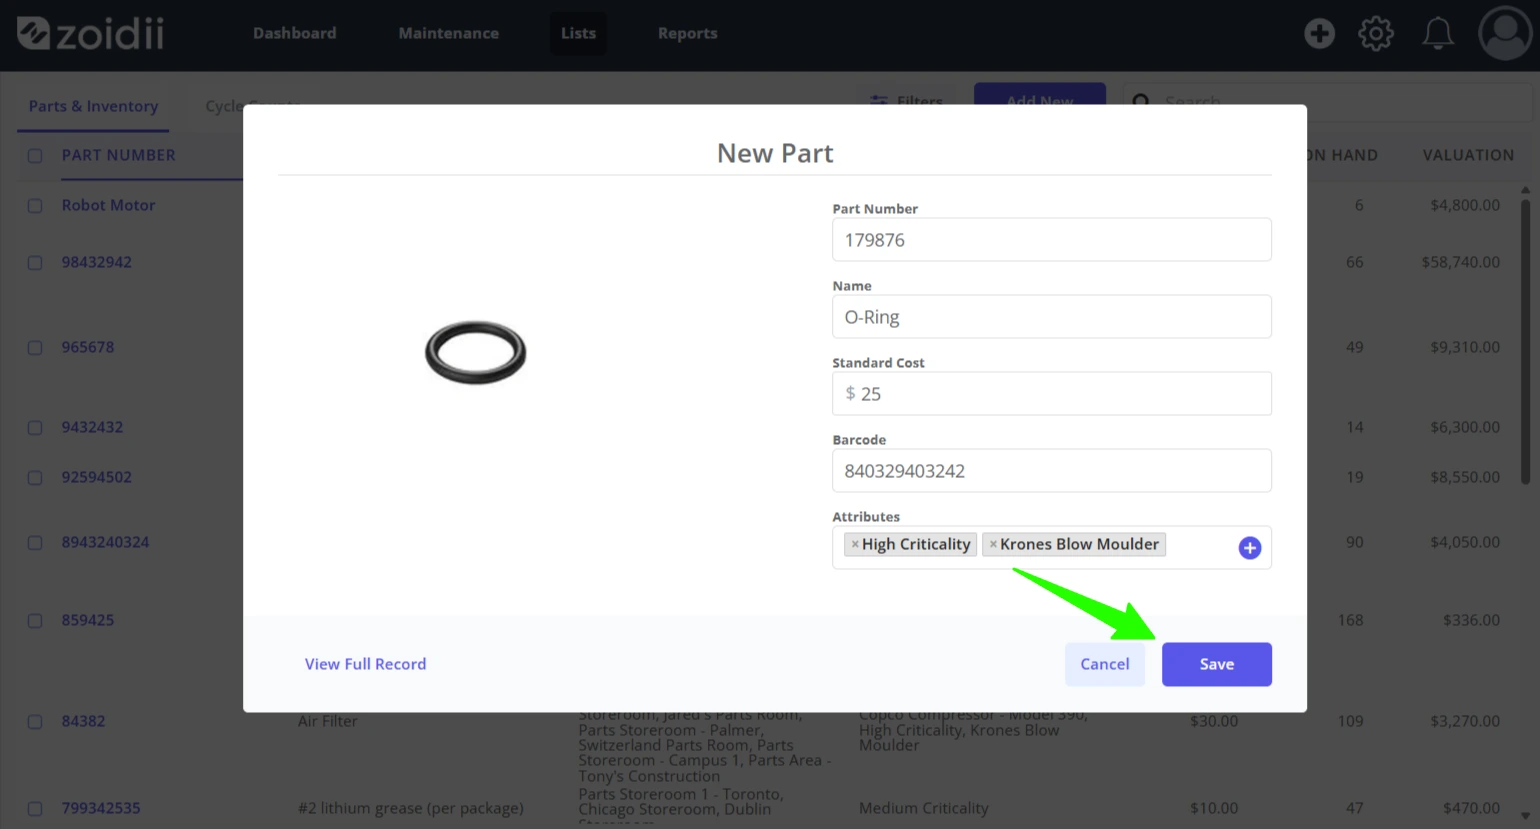
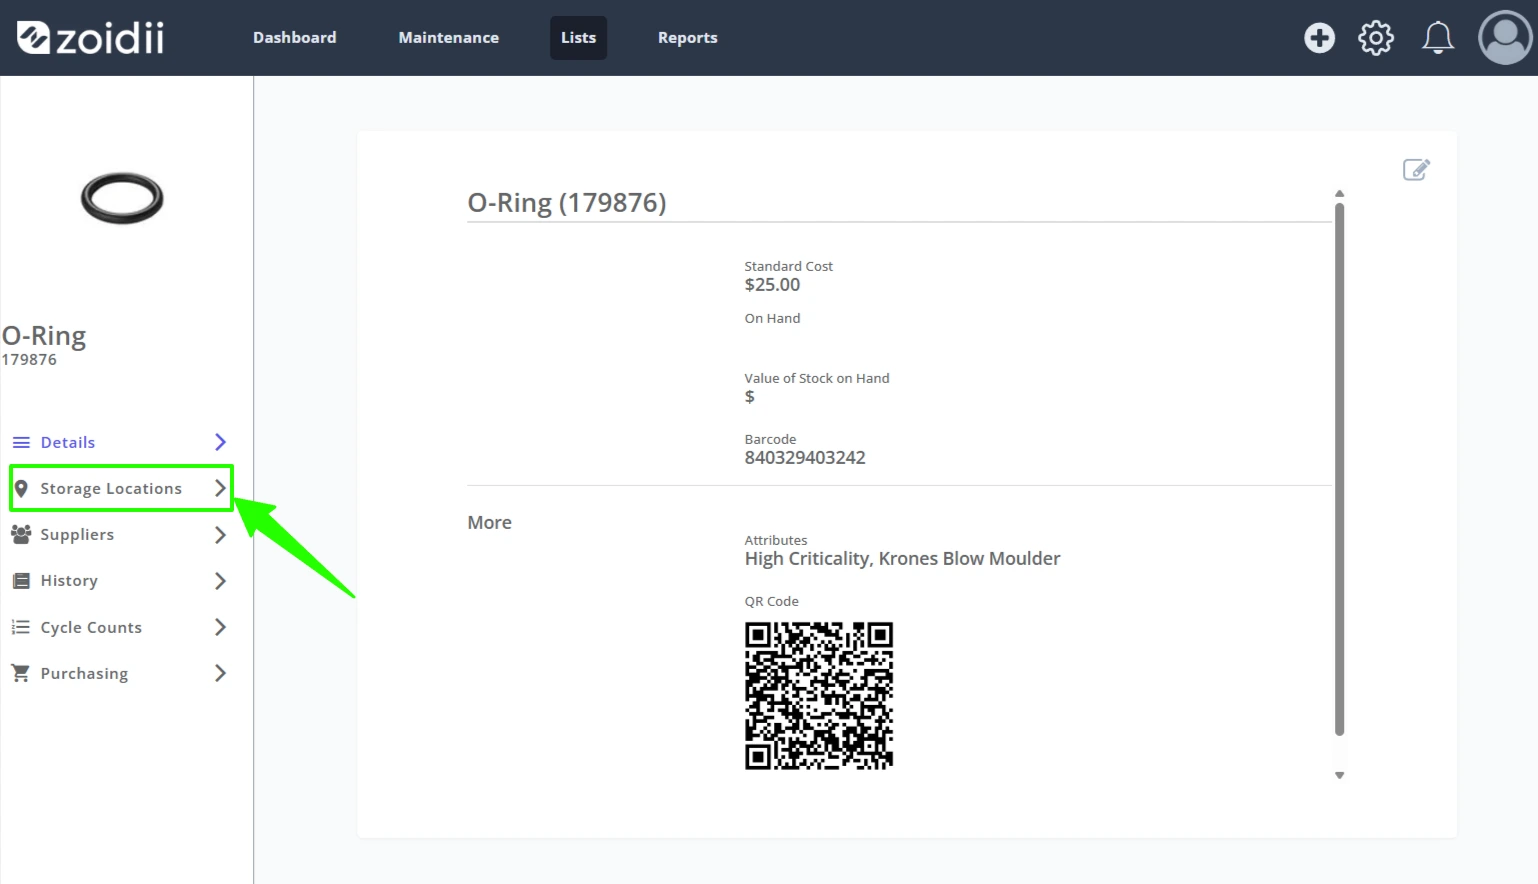
6. The part is now added to the system
2. Add a Parts Storage Location
7. Open the part record and click Storage Locations in the part main menu
8. Click Add New
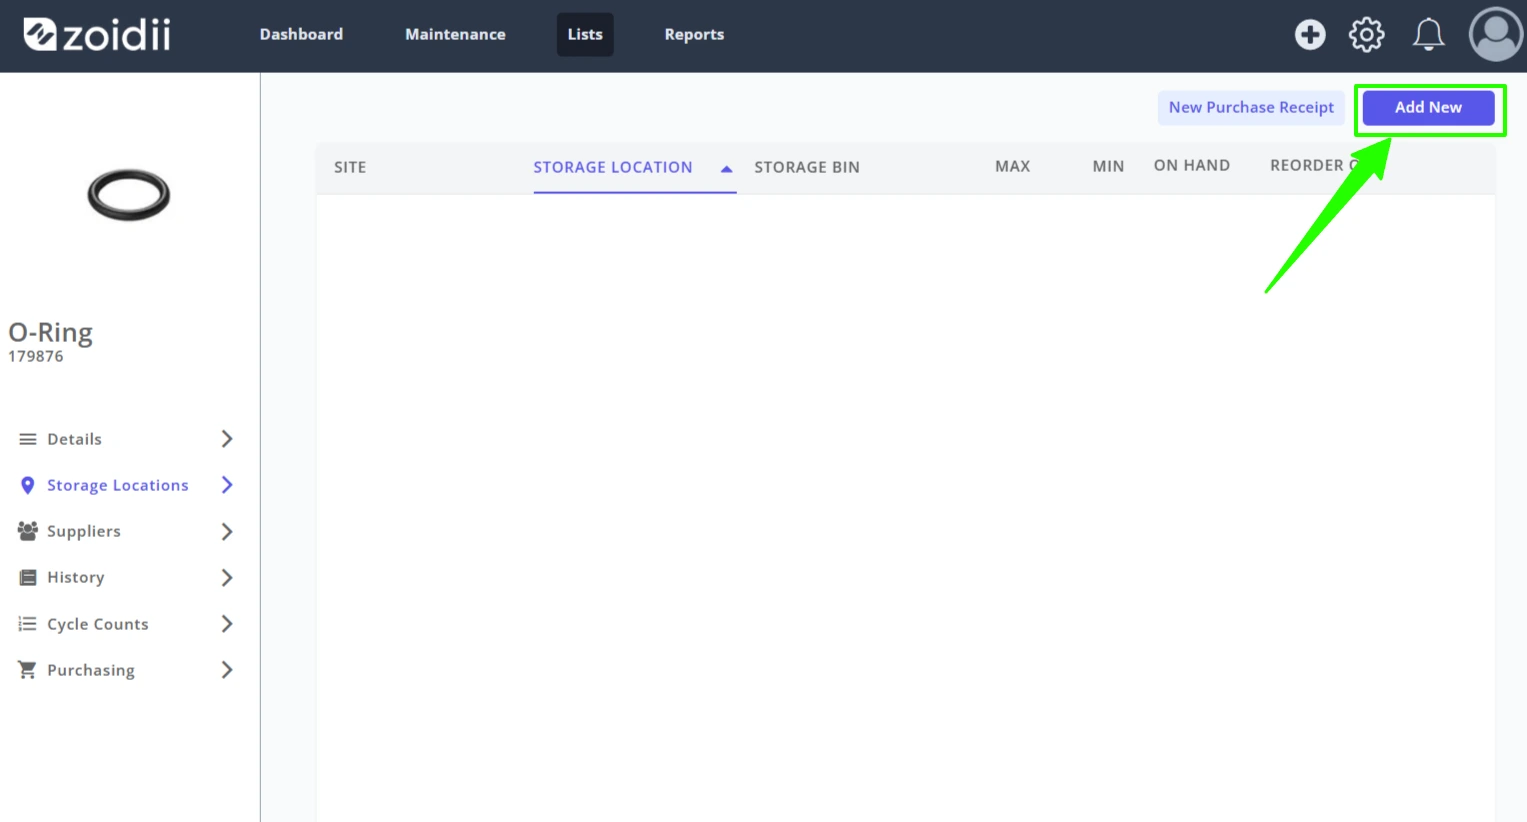
9. Fill in the details for the part storage location and click Save
- Select the storage location from the asset list. The storage location should already exist in the system.
- Storage Bin - To eliminate clutter in the CMMS, a single searchable text field is used to describe the exact location of the bin. This could be made up of Aisle/Row/Shelf/drawer etc. In the example below, this is Aisle B, shelf 21, Bin 2.
- Max - the maximum amount of this part we want to stock at this location
- Min - the minimum amount of this part we want to stock at this location
- On hand - quantity of this part on hand in this storage bin
- Reorder Qty - the suggested quantity to reorder
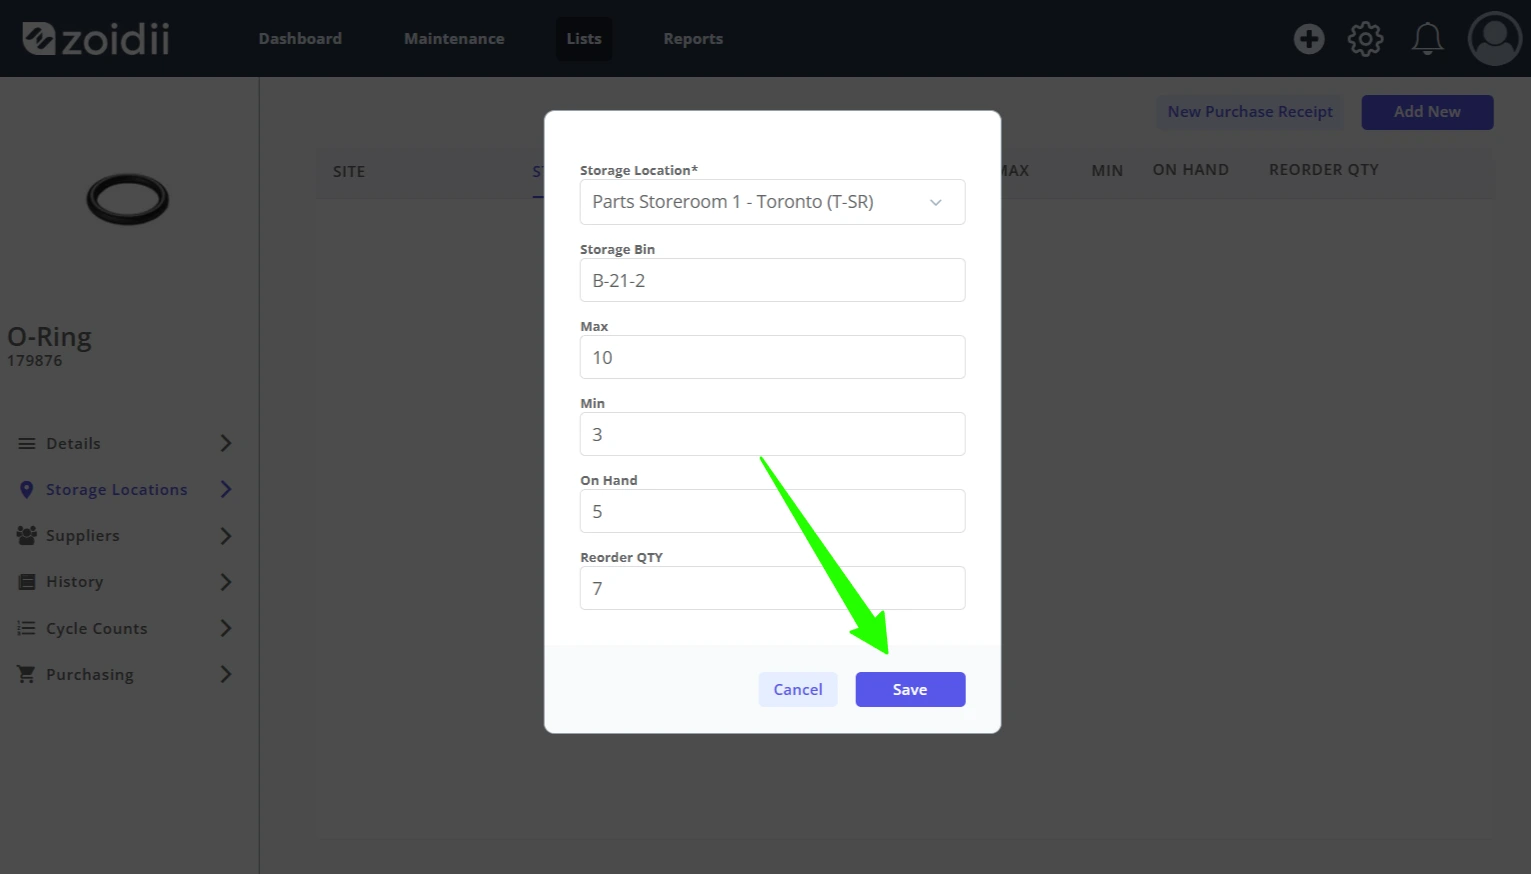
10. Repeat as needed for all storage locations for this part
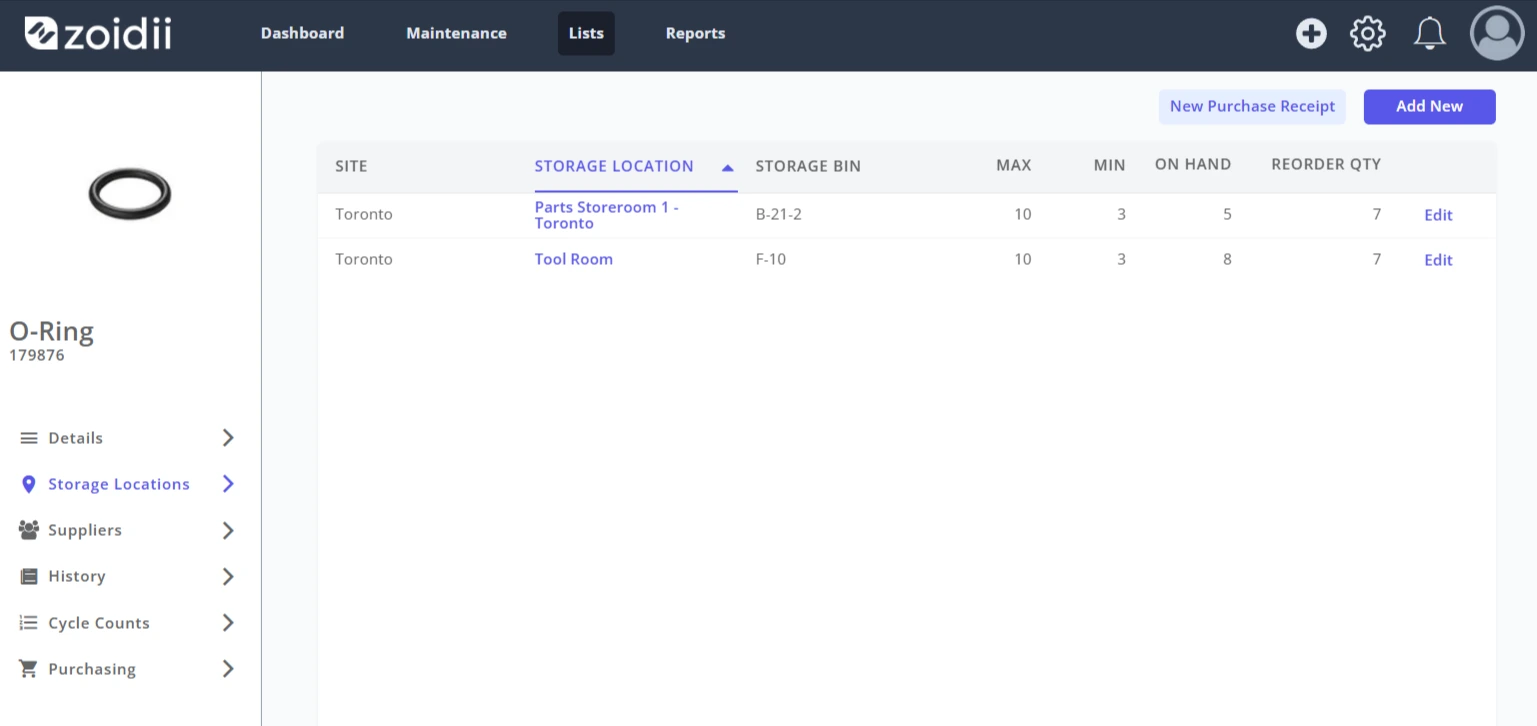
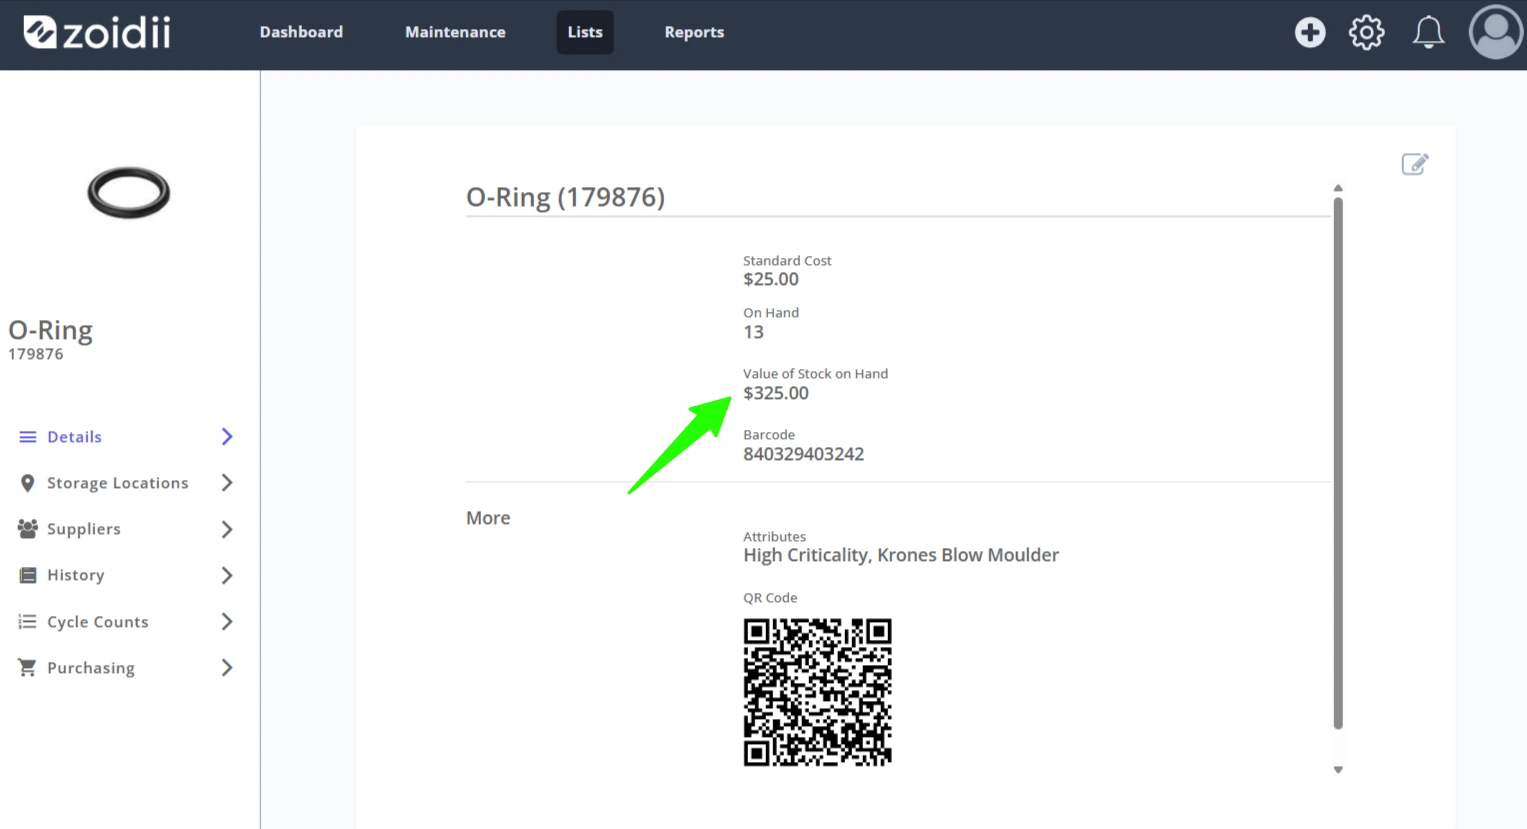
11. Once the storage locations have been added with the quantity on hand, the total value of stock on hand is available
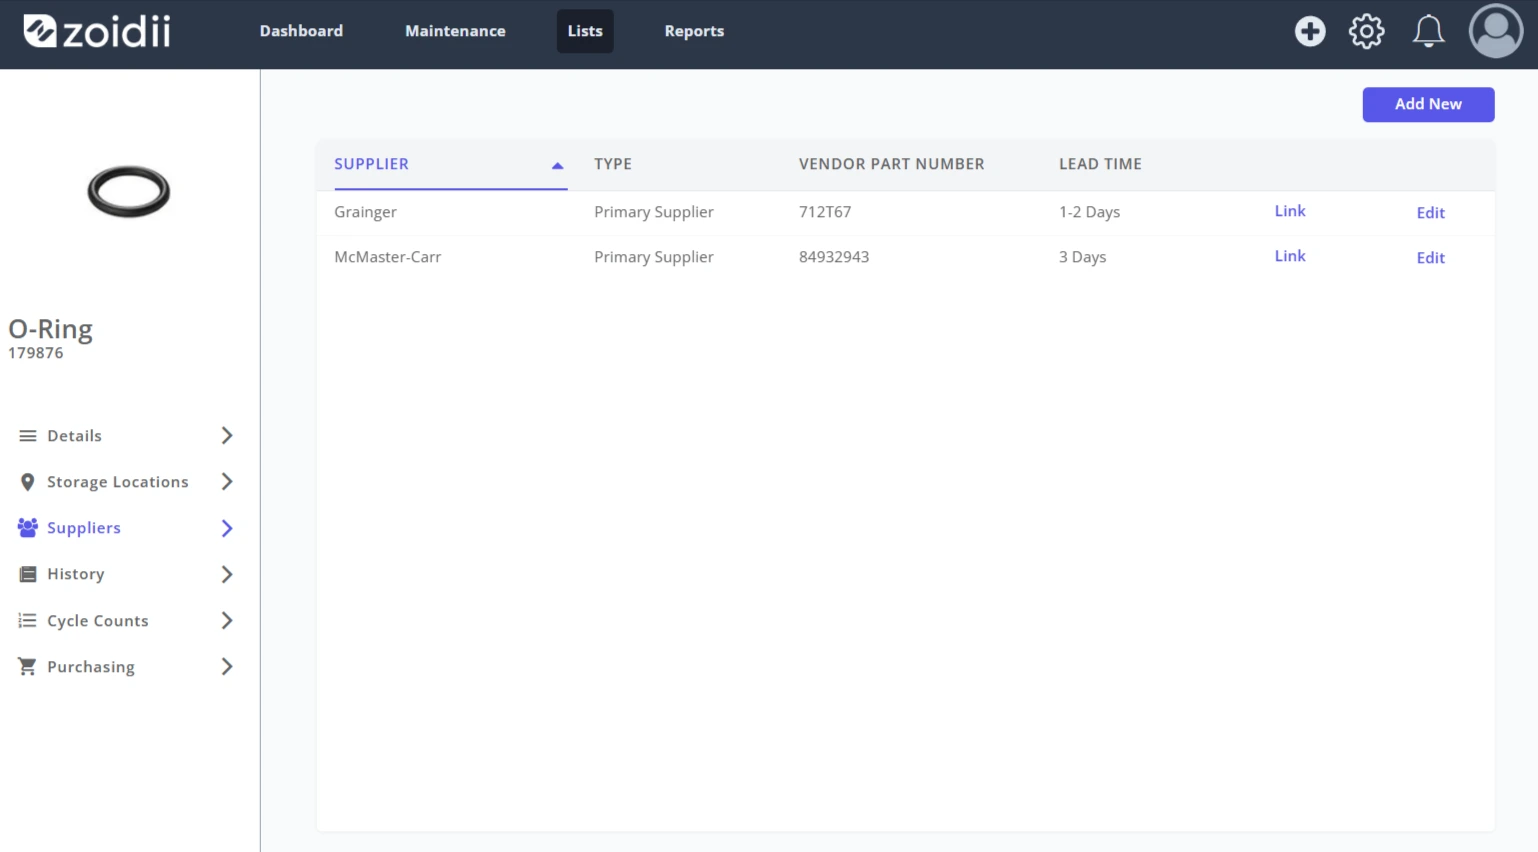
3. Add a Parts Supplier
12. Navigate to the part's Supplier tab and click Add New
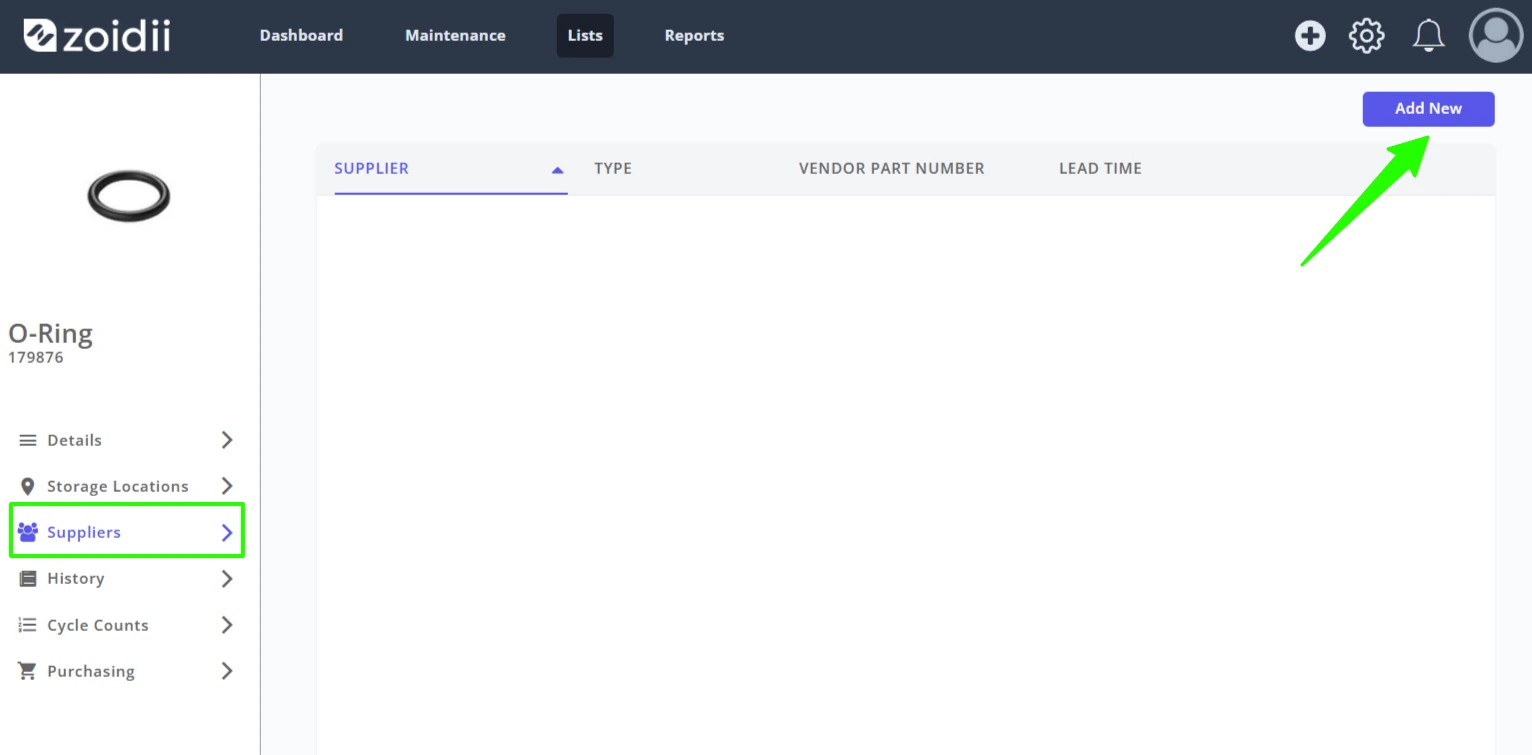
13. Fill in the relevant information for the supplier. The business must already exist in the system before adding as a supplier of a part.
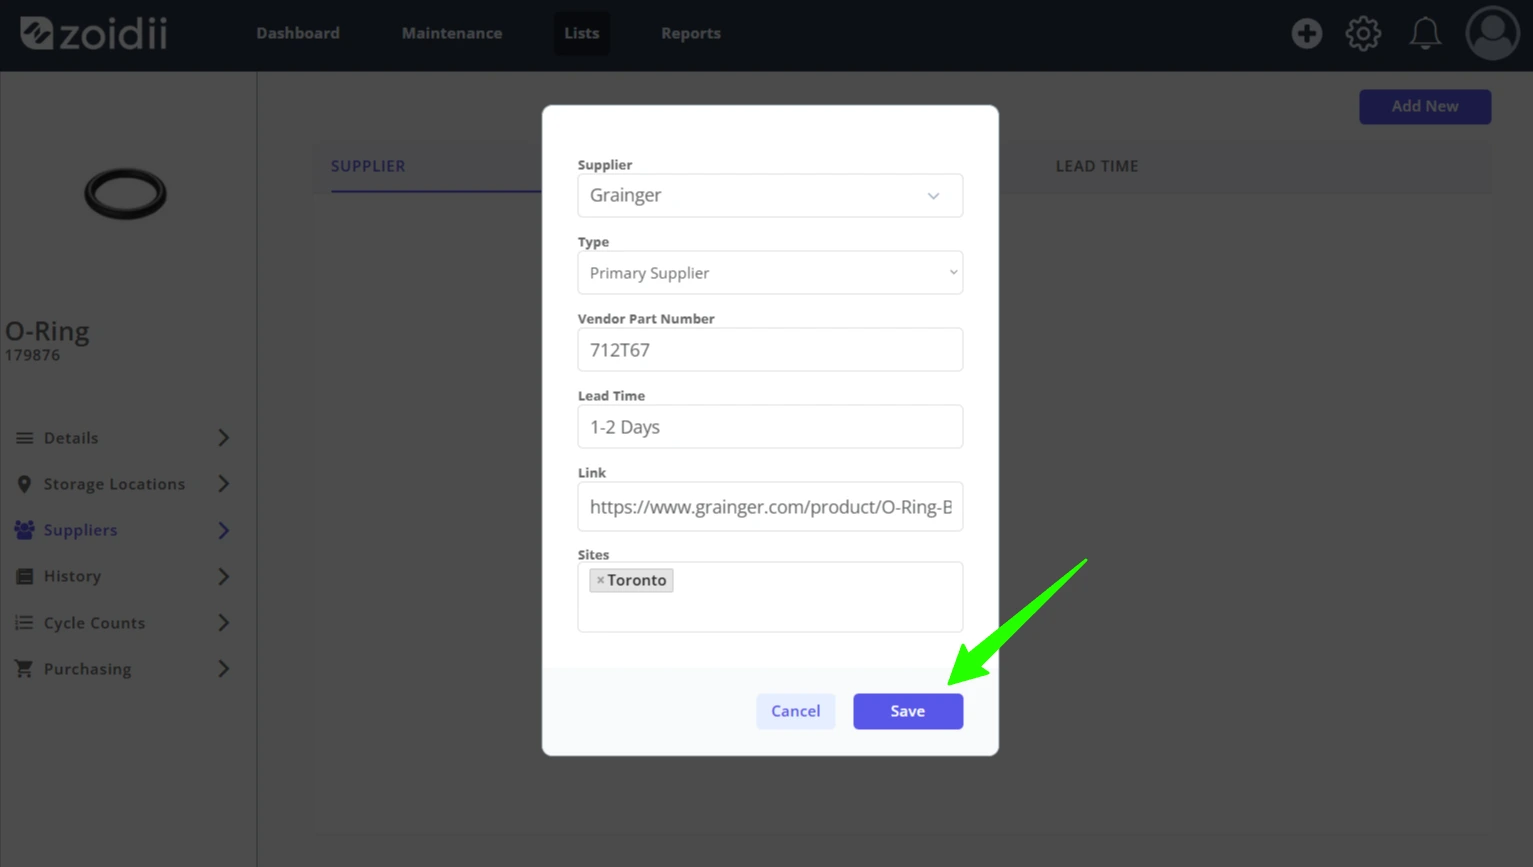
14. Click Save when done