

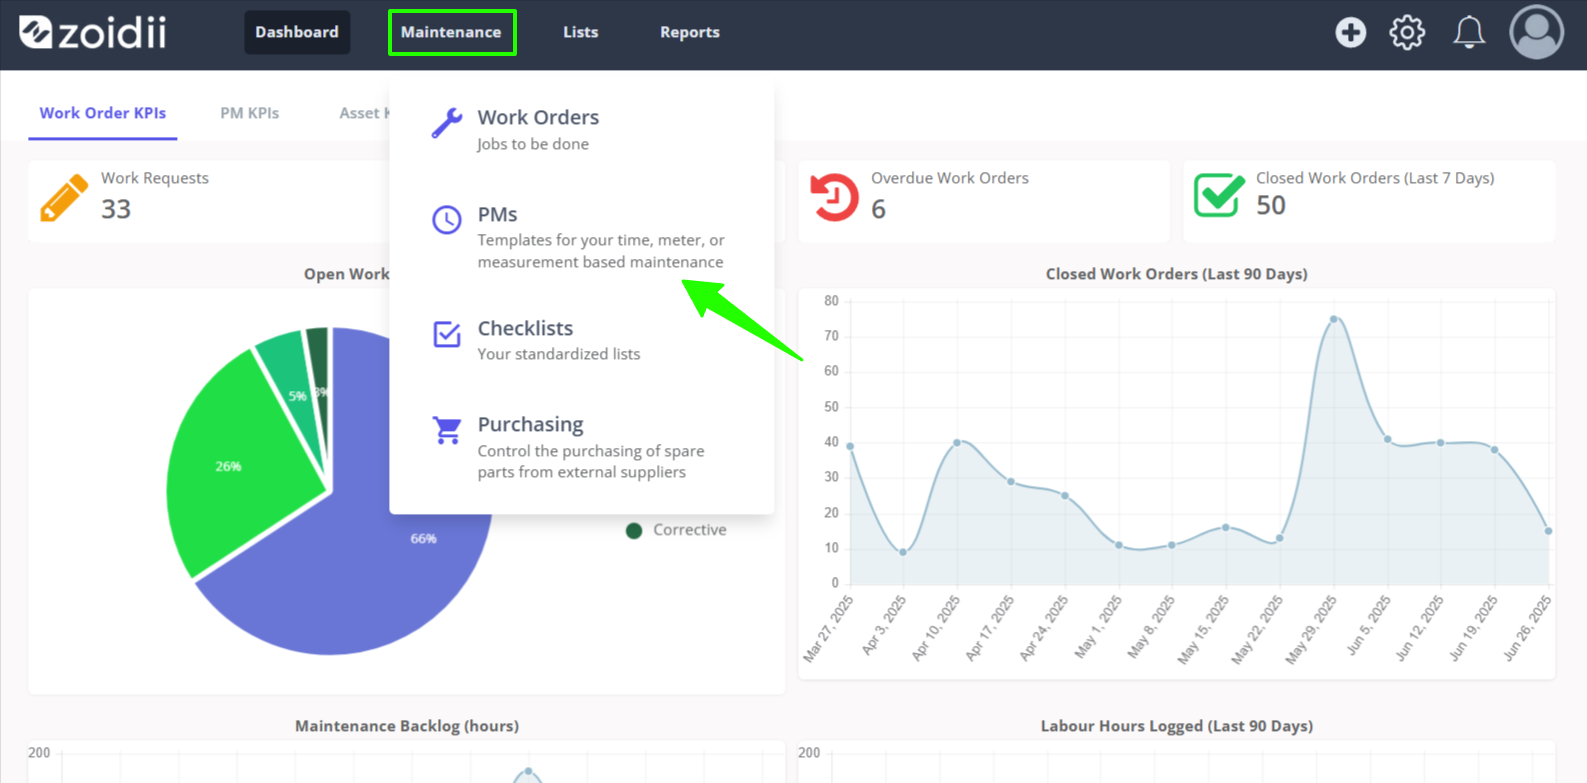
1. Click Maintenance in the top navigation bar, and select PMs from the dropdown
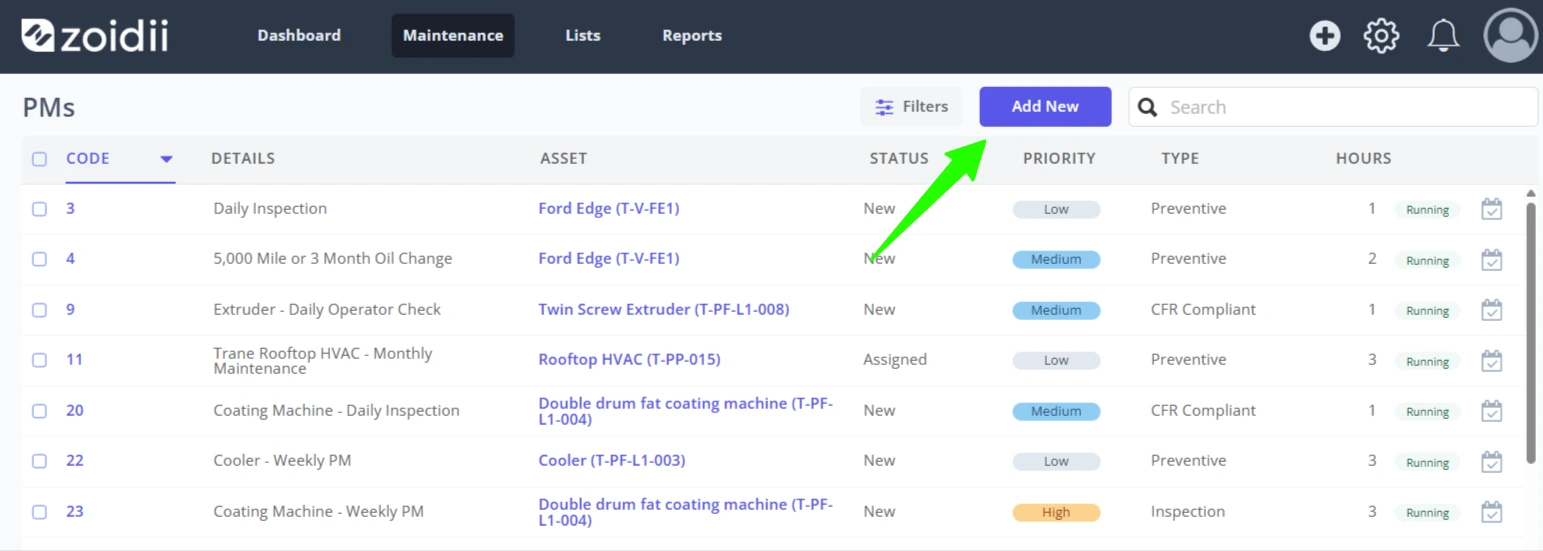
2. Click Create New
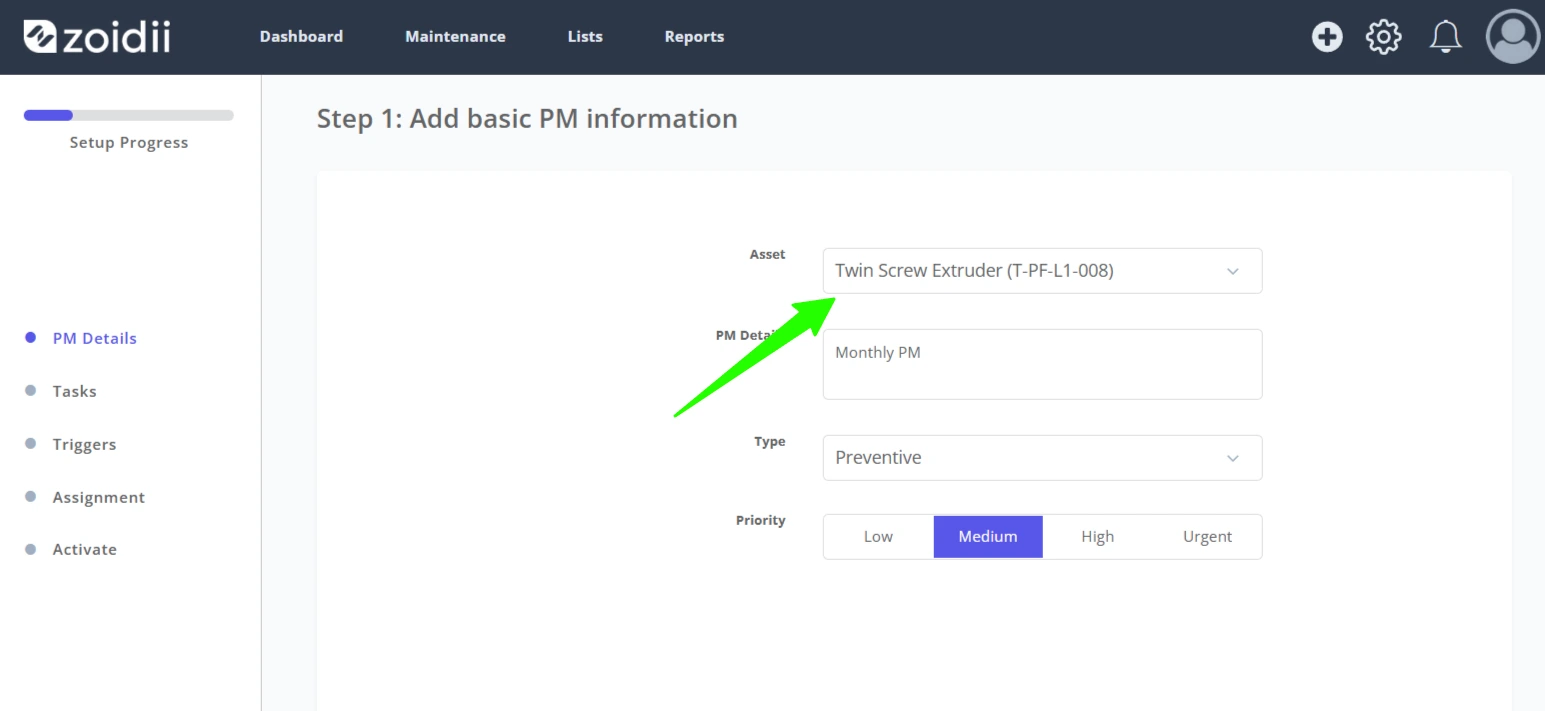
3. In Step 1, select the asset from the Asset dropdown. Fill in the PM description, type and priority
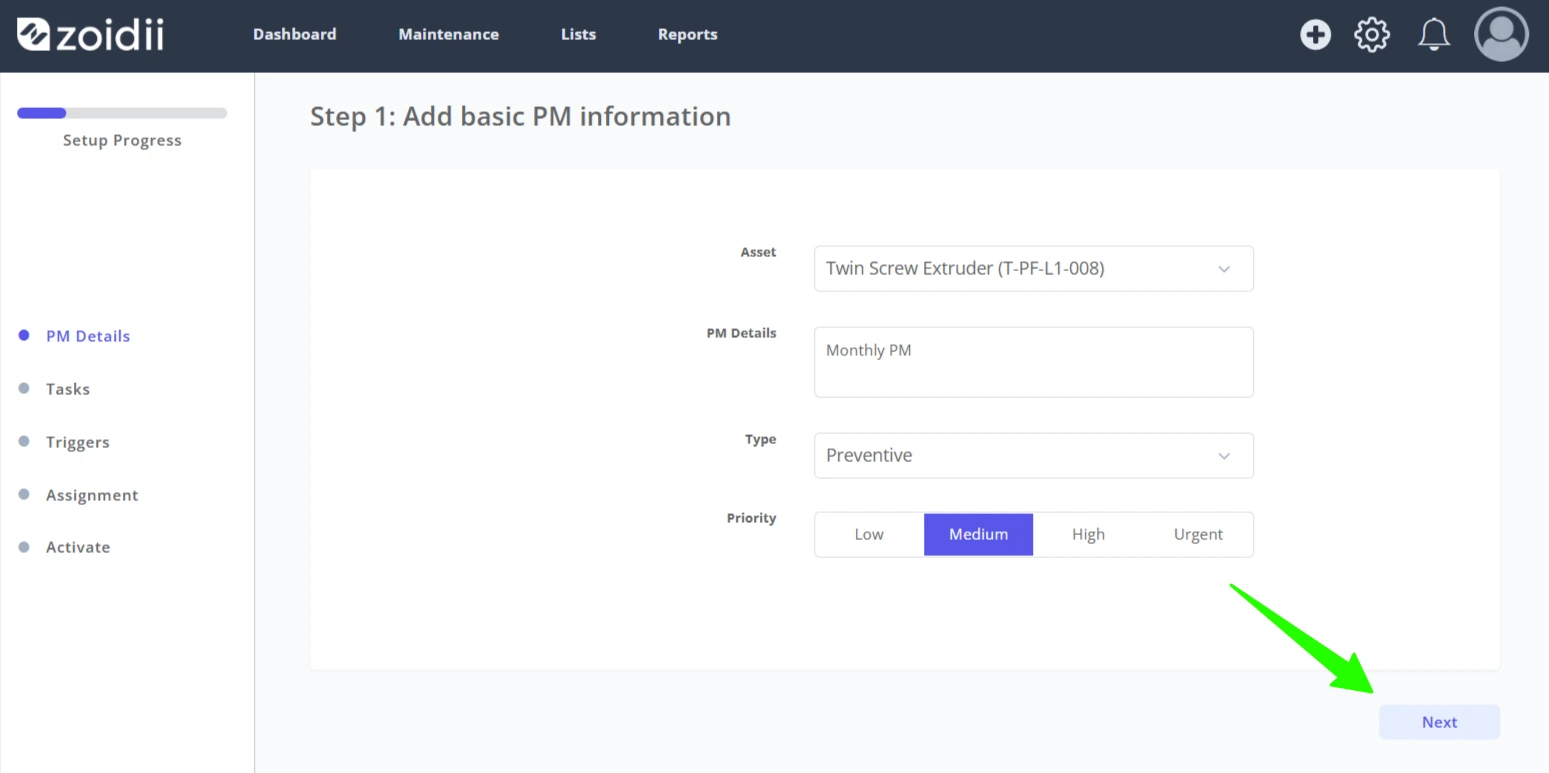
4. Click Next when done
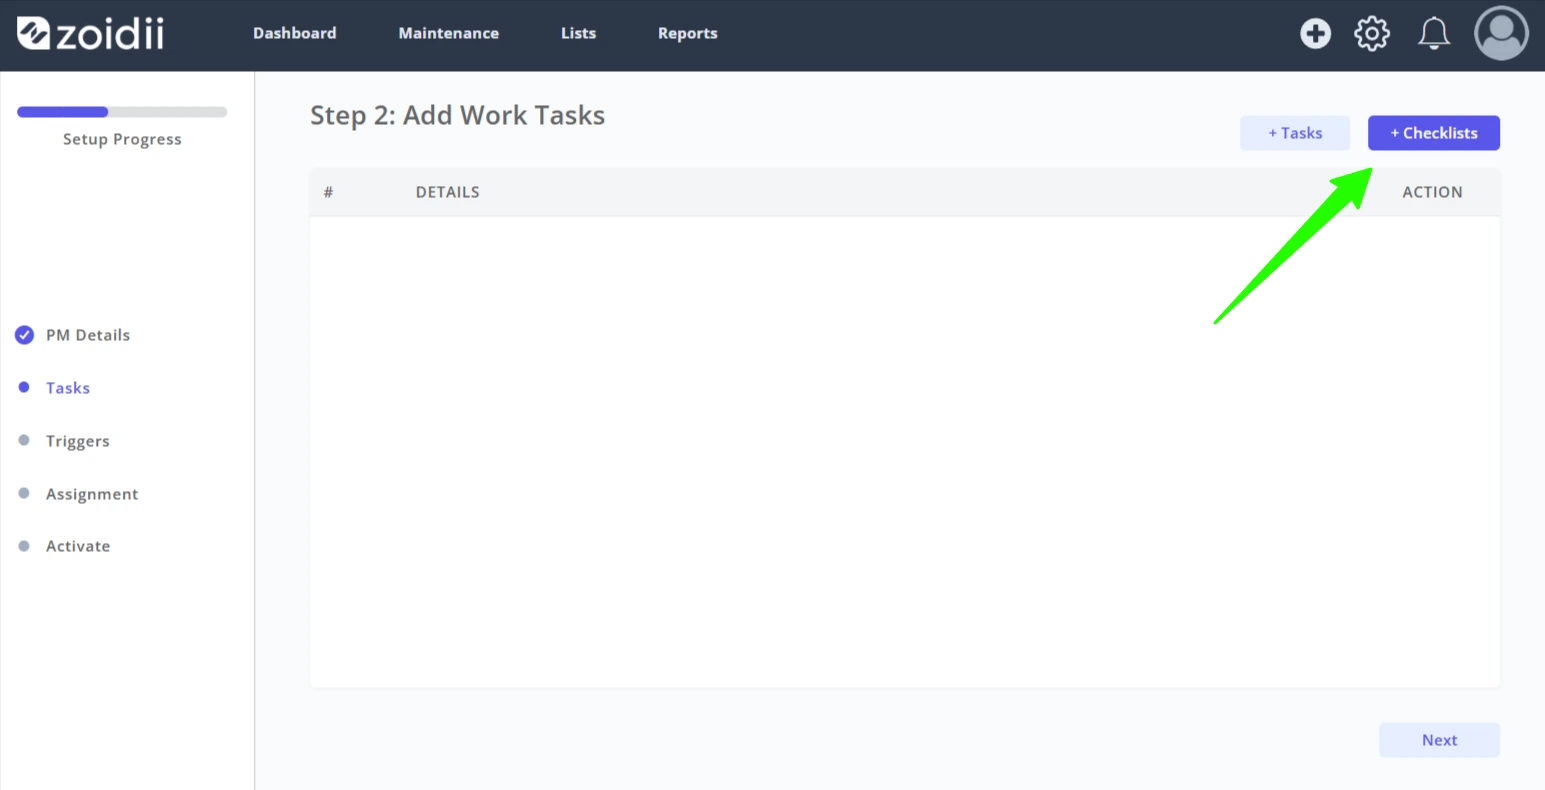
5. In Step 2, it is possible to add individual tasks, checklists, or both. The best practice is to create the checklist and then add it to the PM. Click + Checklist on the top right-hand side
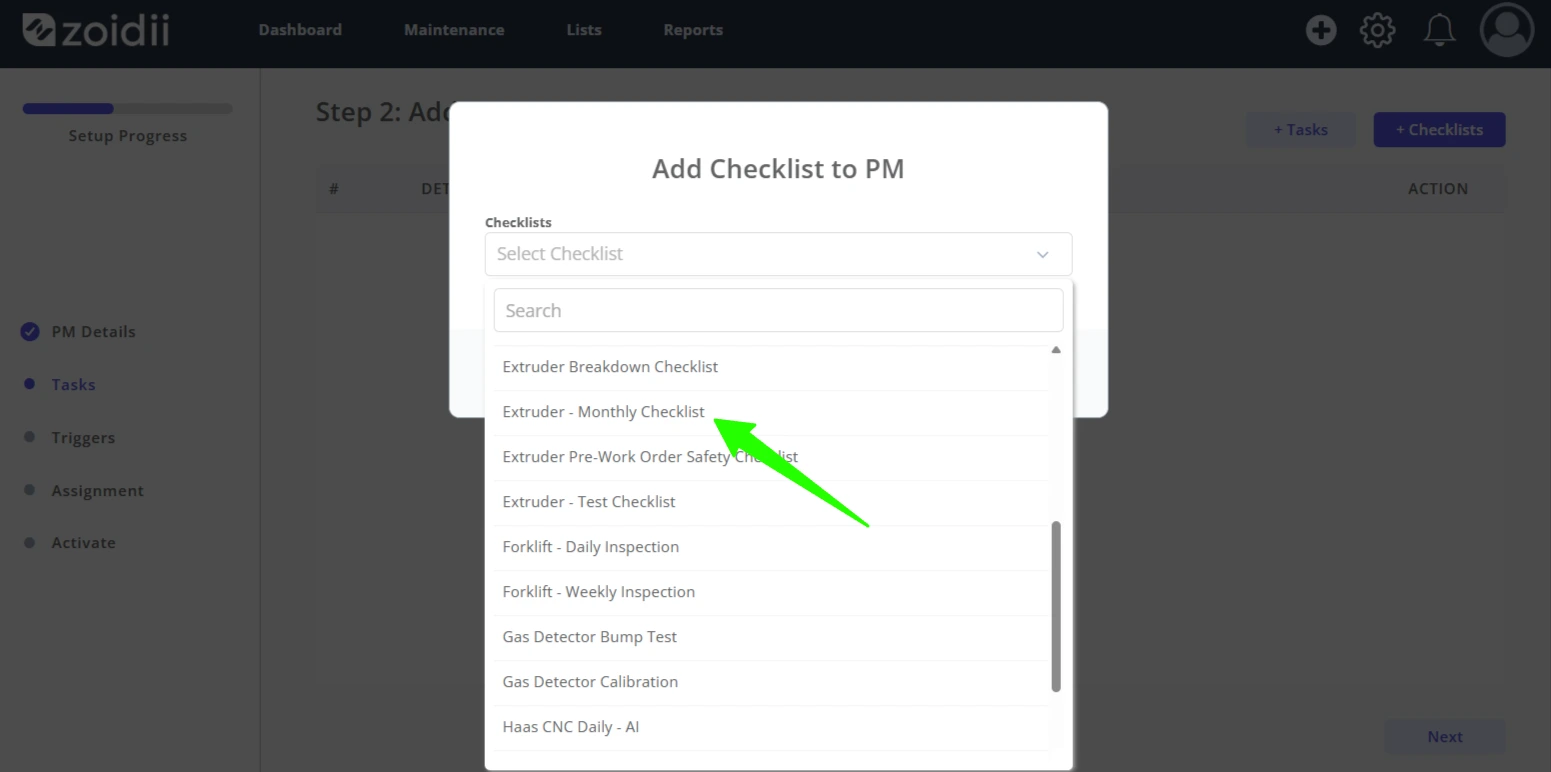
6. Choose the checklist from the list
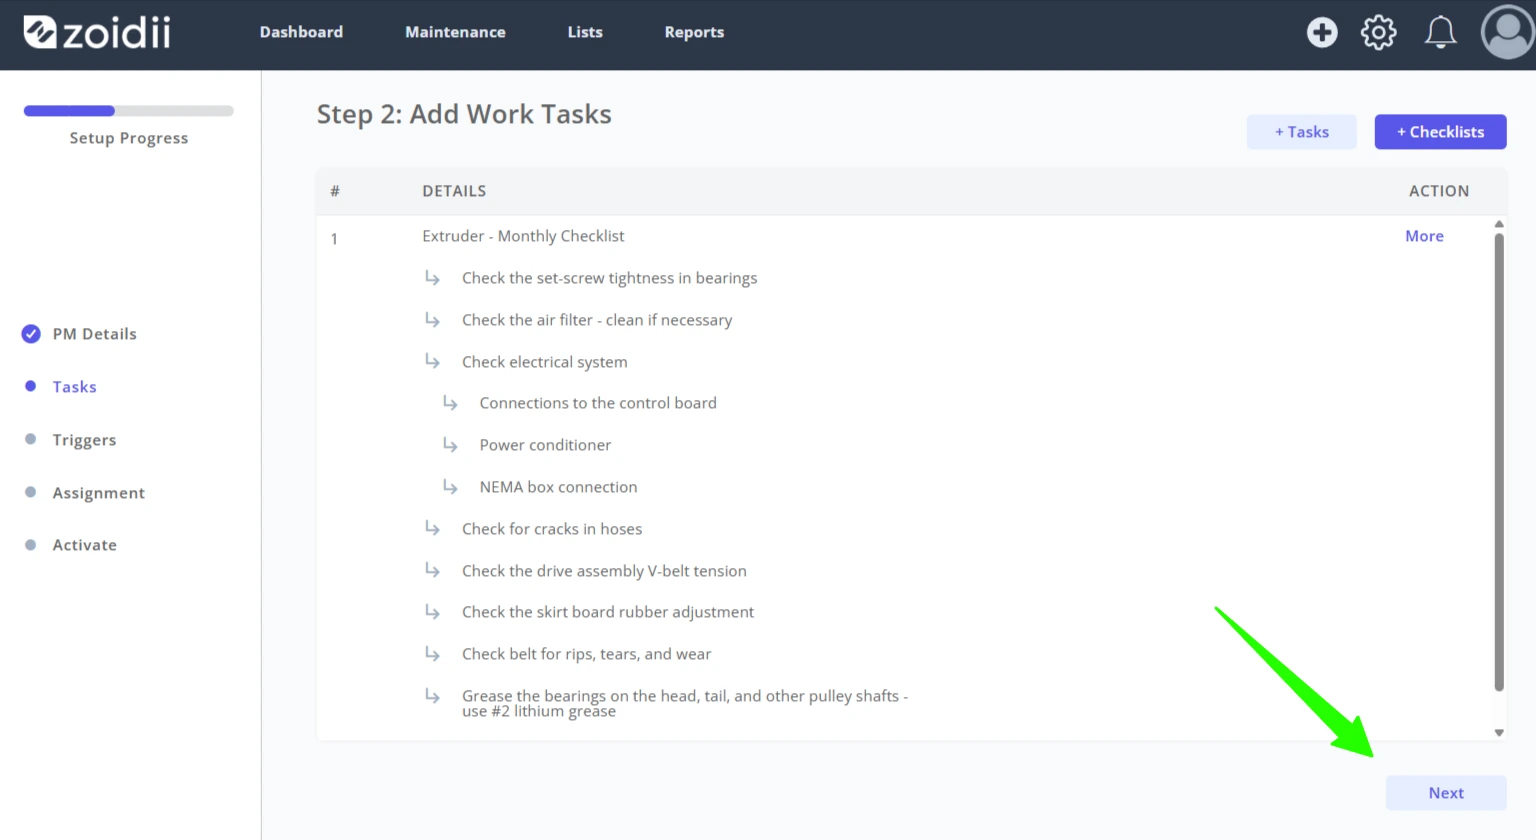
7. When all the tasks and checklists have been added, click Next
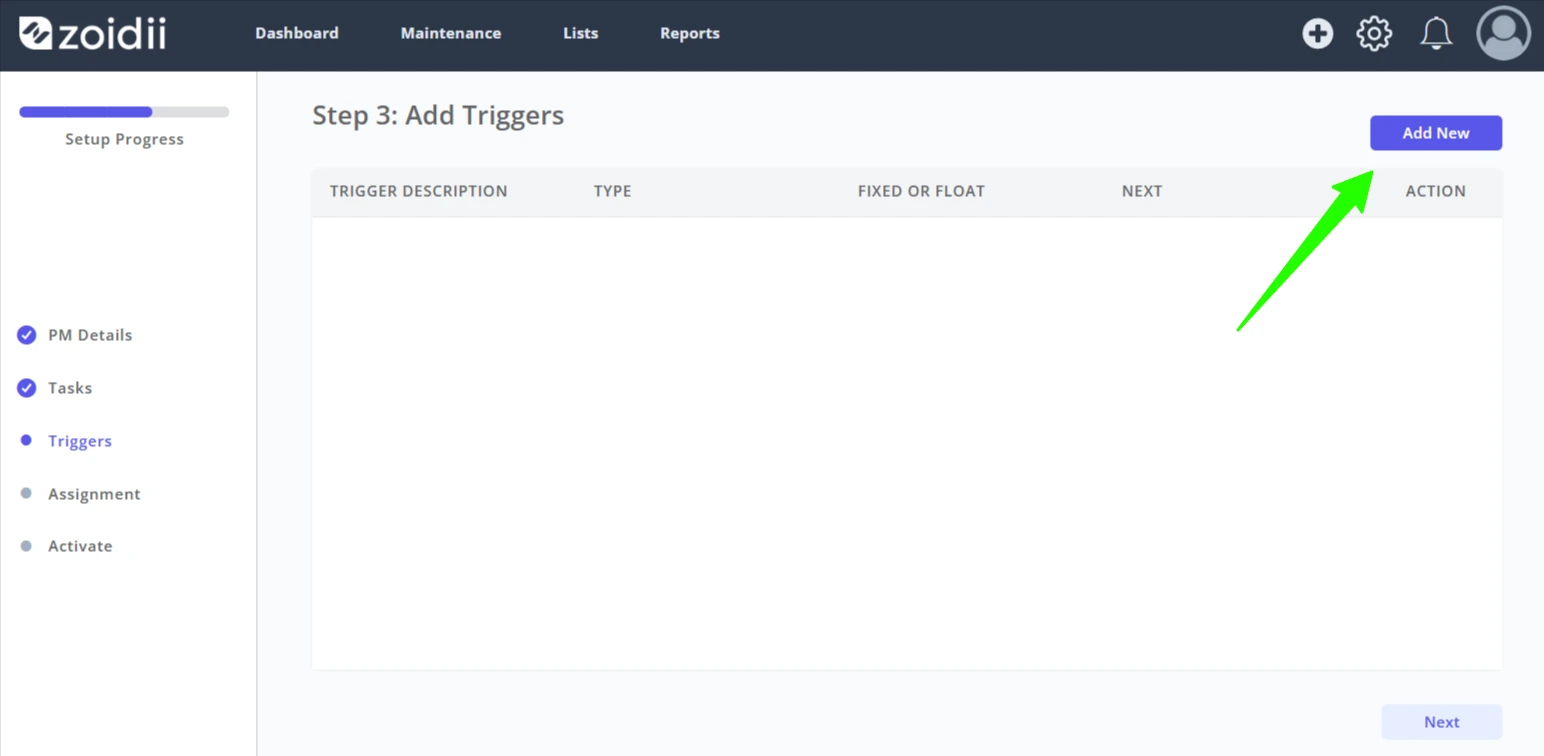
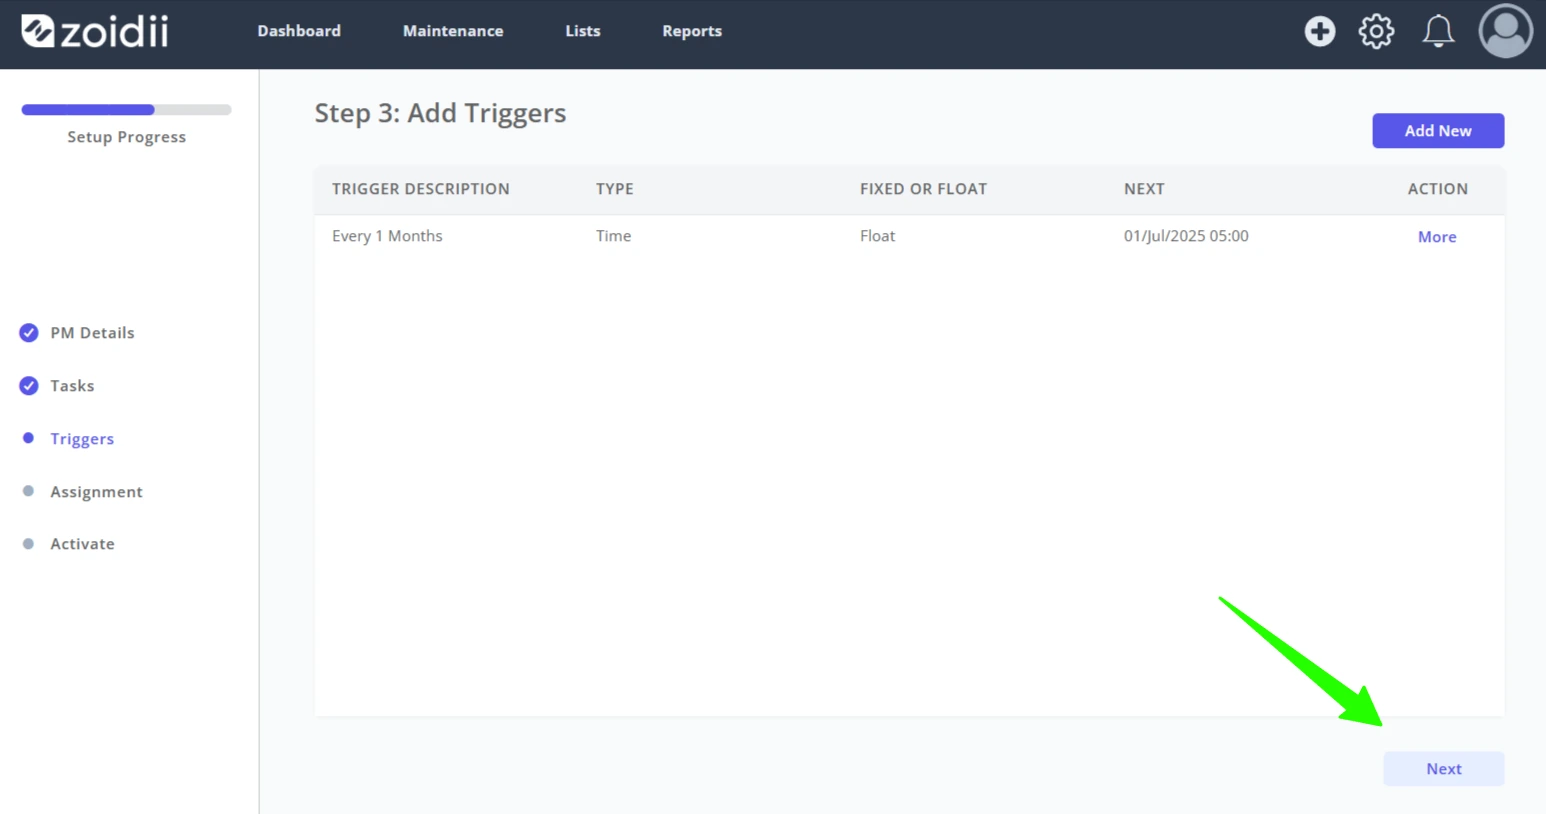
8. In the Step 3 screen, click Add New to add one or many PM triggers
9. Choose time-based triggering
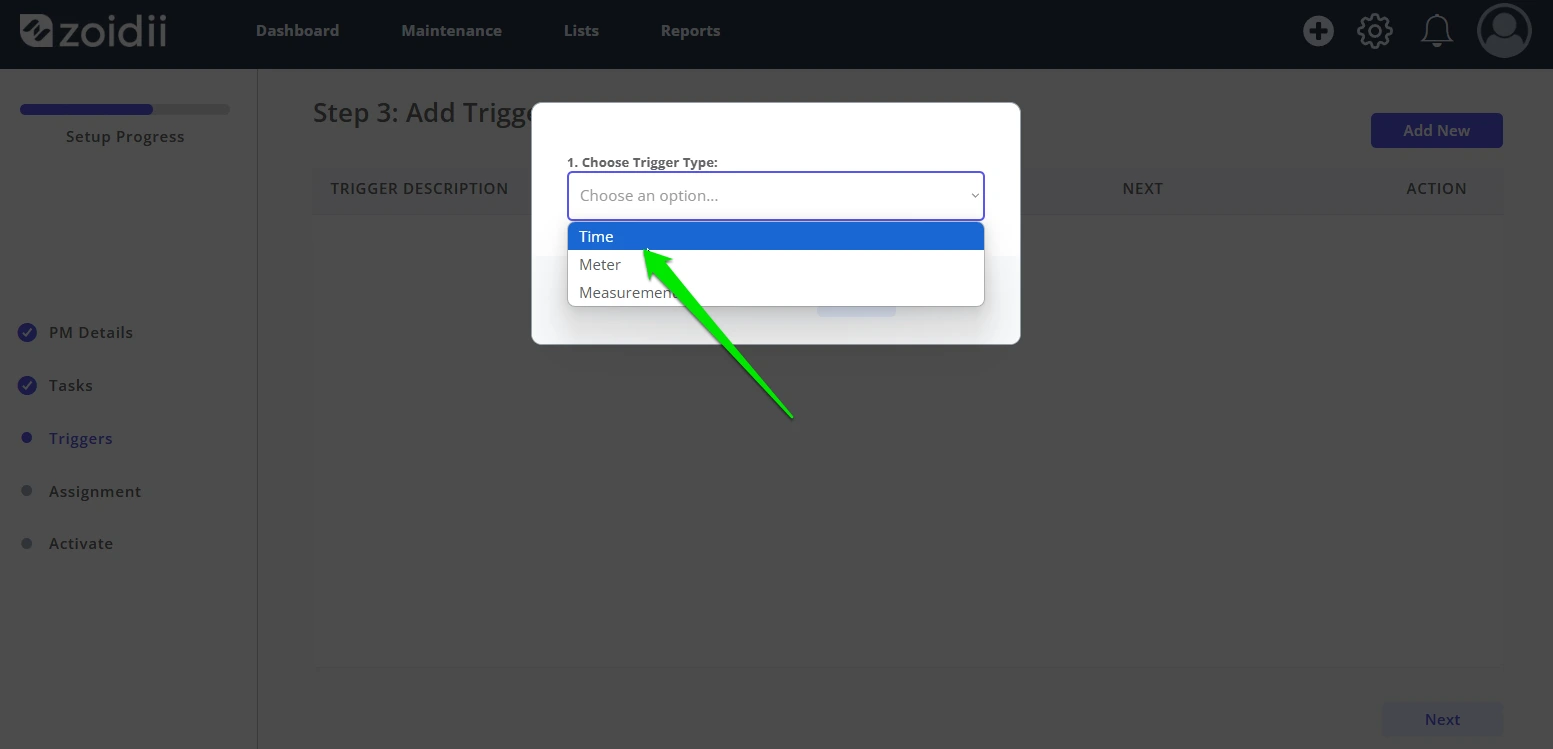
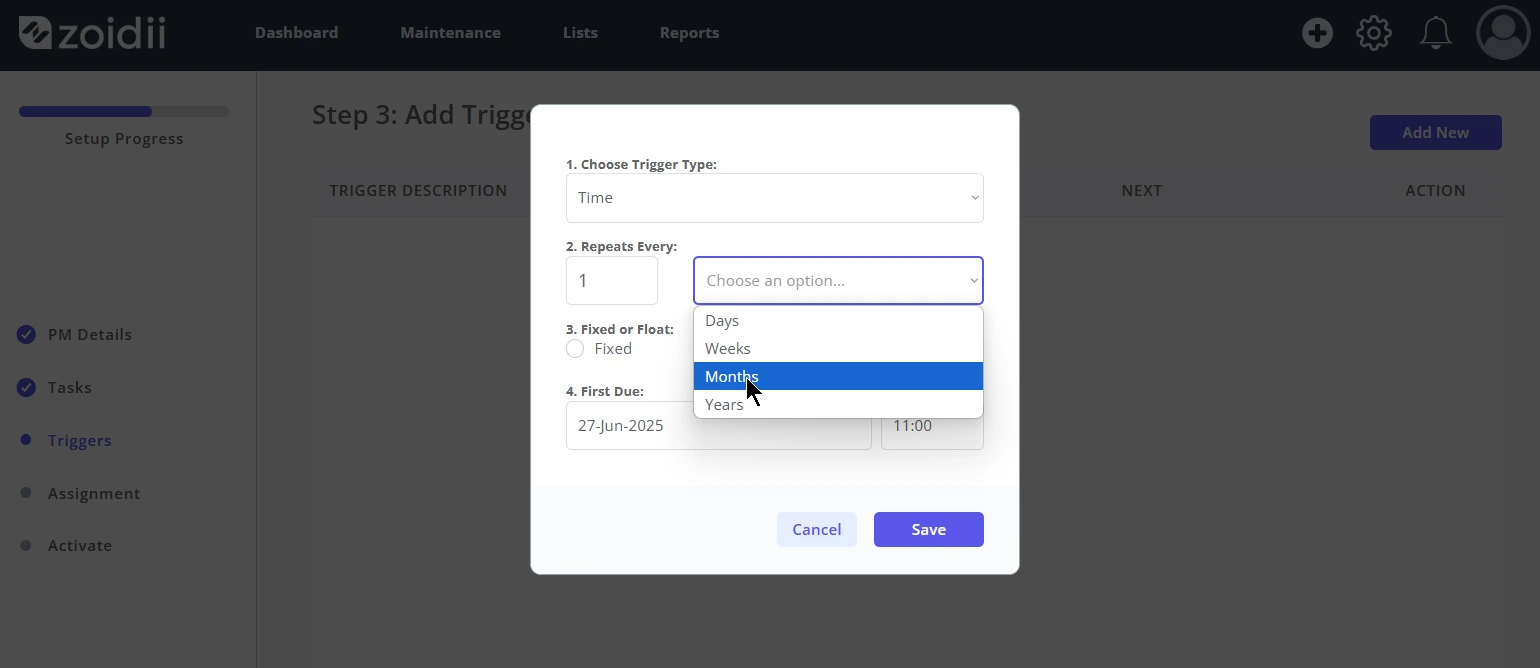
10. Configure the repeating interval
- Weekly - Every 7 days or every 1 week
- Monthly - Every 4 weeks, or every 1 month
- Quarterly - Every 91 days, every 13 weeks, or every 3 months
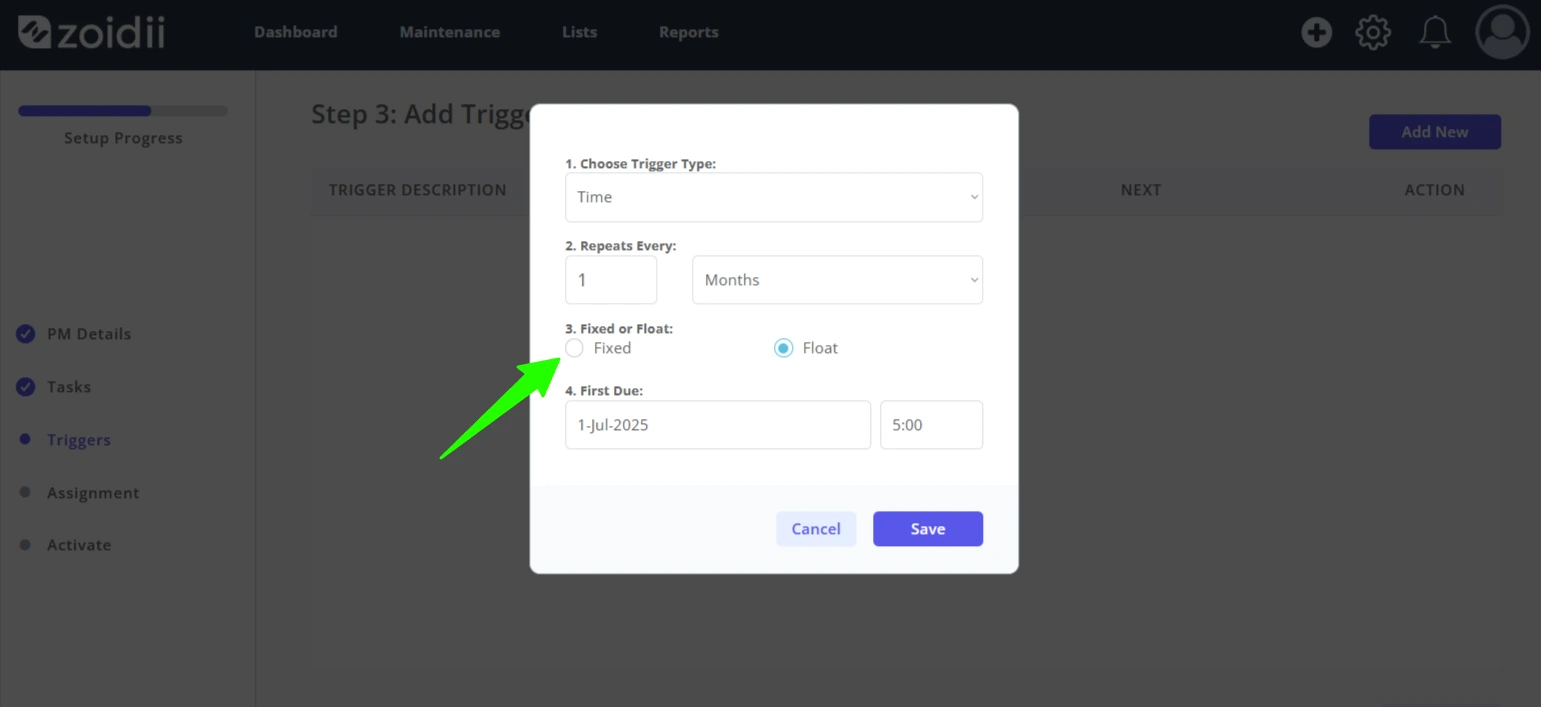
11. Choose Fixed or Float for the repeating schedule. If you are unsure what fixed or floating means, see our article on fixed or floating preventive maintenance triggers - which is best?
- On a fixed schedule, the PM is triggered regardless of when the work was done. For example, a monthly PM starting on the 1st of the month will trigger on the 1st of every subsequent month.
- On a floating schedule, the trigger date is set based on the closure of the previous work. For example, a weekly PM on a floating schedule every 1 week starting on a Monday is completed on Wednesday, the next PM will trigger the following Wednesday.
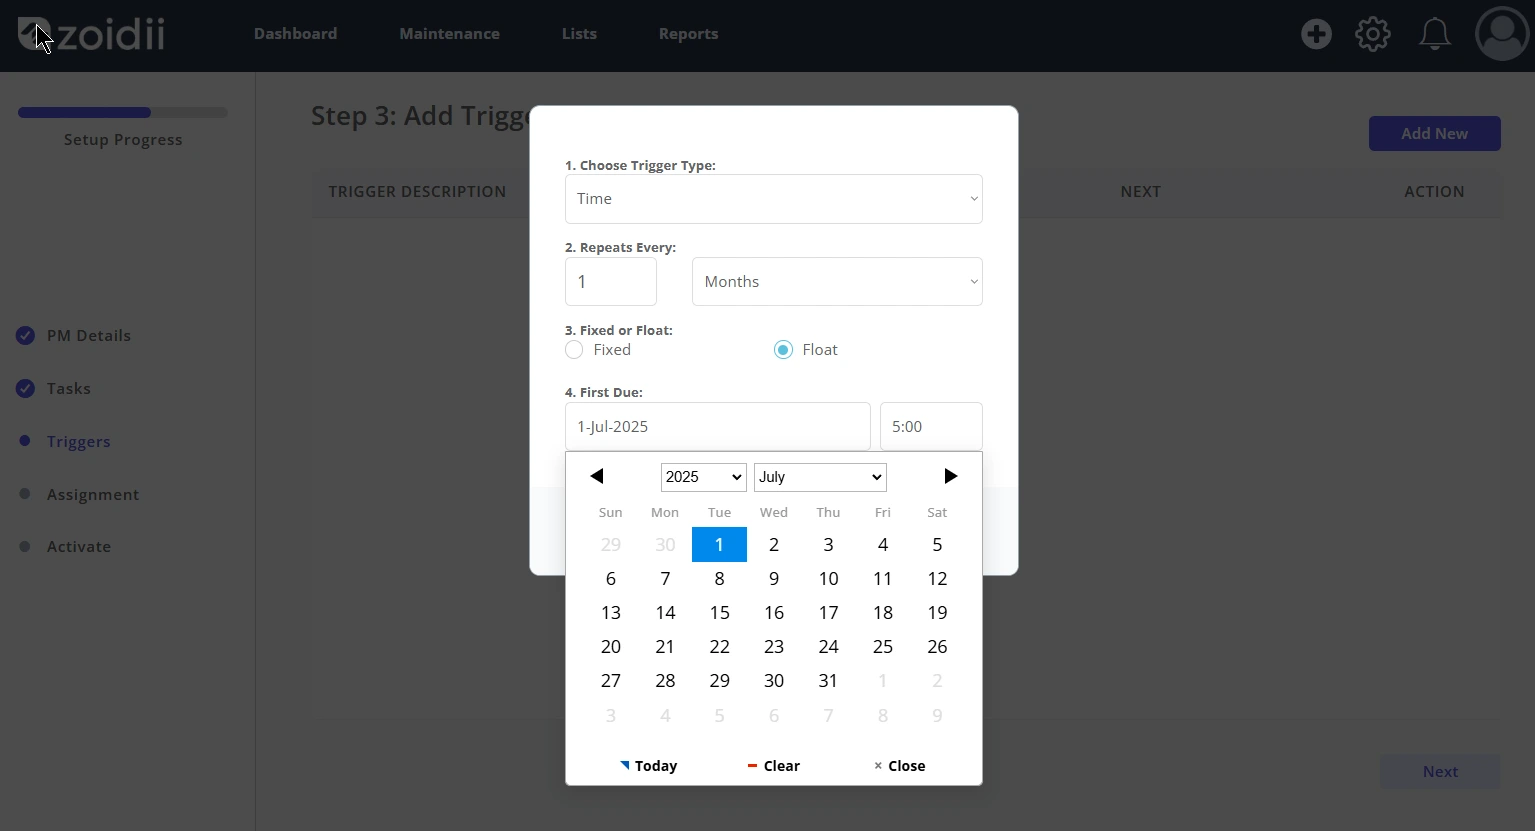
12. Select the First due on date. This is the date that this PM is next due
13. Click Save when done
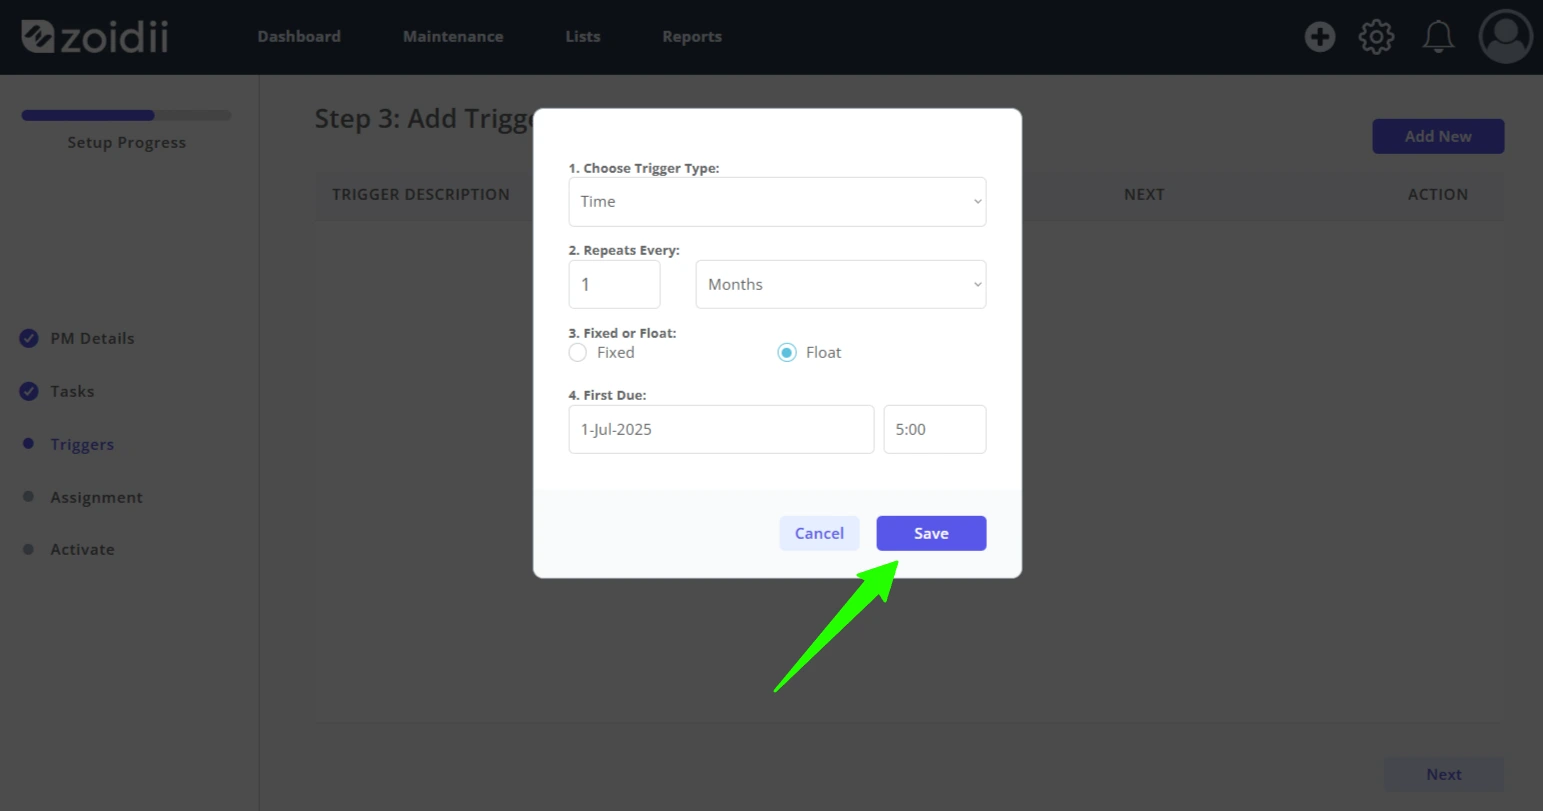
14. Repeat the process for any additional triggers. Click Next when done with triggers
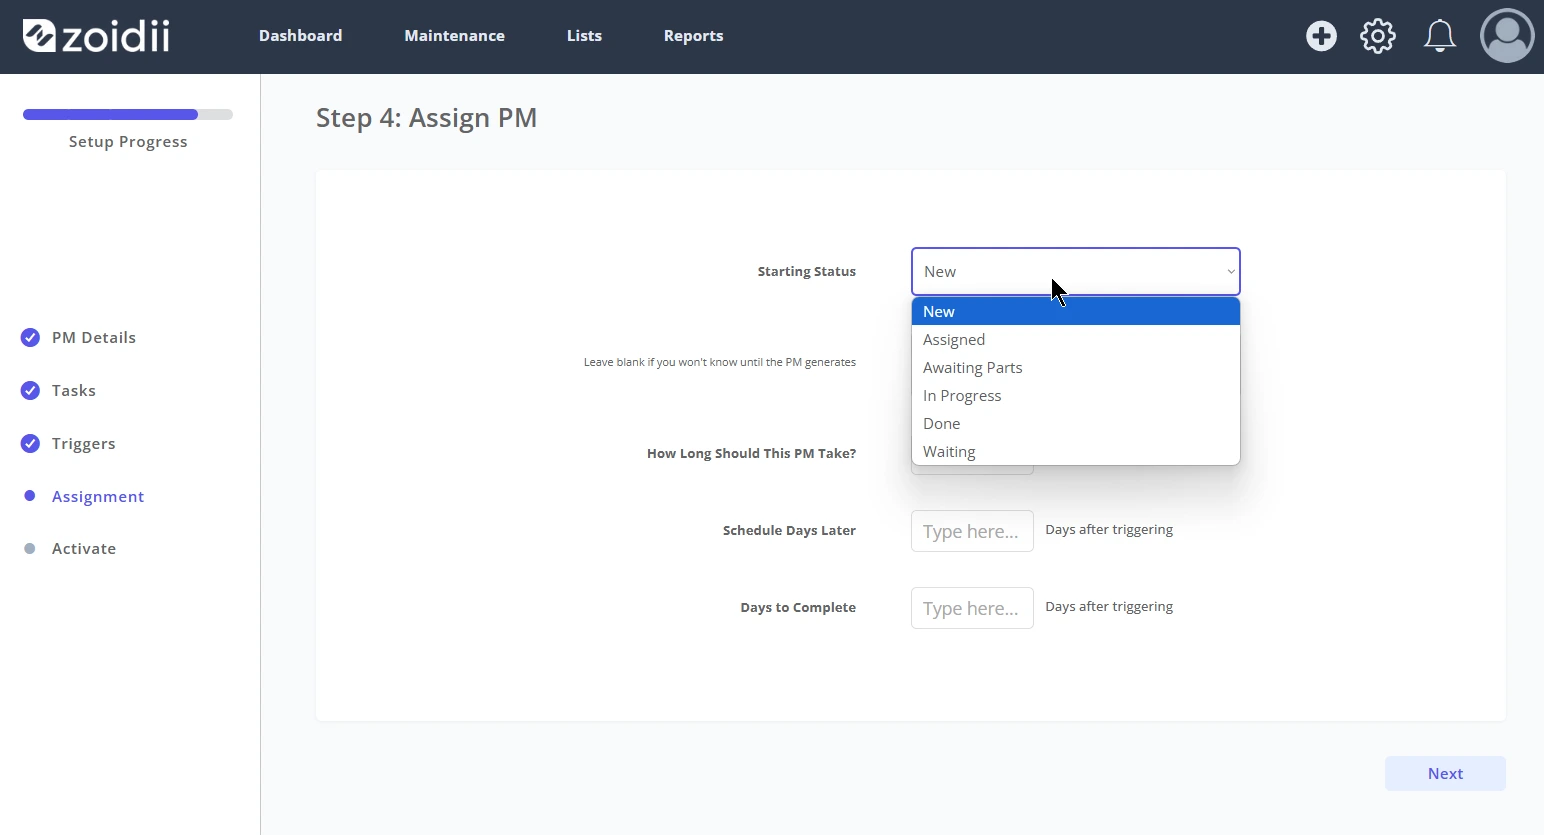
15. In Step 4, set the PM work order Starting Status. For an unassigned PM, choose New. In this example, the resulting PM work order will be assigned to a user, so the Starting Status is set to Assigned
16. Assign the PM to a user if known in advance. Leave blank if you won't know who will complete the work until the PM generates
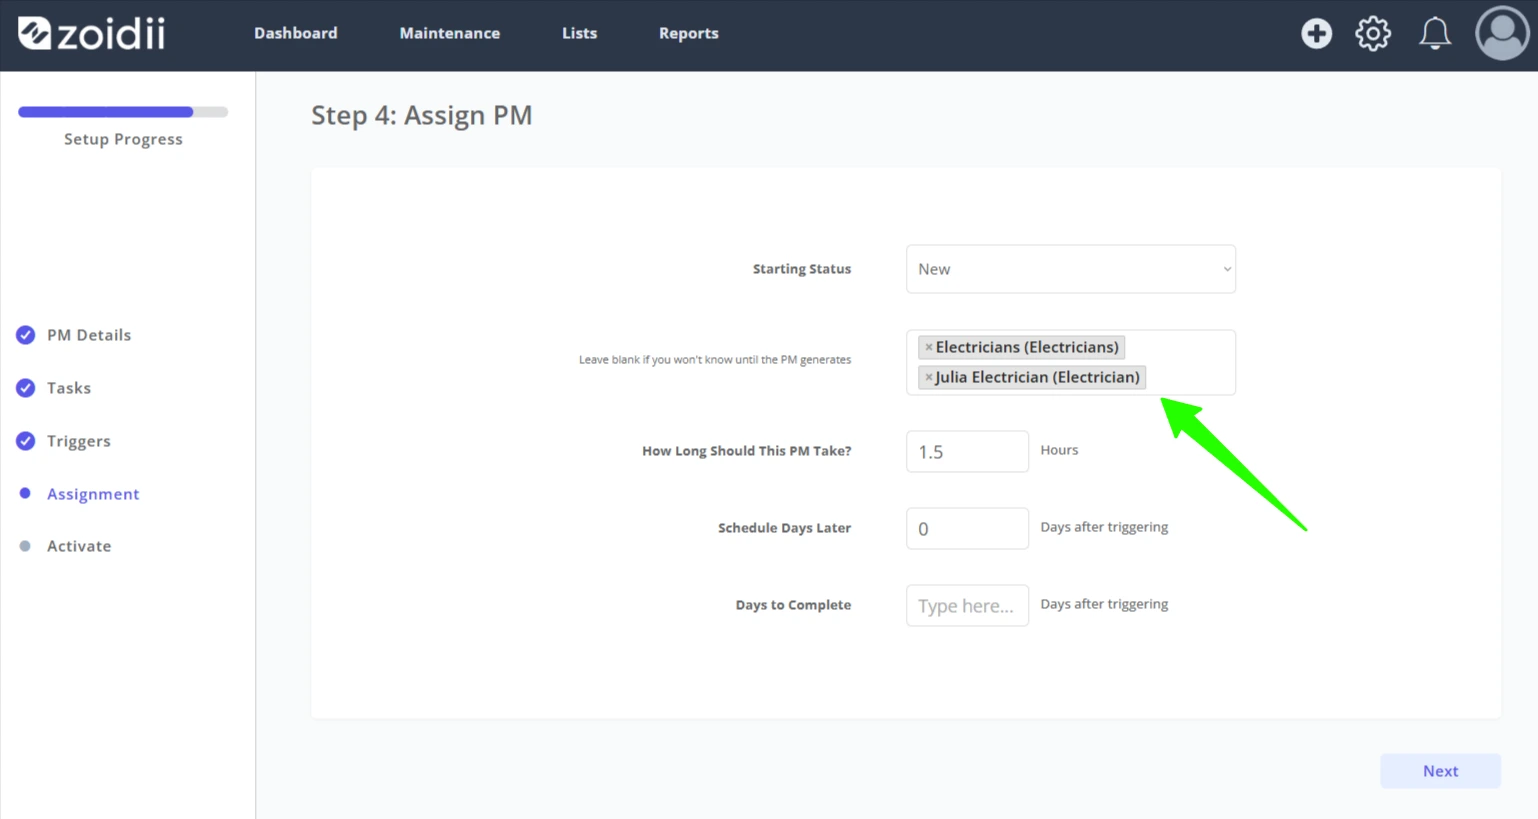
17. How Long Should This PM Take is the estimated hours for doing the work. Baseline estimated hours are pulled from the checklists, but this can be adjusted if needed
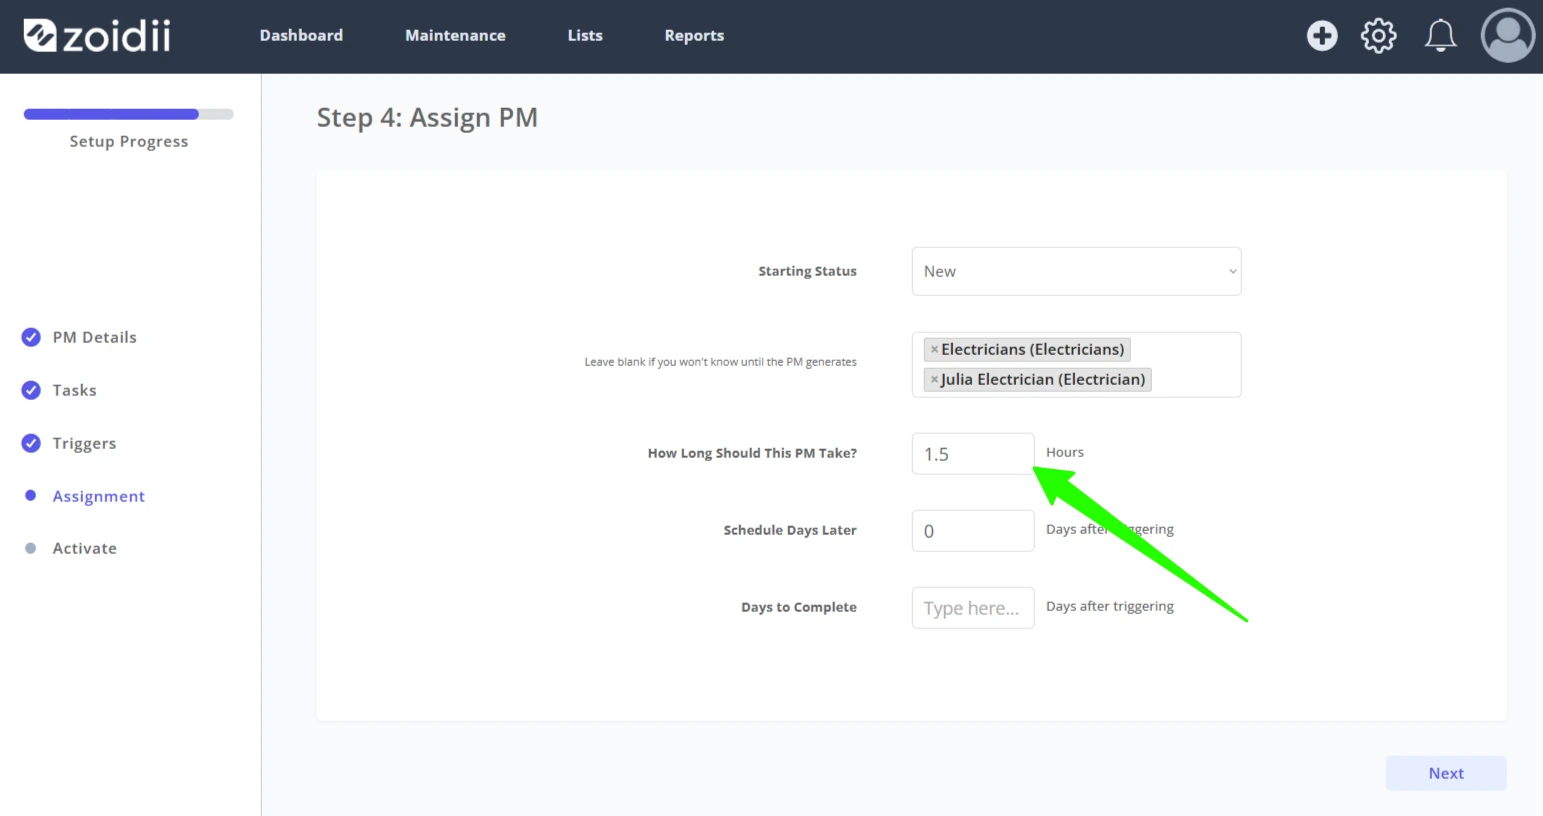
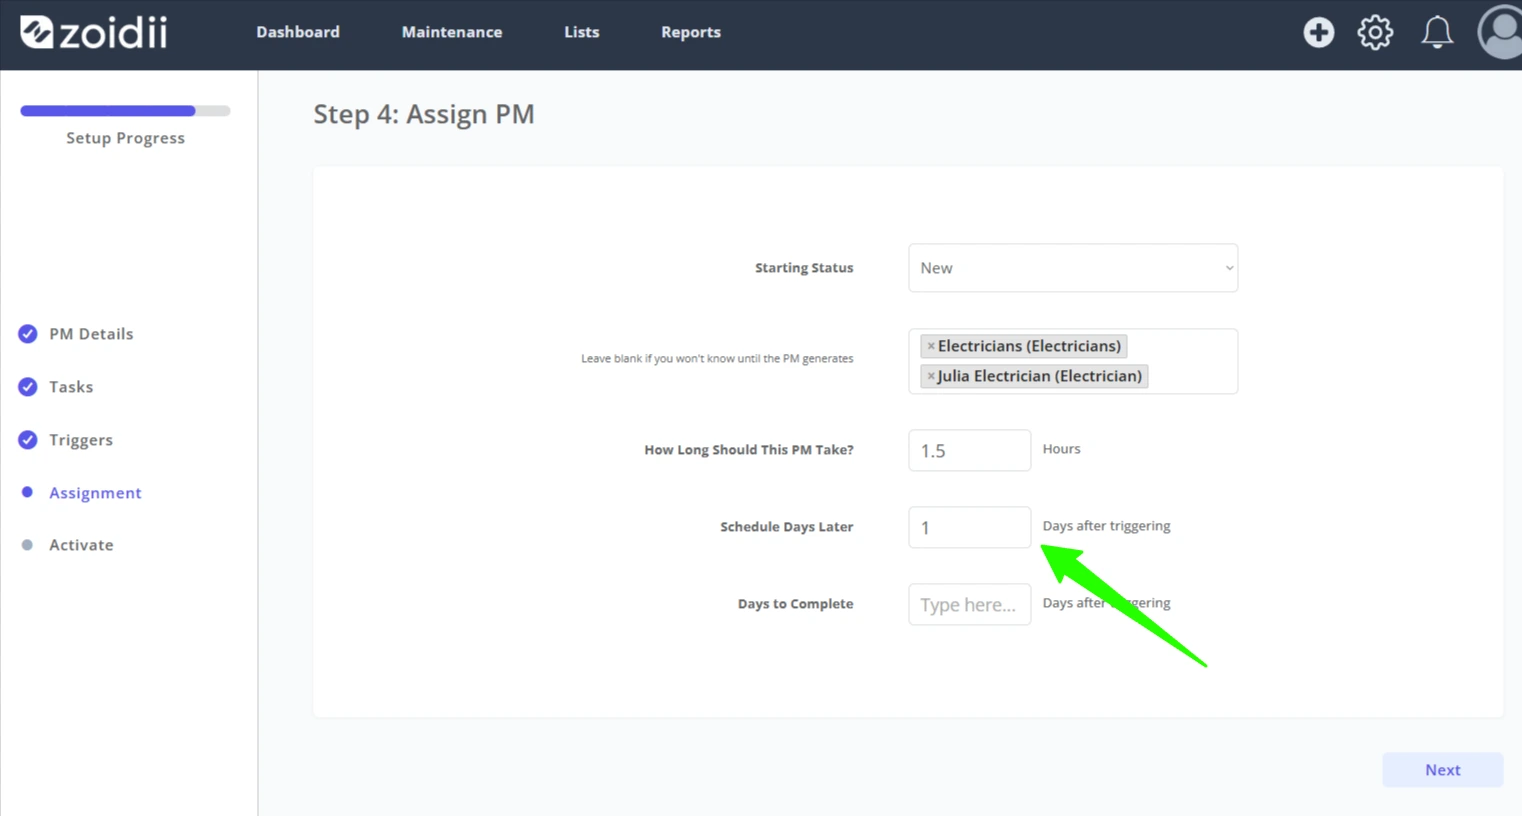
18. Schedule Days Later allows you to have the work order scheduled in automatically once the work order triggers. For example, if it is left at "0 Days after triggering", the "Date Scheduled" will be the date that the work order triggers. If it is set to "2 Days after triggering", it will be scheduled 2 days after the work order triggers.
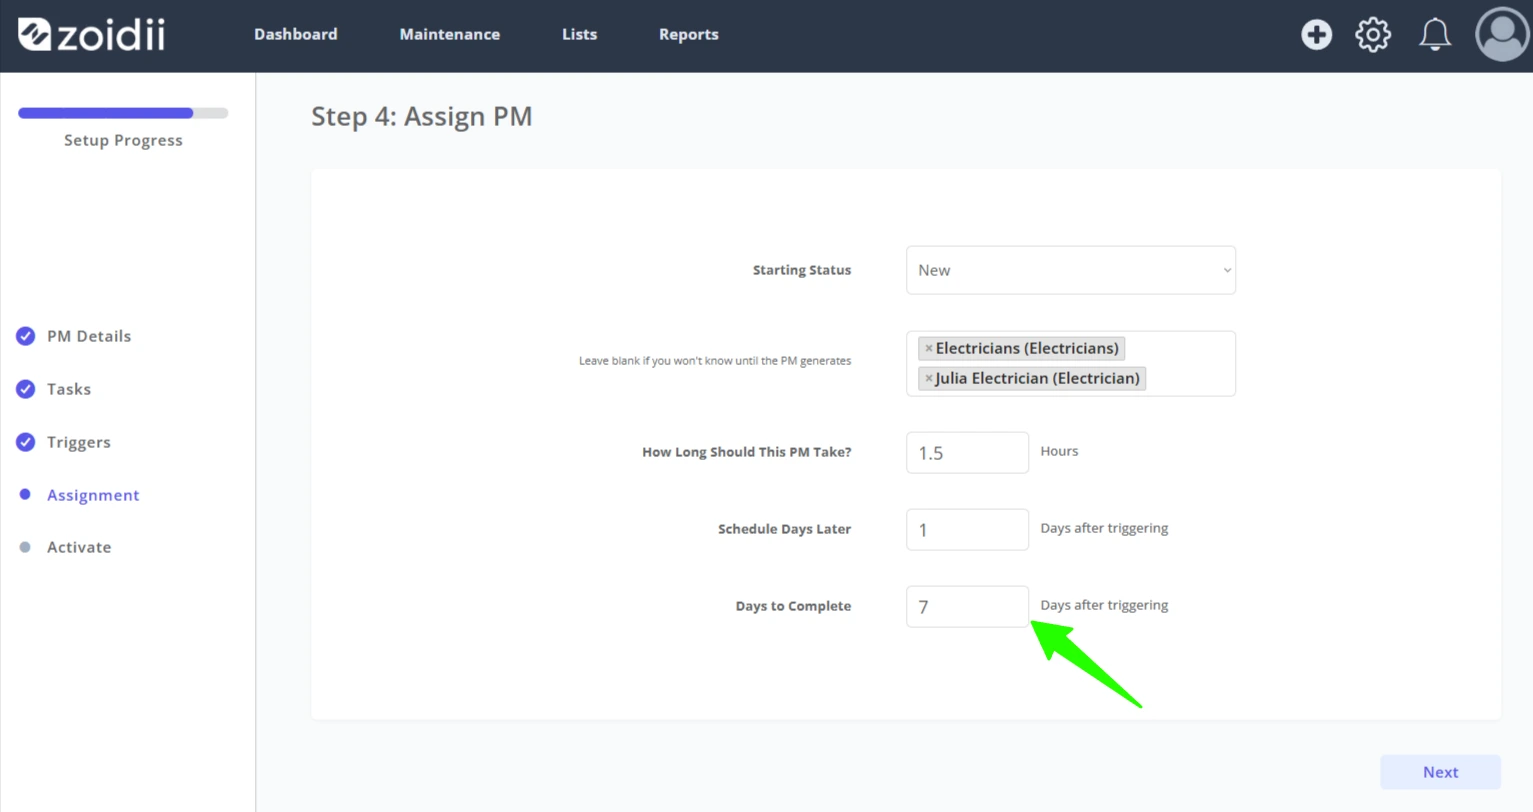
19. Days to Complete is the window of opportunity to complete the PM. The best practice employs the 10% rule - a 30 day PM has a 3-day window, Quarterly PM has a 9-day window. This example is an annual PM so a 30-day window is chosen
20. Click Next when done
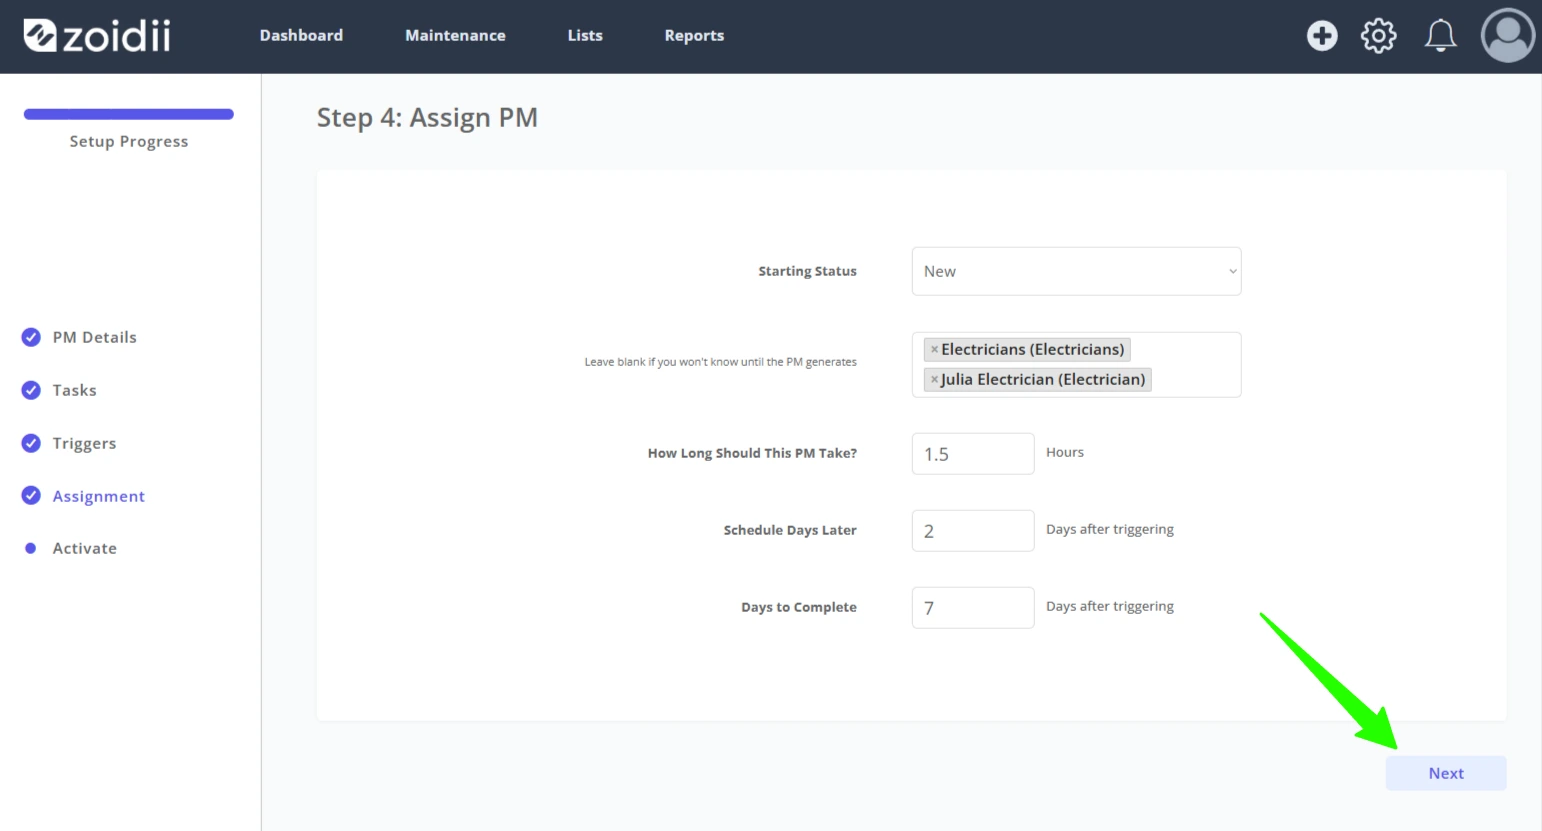
21. Review the PM, and click Activate
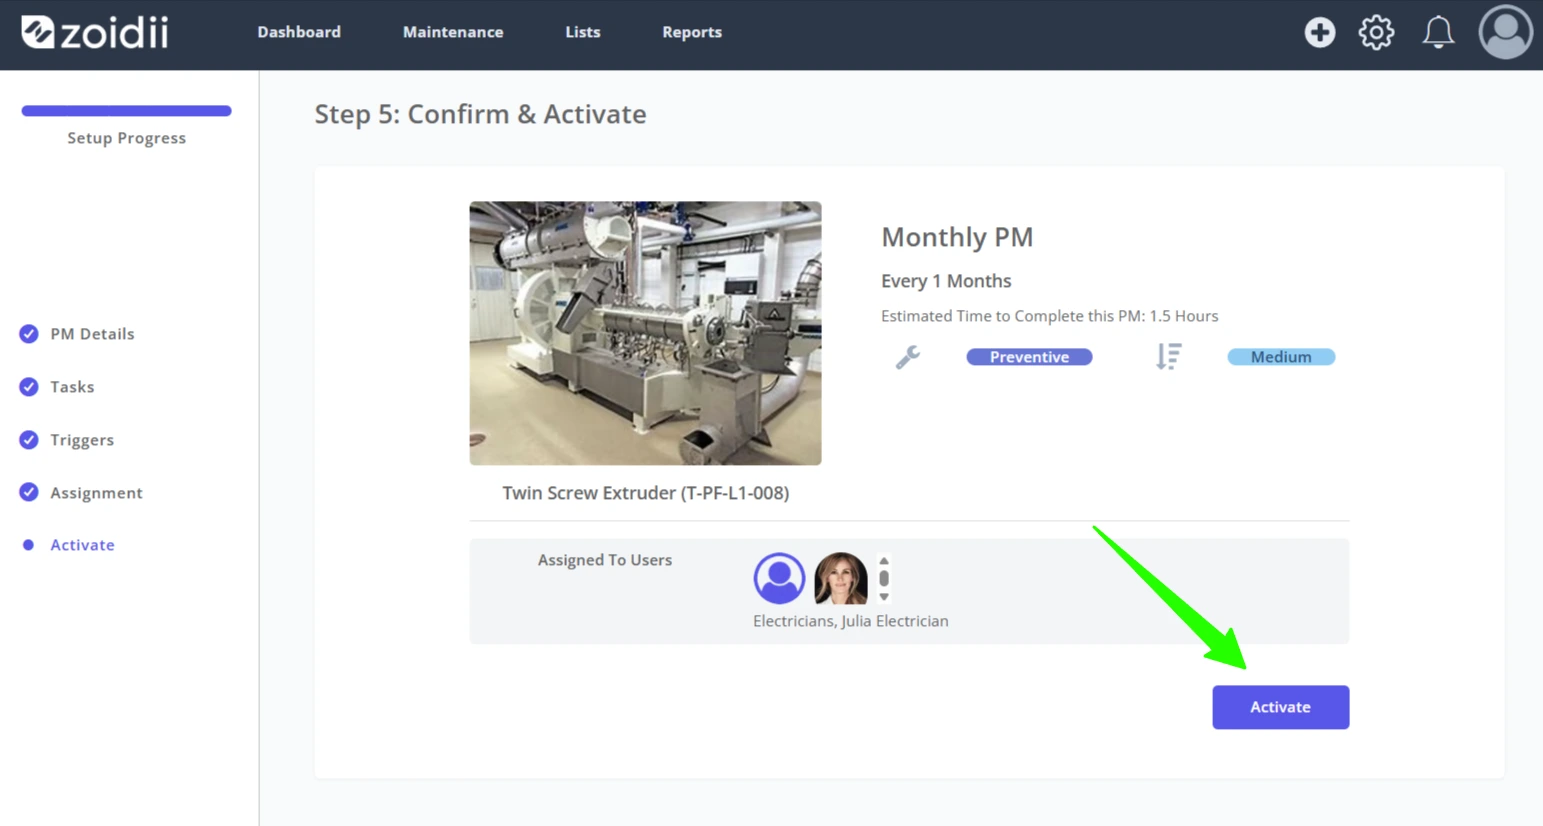
22. The PM is now live and will trigger as per the configured trigger schedule.