
Background
A Work Order is a detailed description of the job that is to be performed on an asset. Operations on a work order include:
- Tasks or steps that need to be completed
- Parts that are required to complete the work
- Labour required to do the work
- Images, procedures, schematics, and documents that may assist in performing the work
Procedure
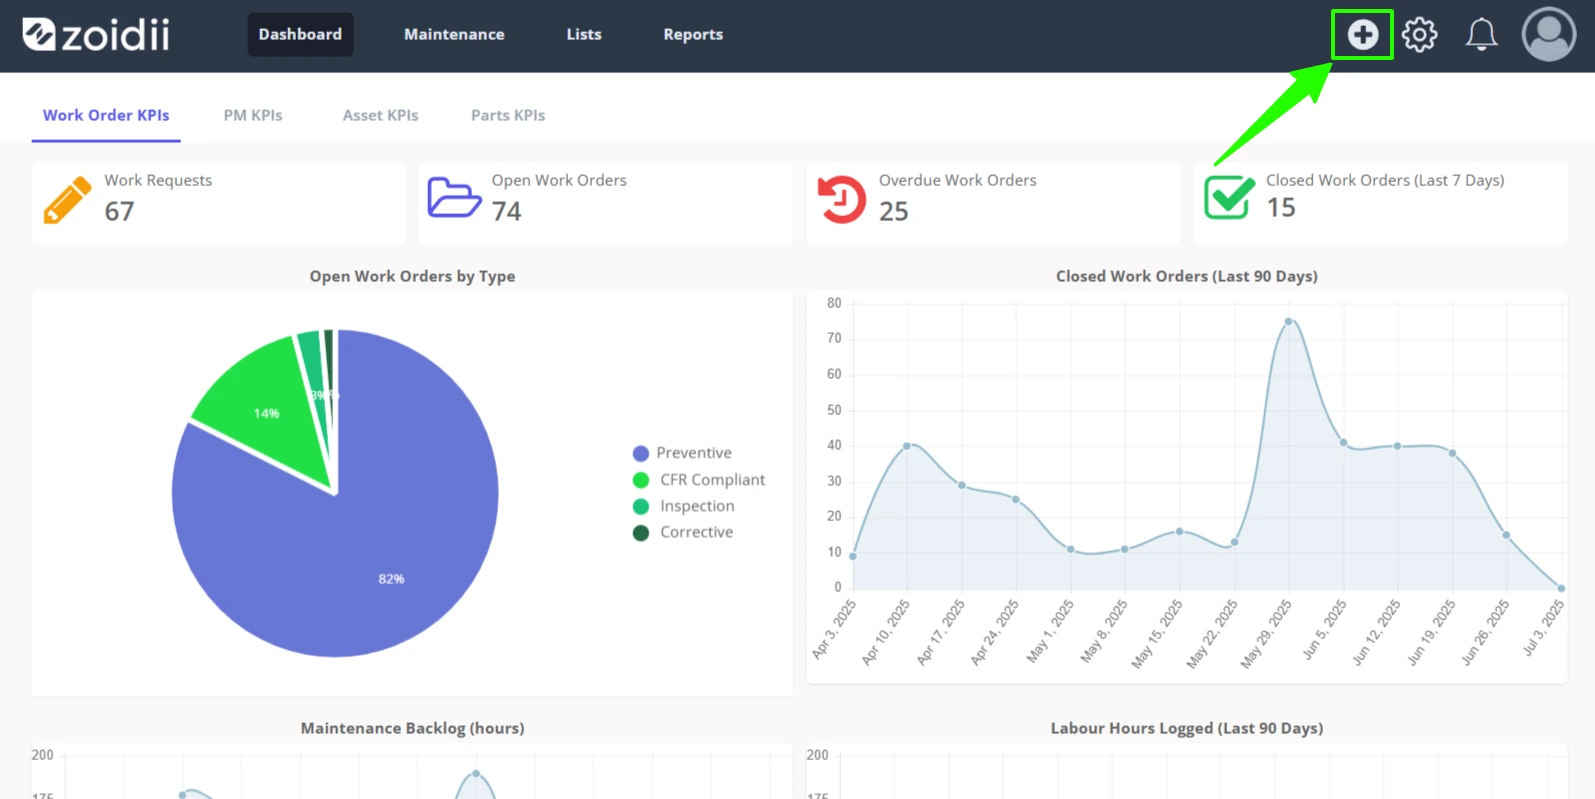
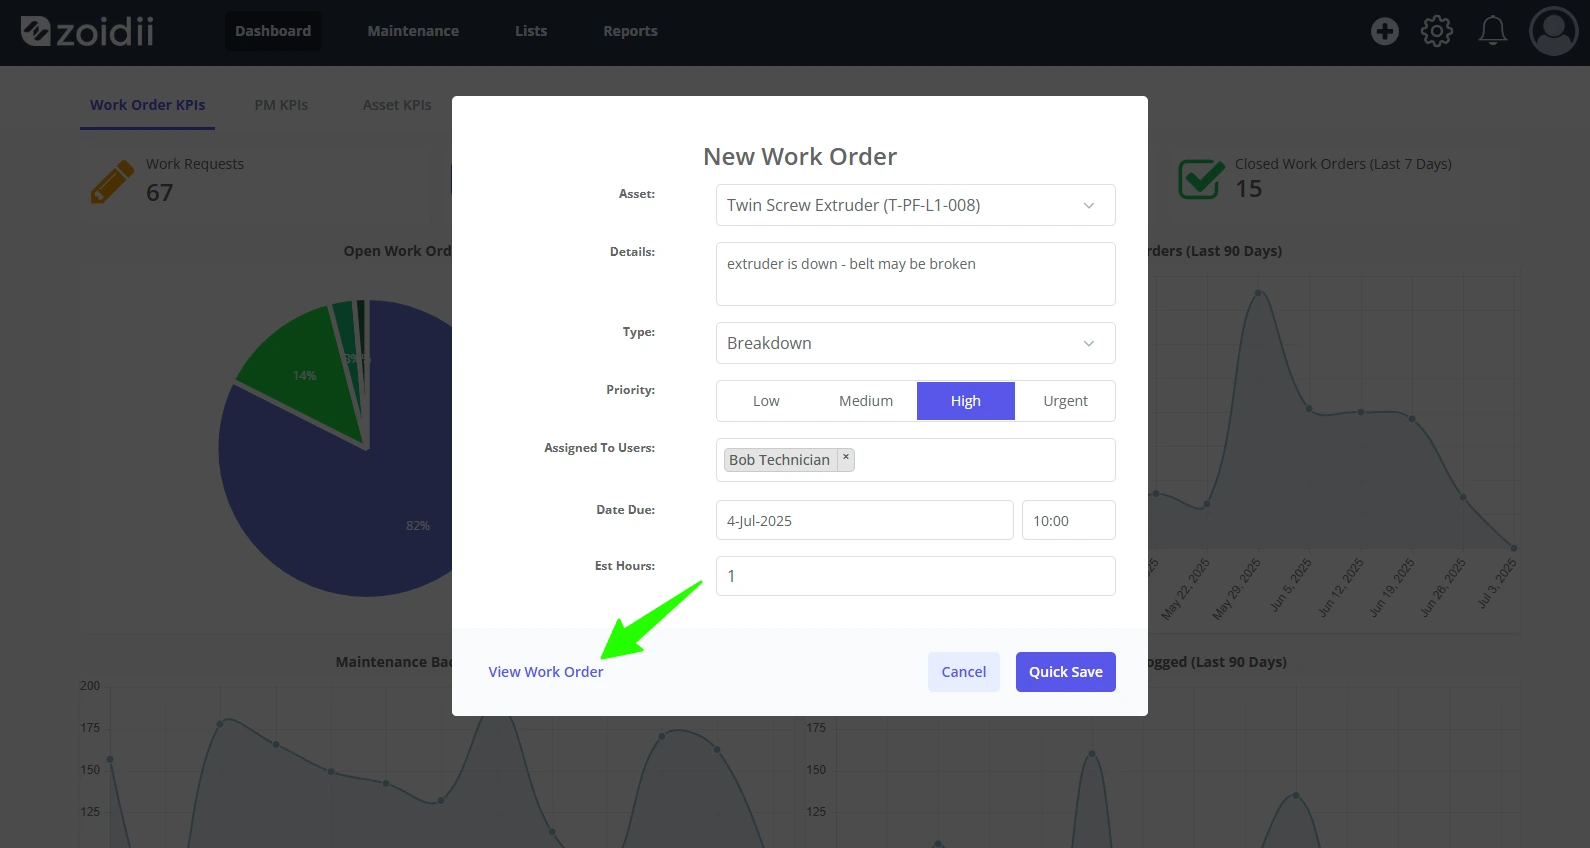
1. To create a work order, click the Quick Add icon in the header navigation bar.
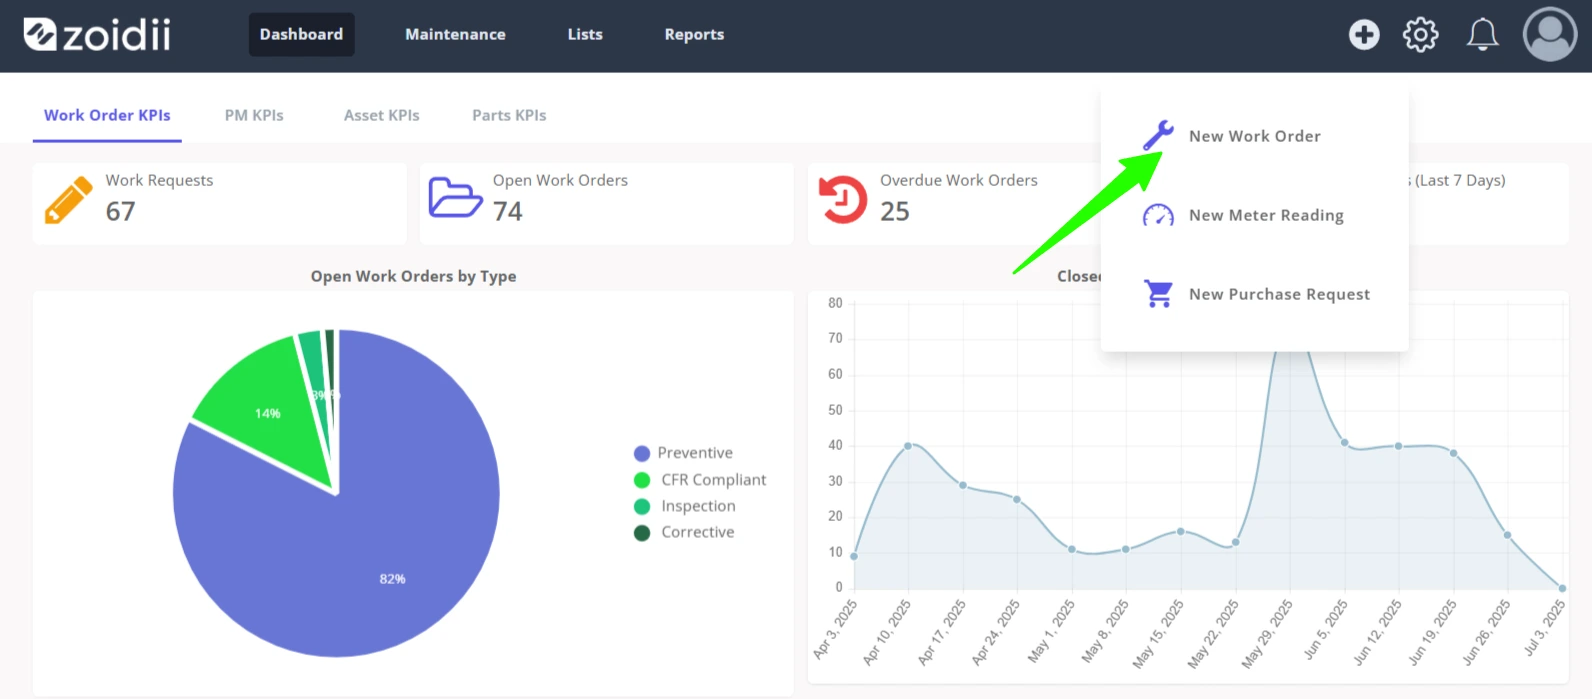
2. Click New Work Order
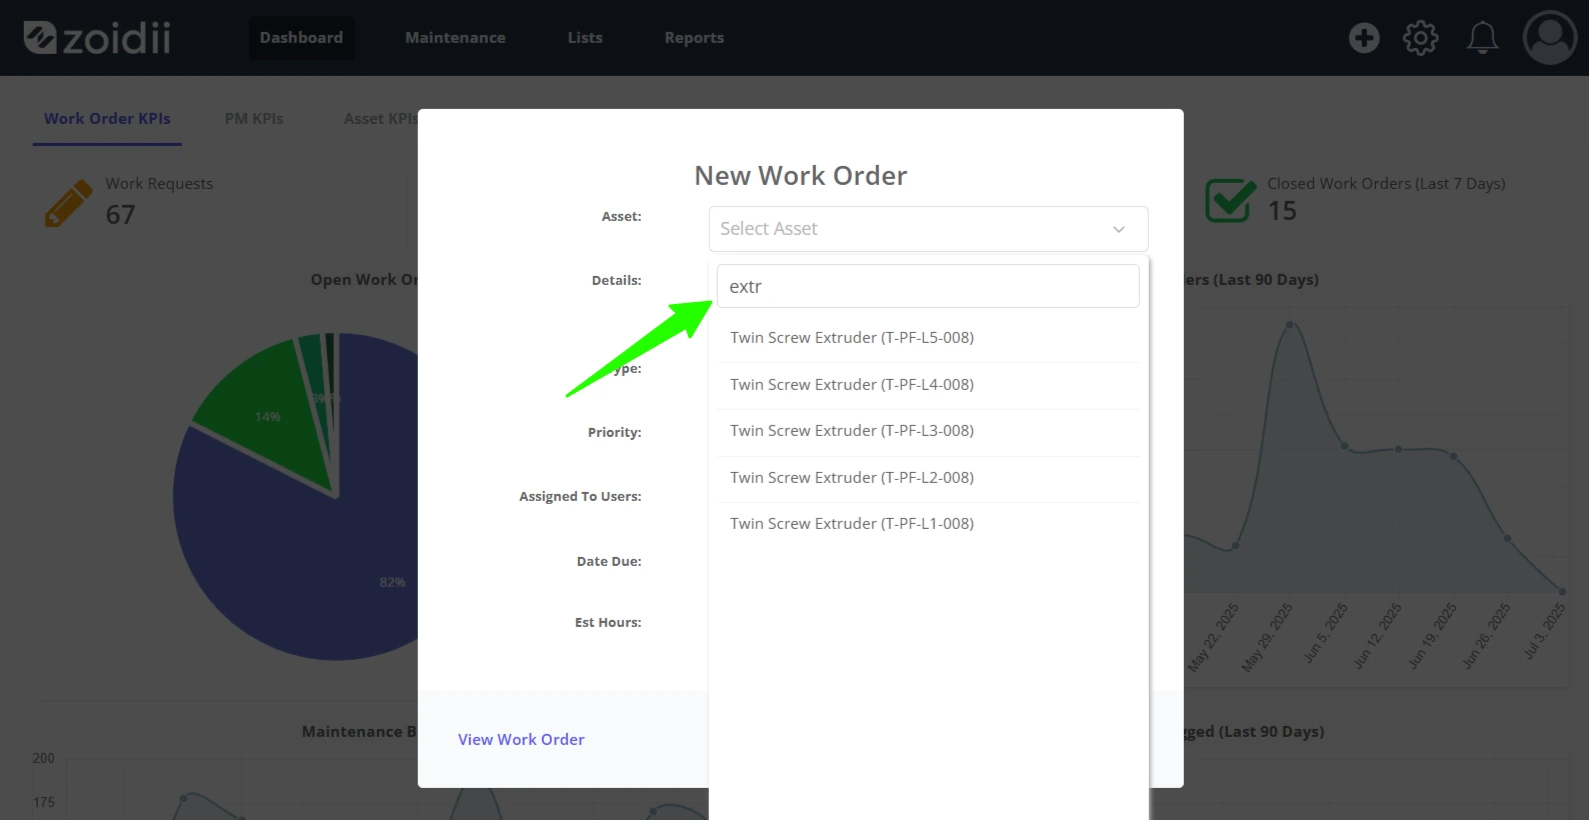
3. Search and select the asset from the dropdown, or use the Search box to narrow down the asset list
4. Add some Details to describe the work that needs to be done
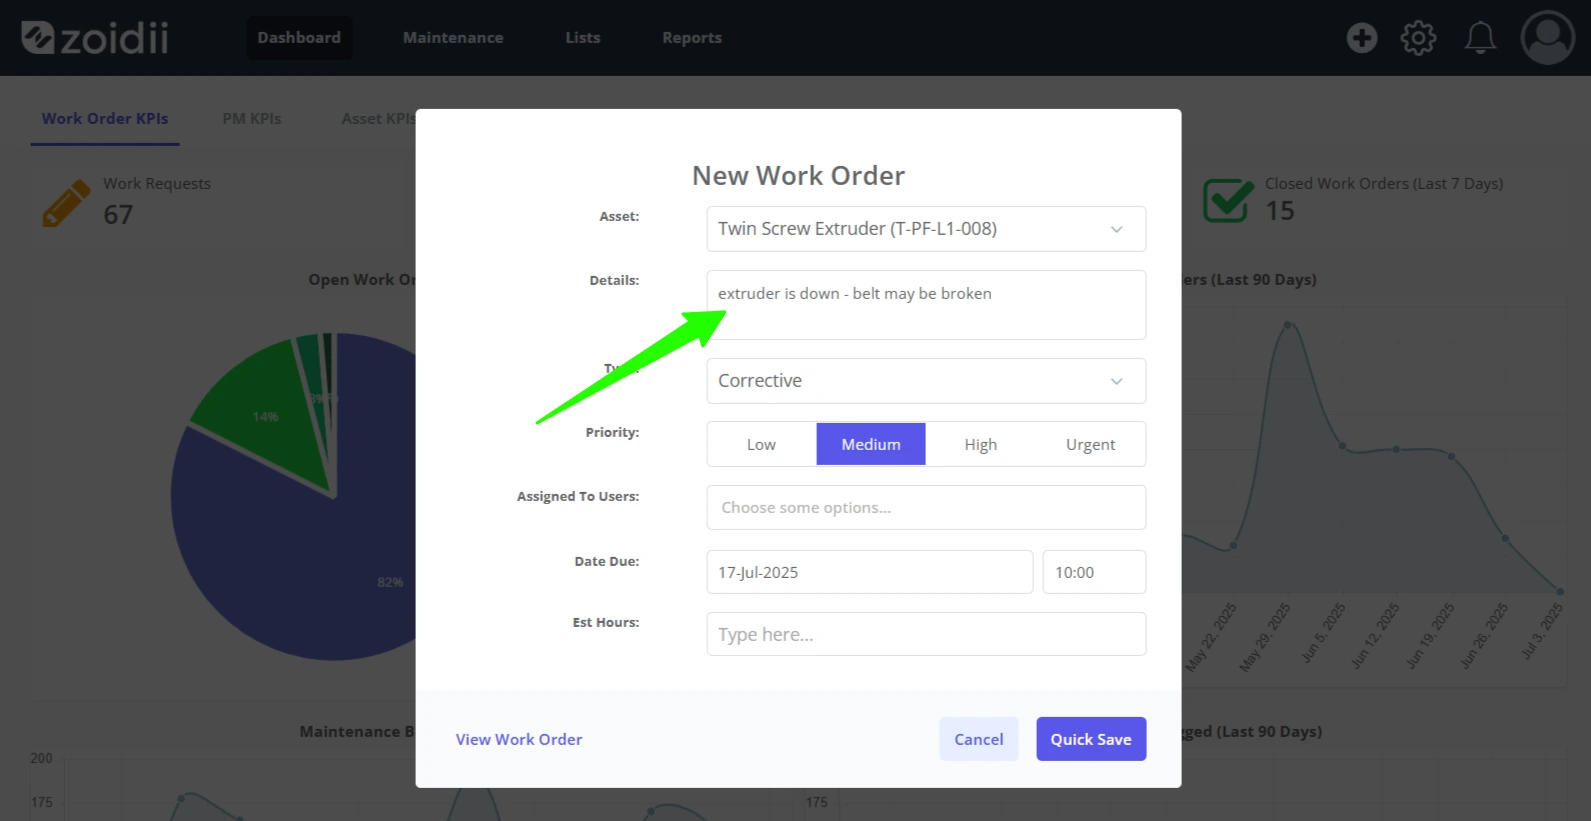
5. Choose the Maintenance Type from the dropdown menu
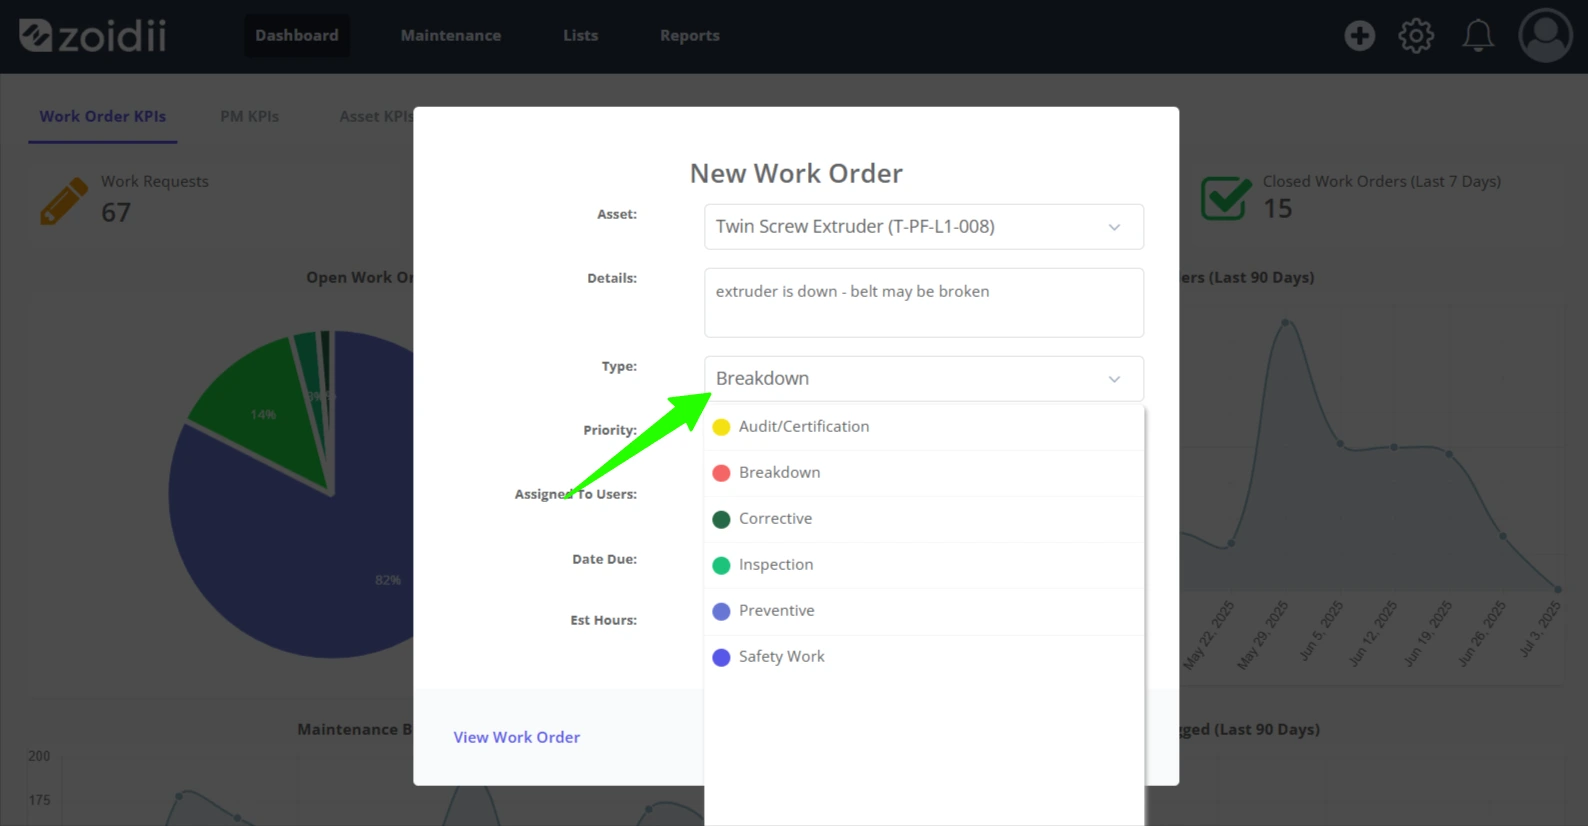
6. Assign the work a Priority
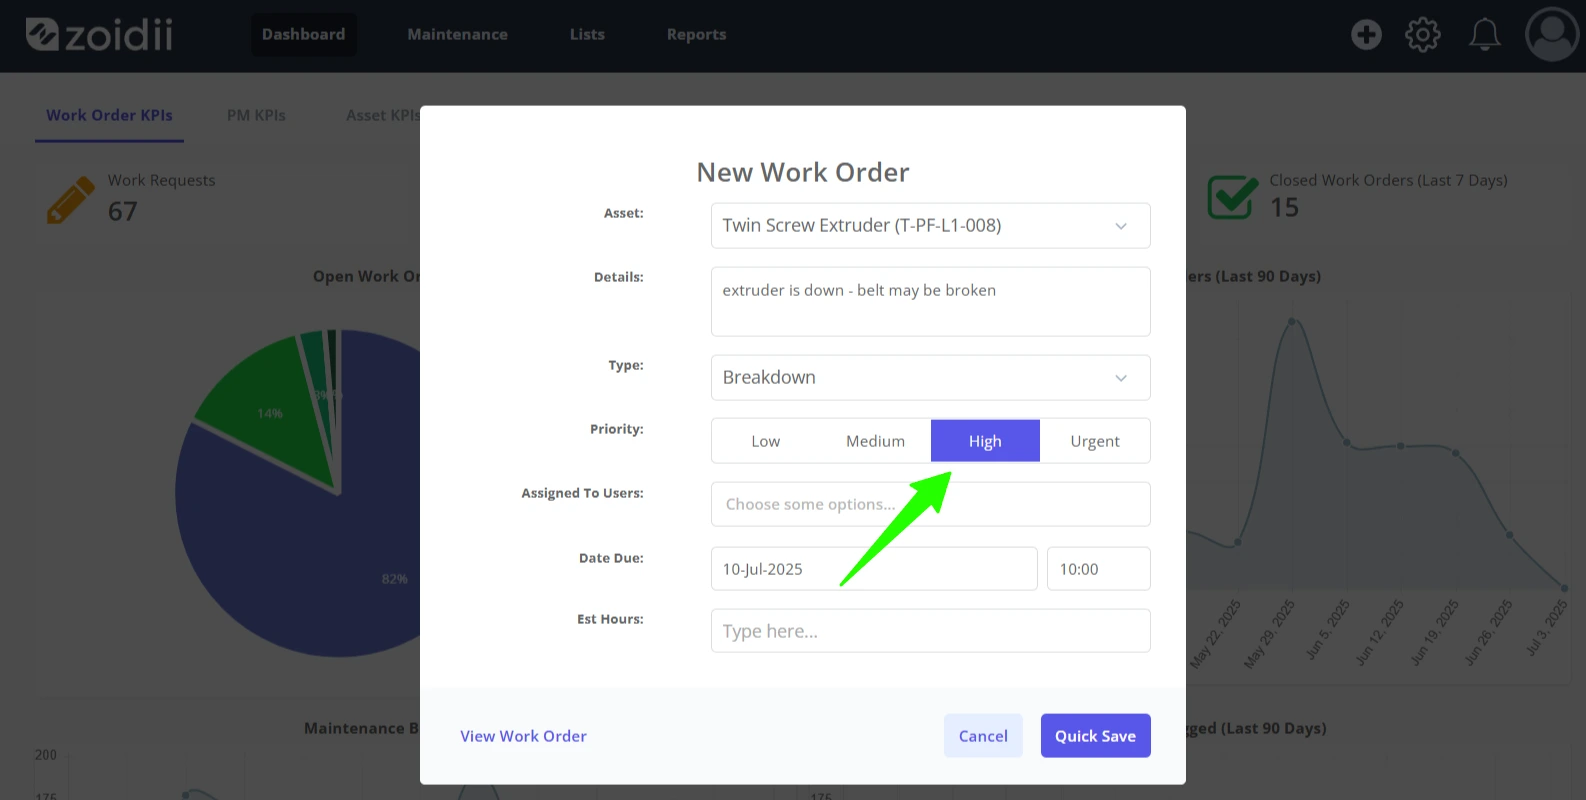
7. If required, assign the work order to a user, or multiple users. If this field is blank, it will show up in the New state. If the work order is assigned users, the work order status will be set to the Assigned state.
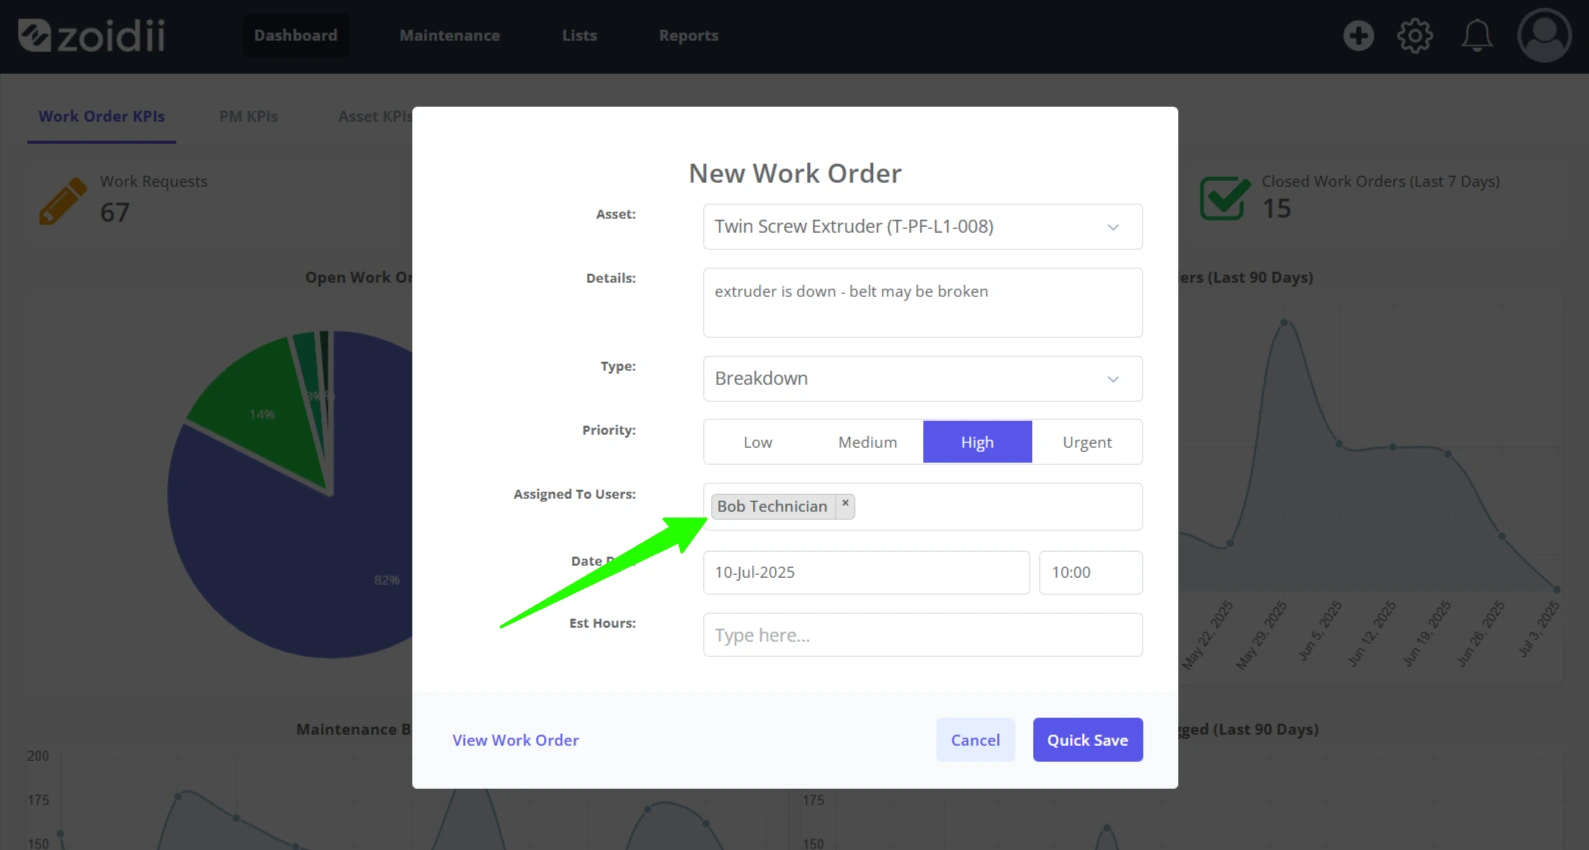
8. By default, the system sets a Due Date 7 days out. To change, click the date input field and choose a date accordingly
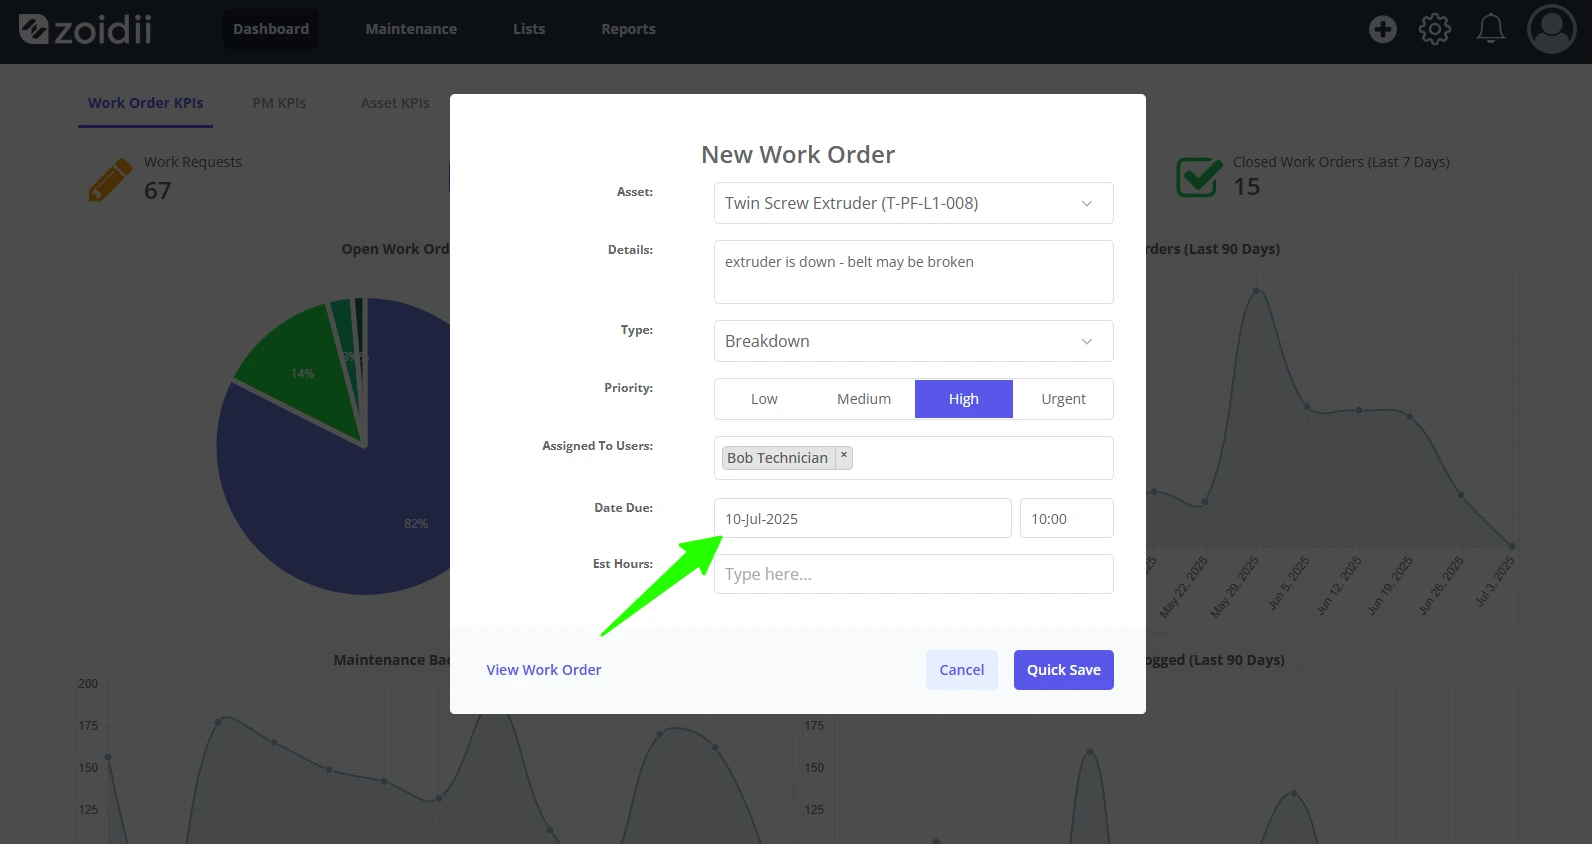
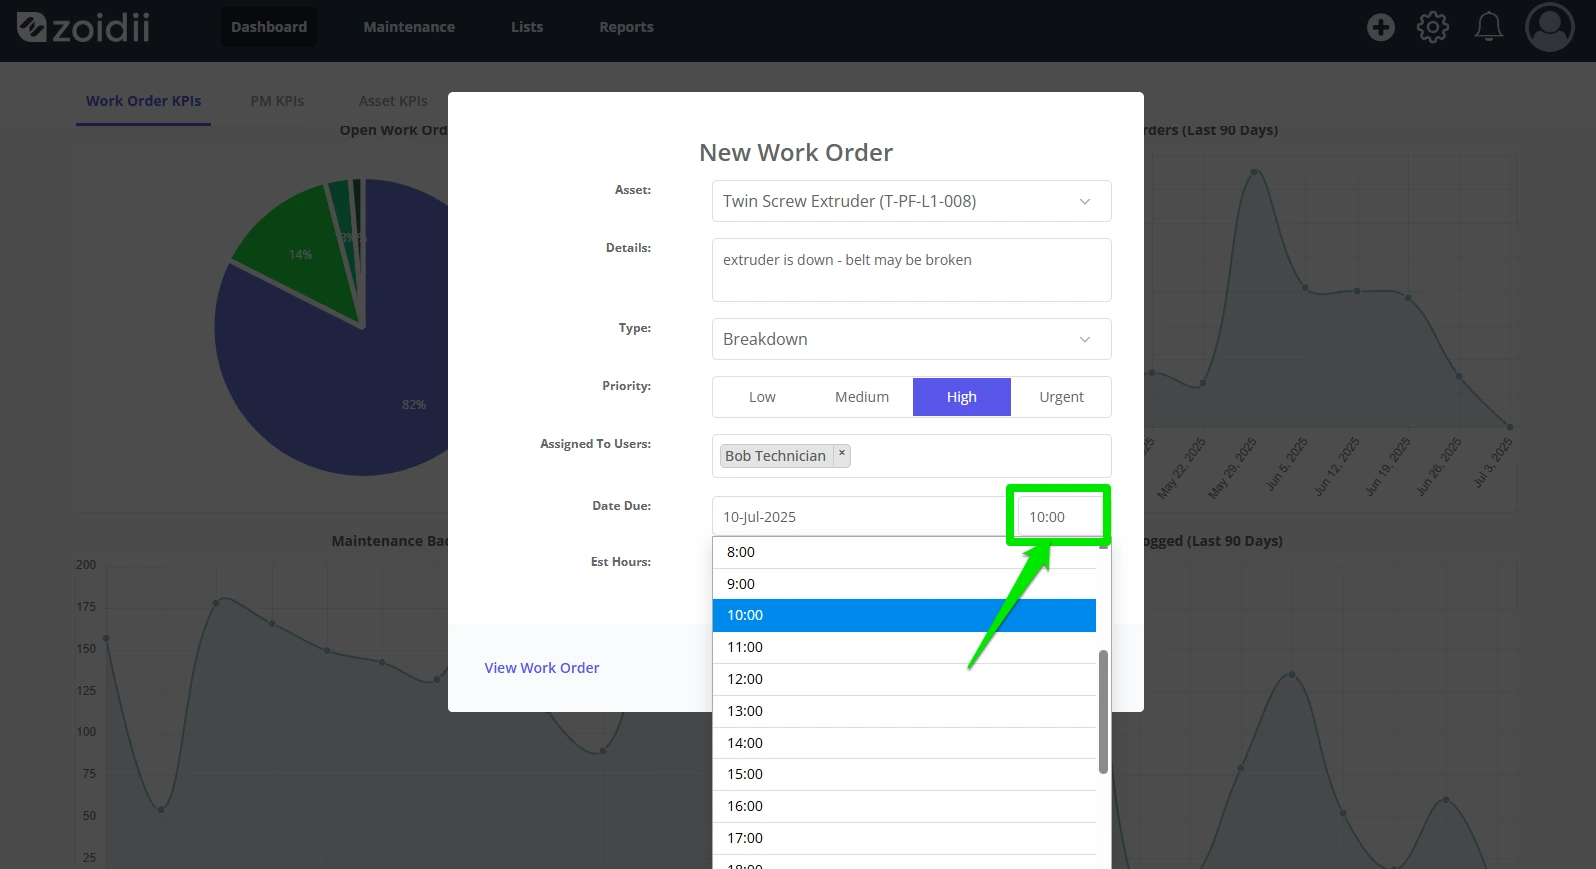
9. The Due Time automatically rounds to the nearest current hour. Click the Due Time input box to adjust if needed
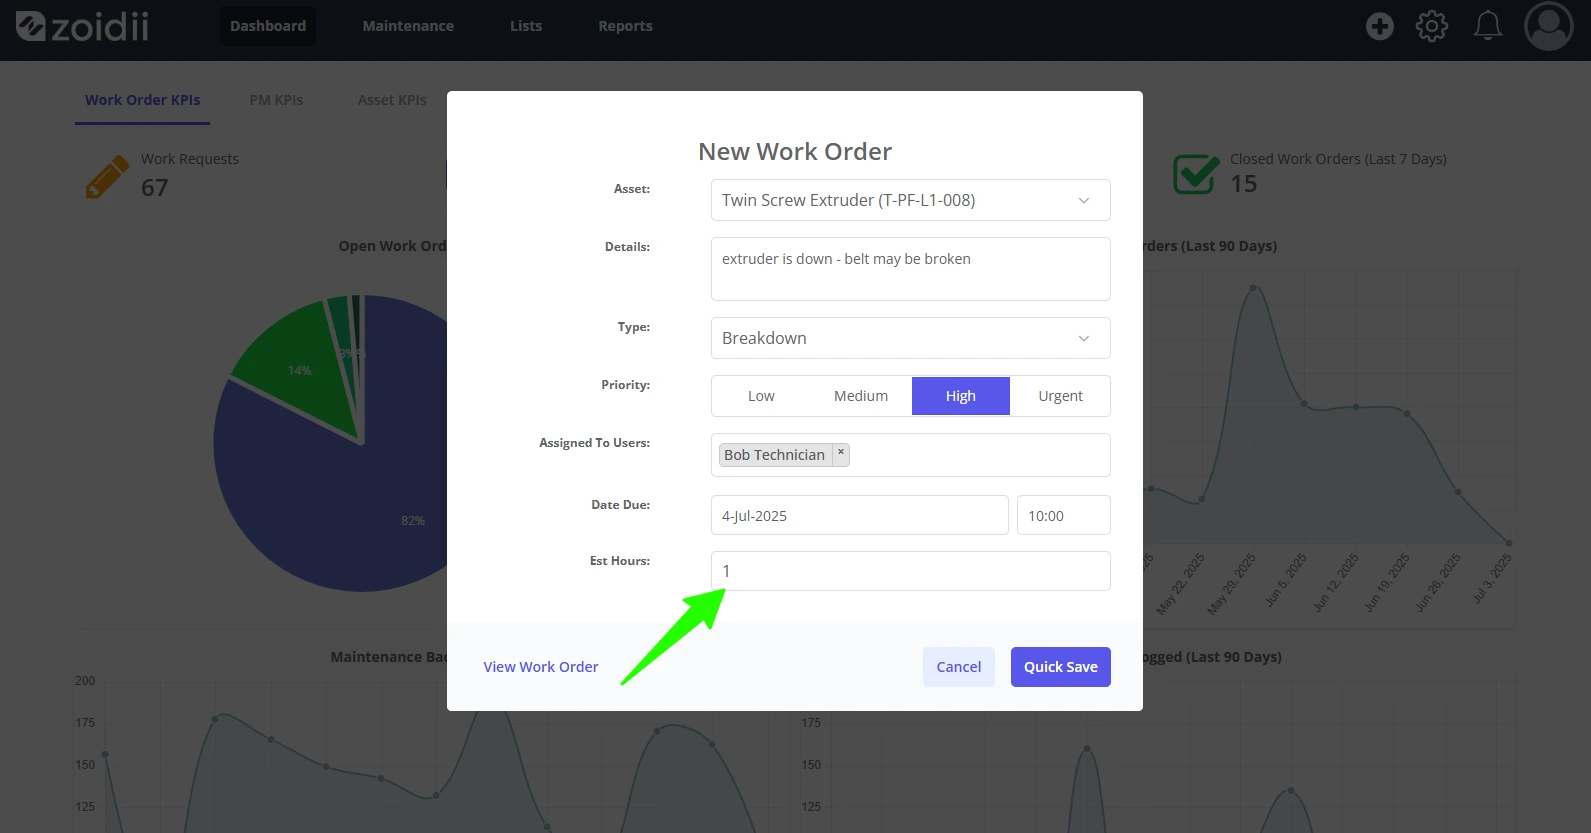
10. Set an Estimated Time to complete the work if known. The field is a number field so use decimals if needed (1.25 for 1hr 15mins, 2.5 for 2hrs 30mins).
11. Click Quick Save to save the work order as is, and close the window. The work order will be assigned a work order code and saved to the database. To add further details to the work order such as parts and tasks, skip to step #12
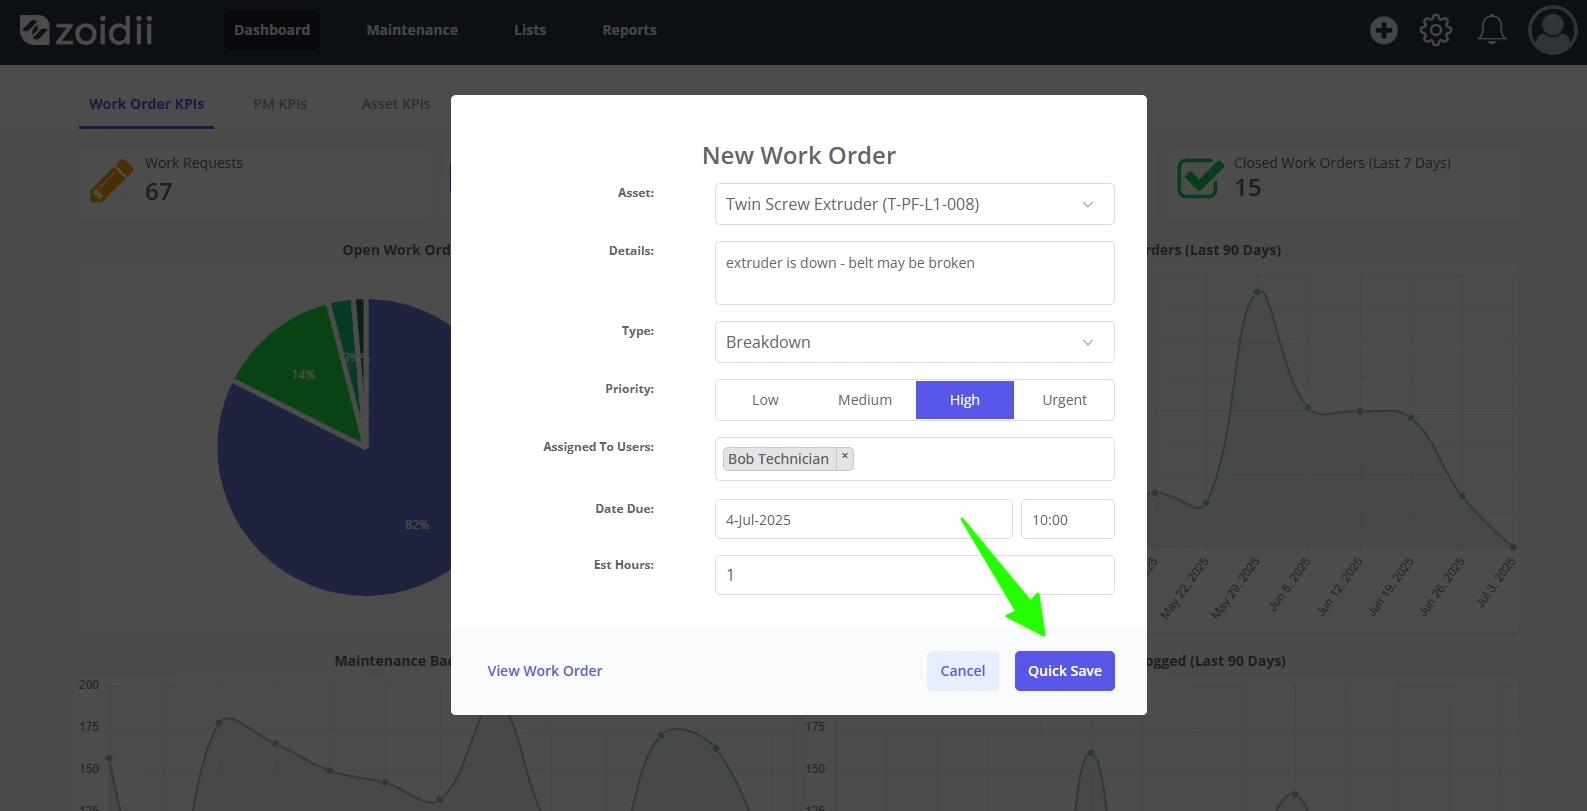
12. To add further details to the work order such as parts and tasks, click View Work Order. The user is redirected to the full work order record.
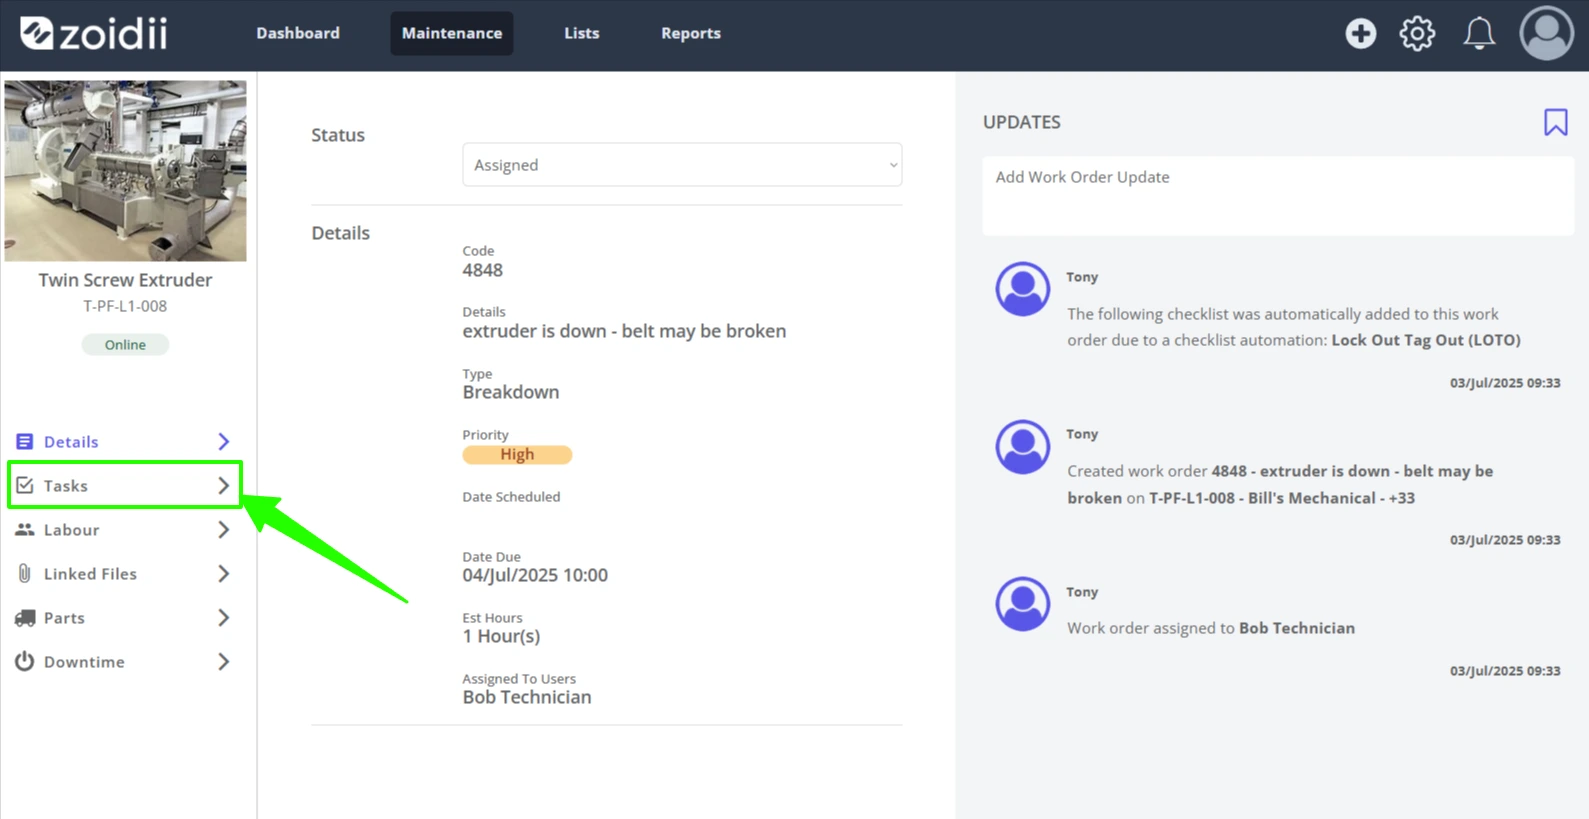
13. To add tasks or a checklist to the work order, select Tasks in the work order menu
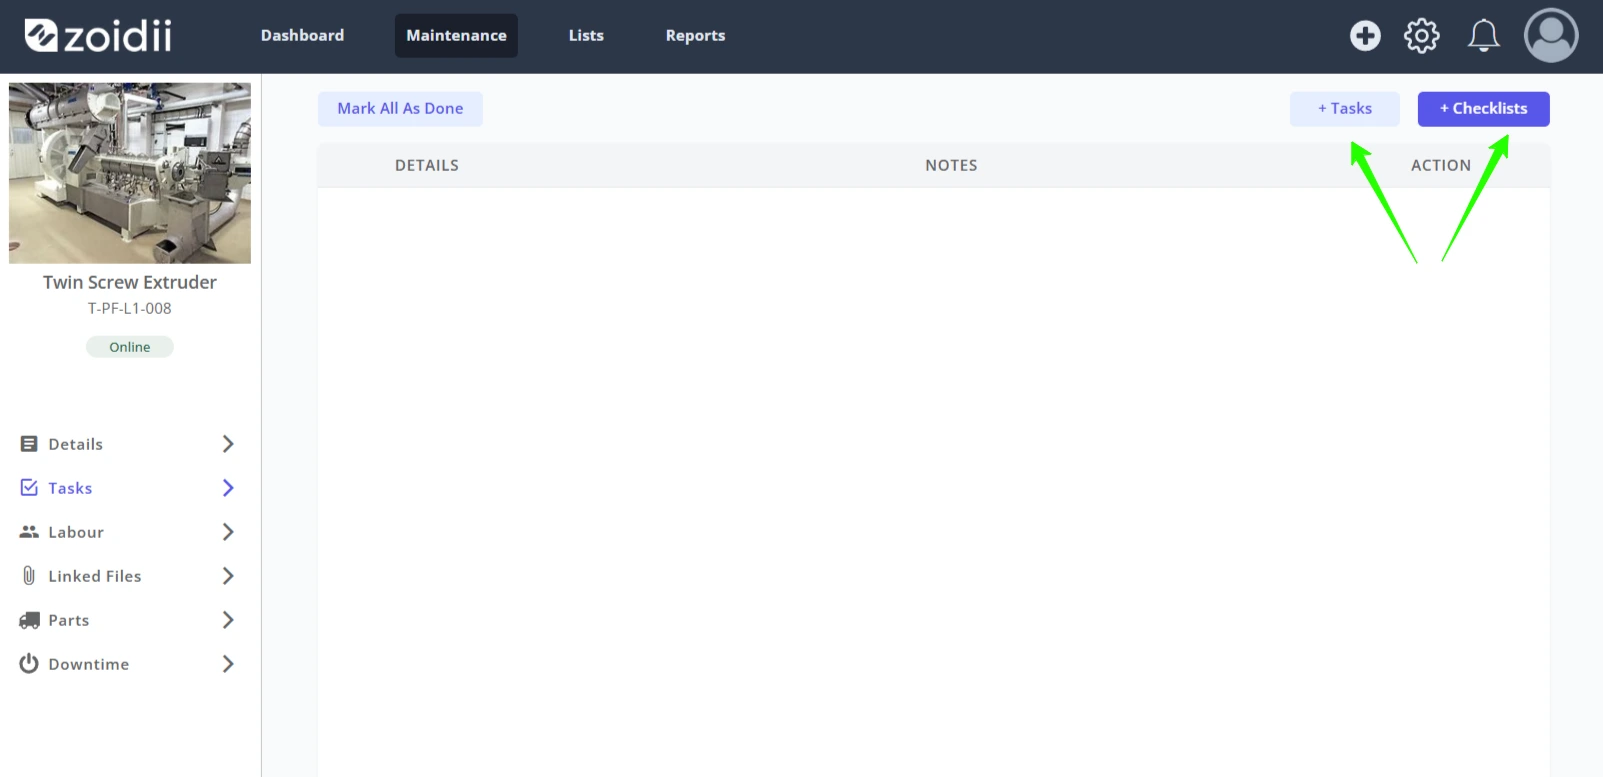
14. If a checklist exists in your CMMS to complete the repair, click +Checklist to add.
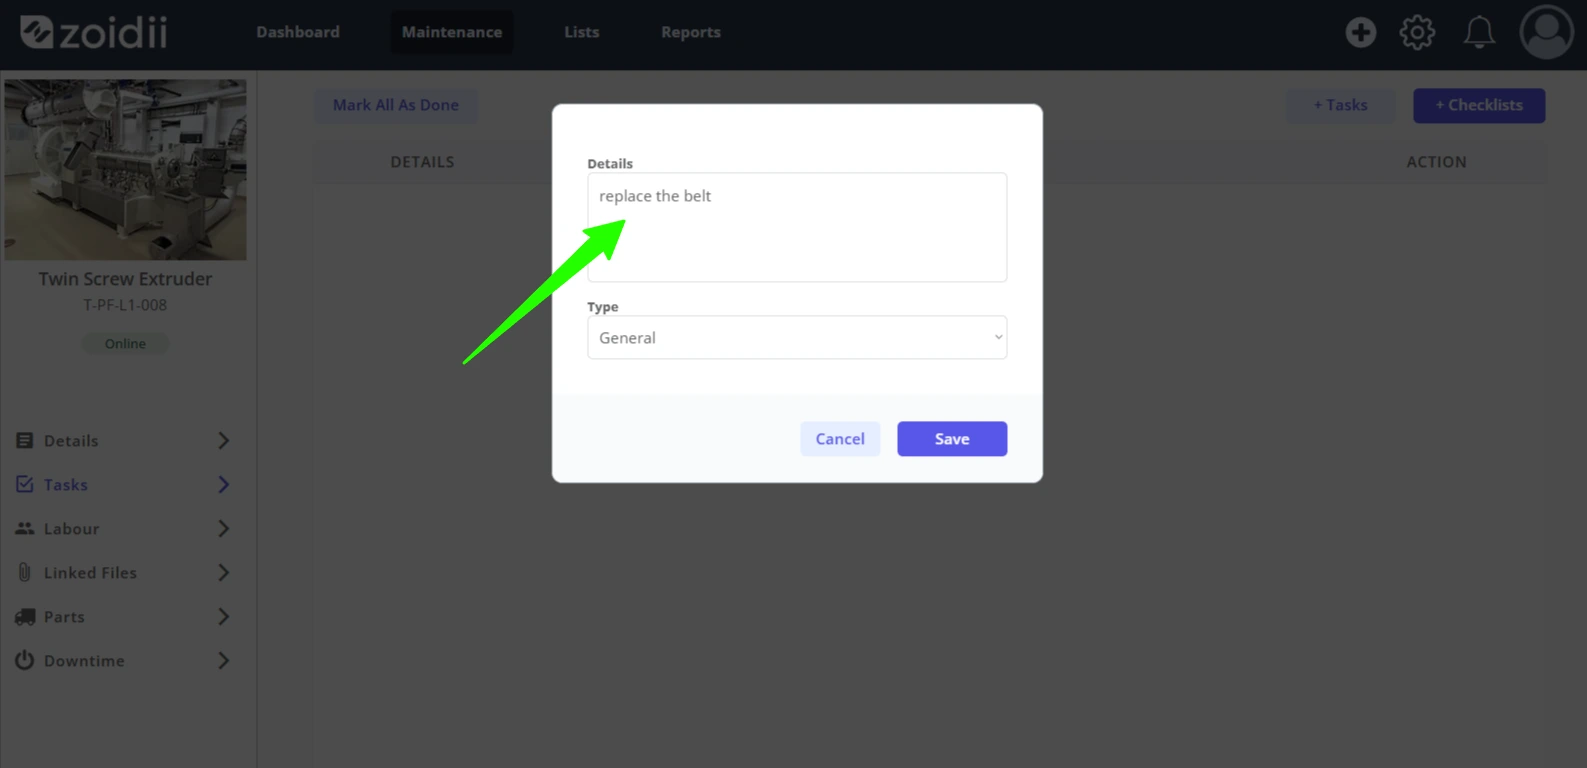
15. For this example, the +Task button is clicked to add a single line item to the work order. Add the task details in the popup window, and click Save New
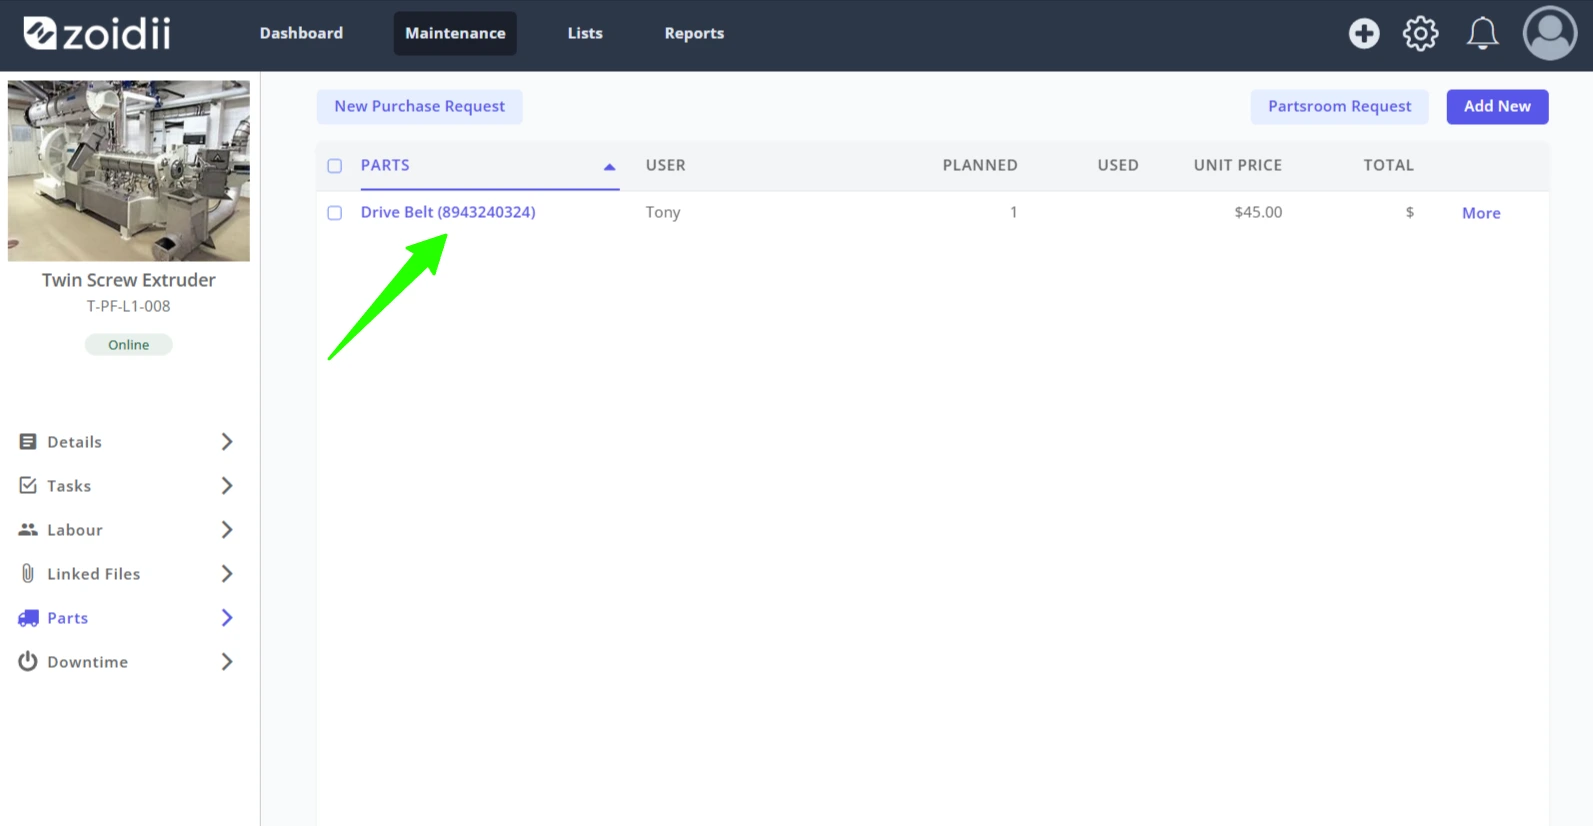
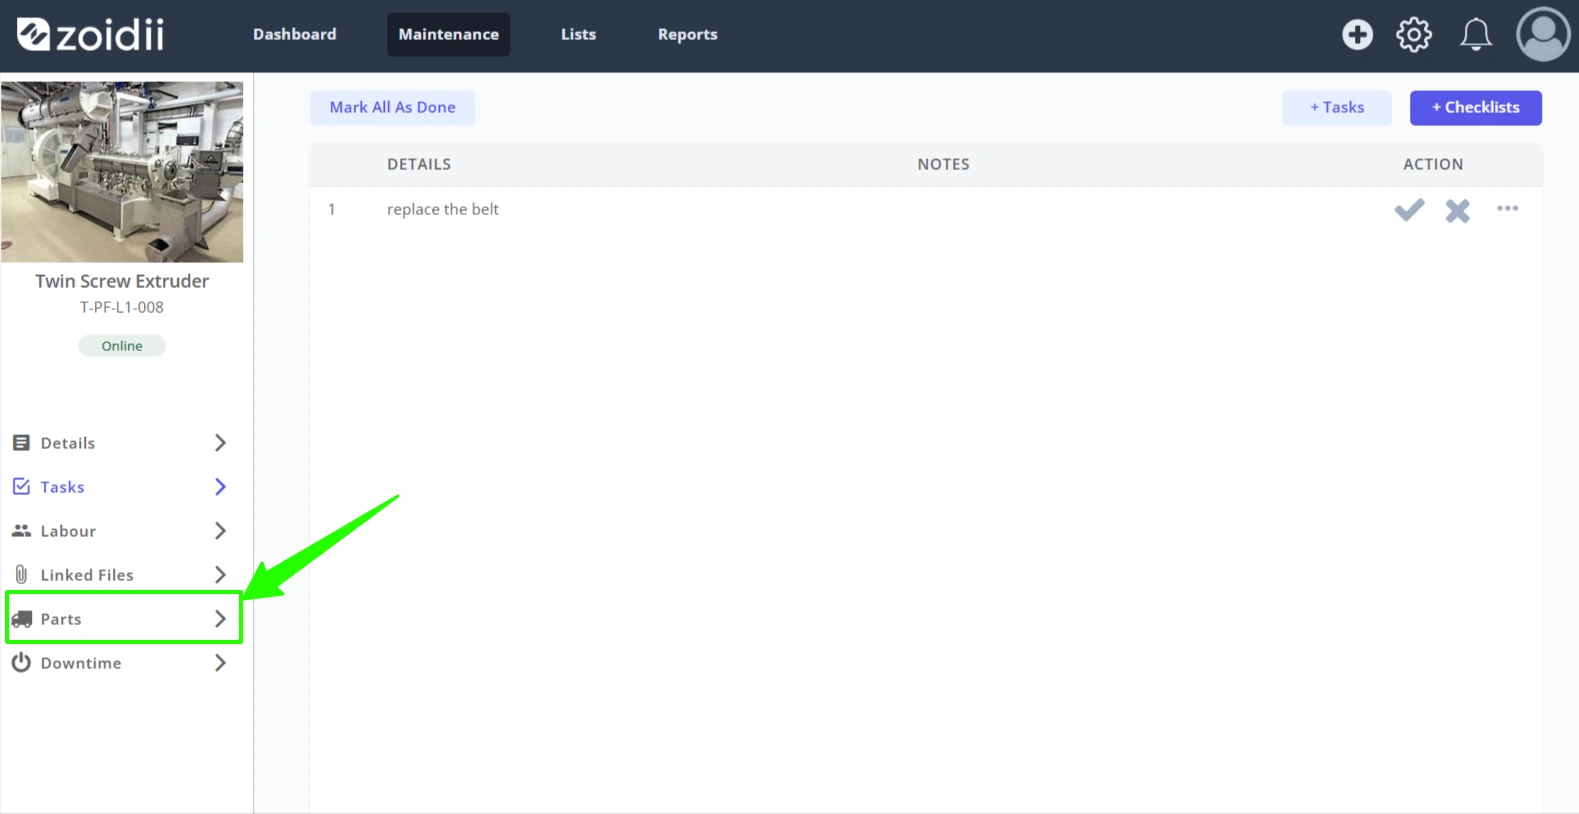
16. To add a planned repair part to the work order, click Parts in the work order menu
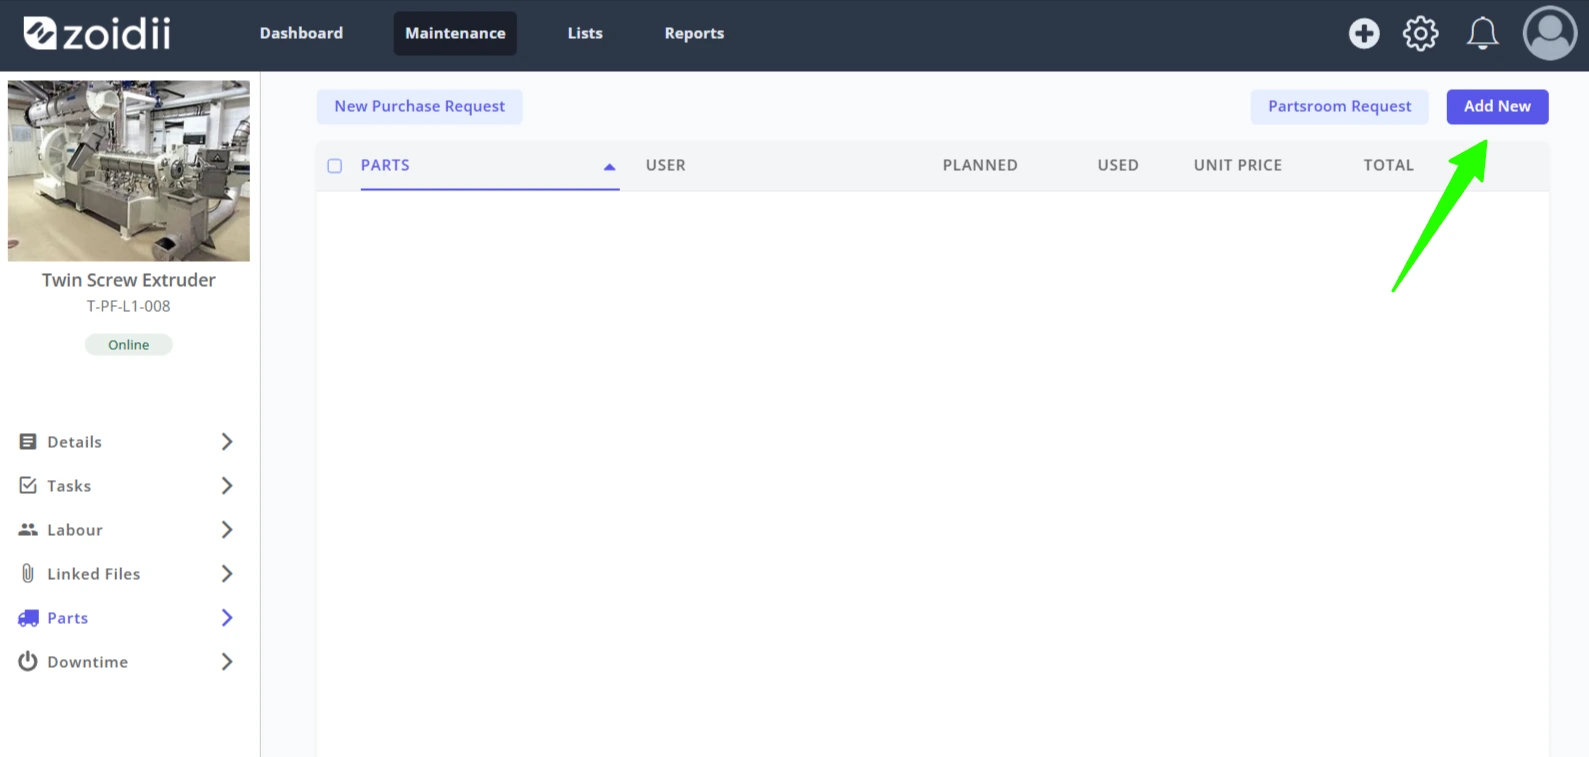
17. Click Add New
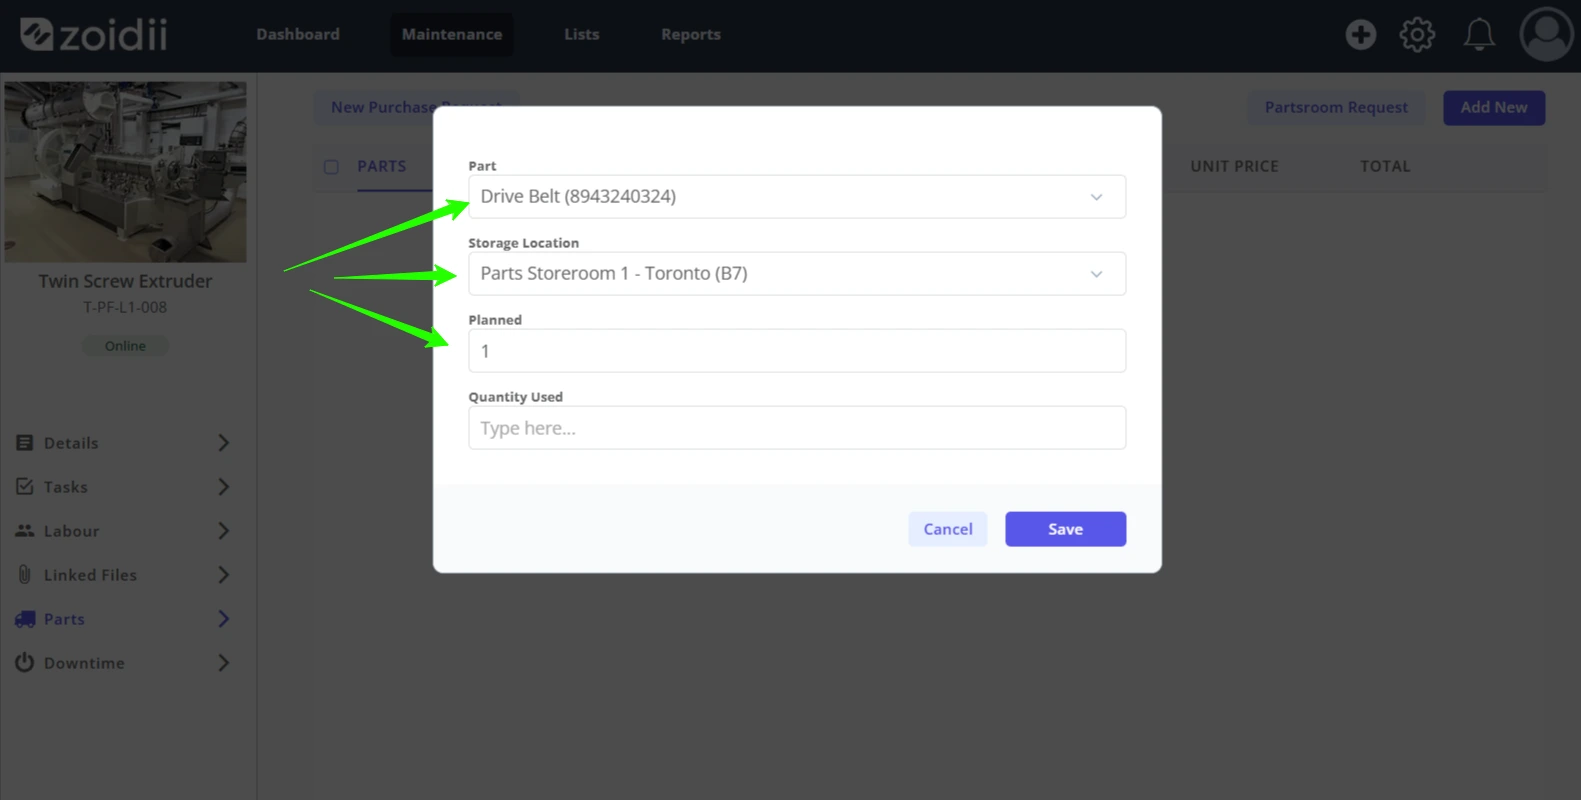
18. Select the part, the part's storage location, and add the Planned Quantity
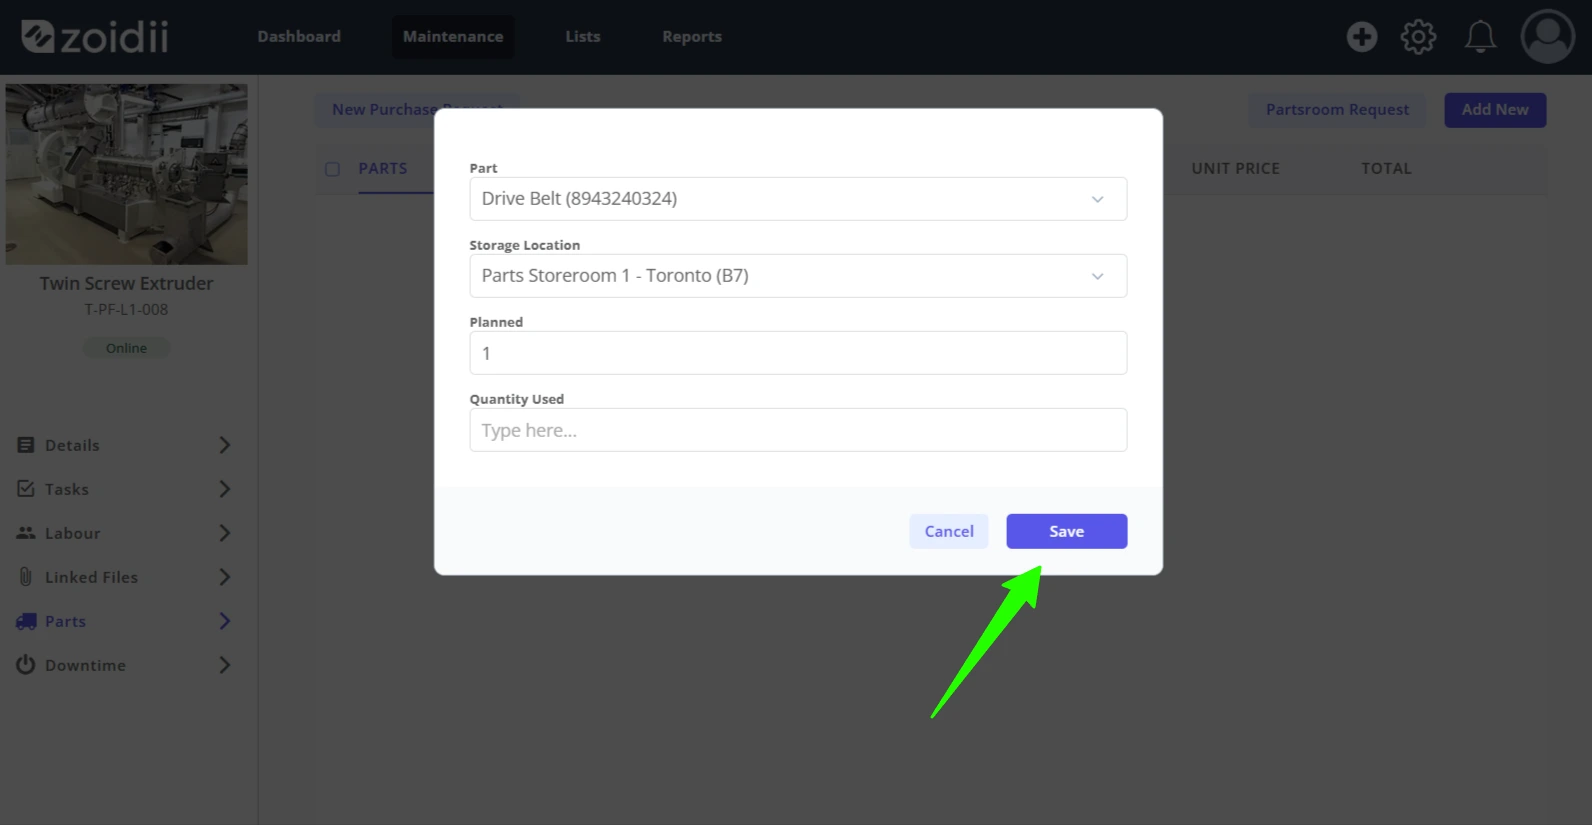
19. Click Save to add
20. The planned part is now added to the work order. This part is "planned to be used"; it is not reserved or consumed.