
Background
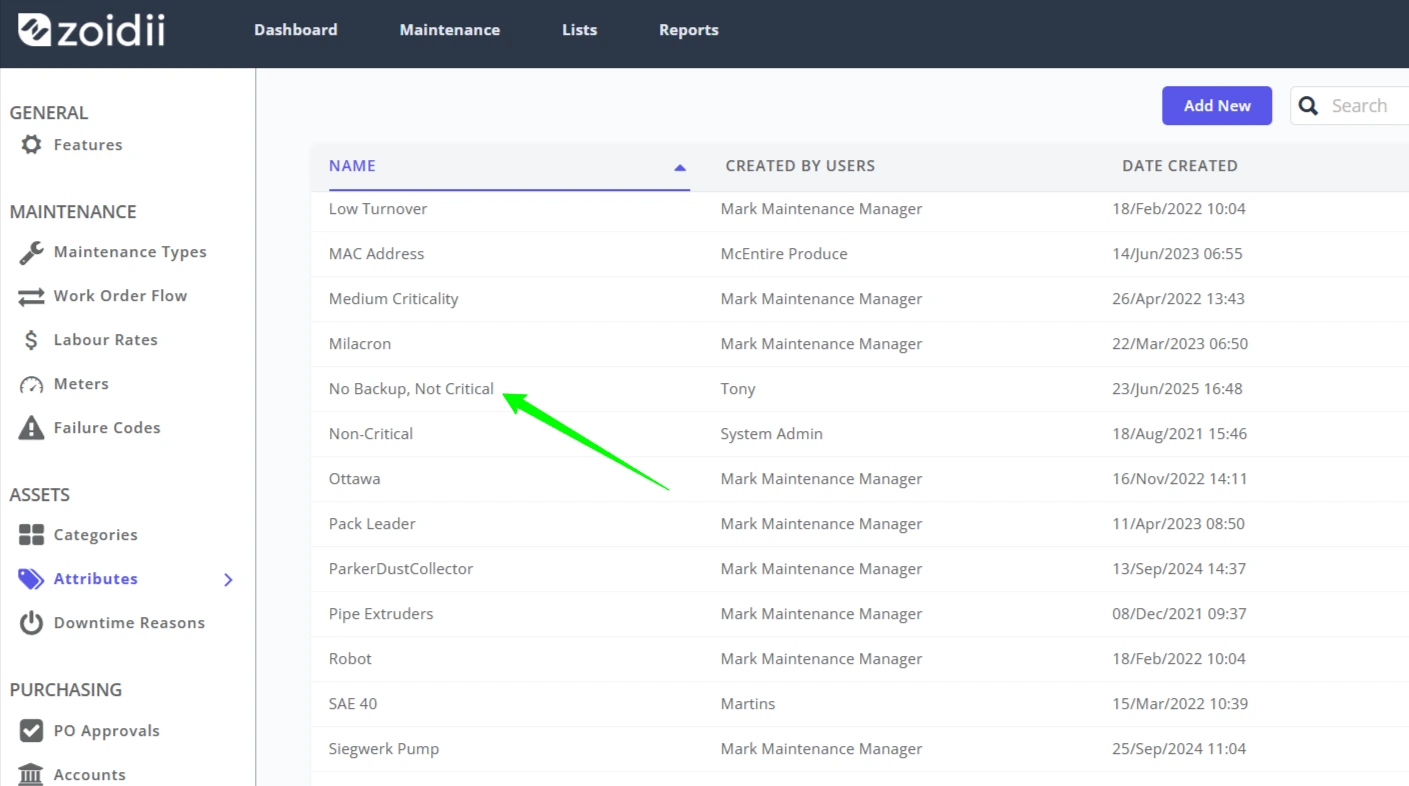
Simply put, Attributes are used to attach “labels” to your assets and parts. Rather than using custom fields and cluttering your system, Zoidii employs attributes so your assets, parts, or system files can be linked together. An Attribute could be used in place of make, model, max lifting weight, asset criticality, part criticality, part category, etc. Attributes are typically one to three words.
Attributes can be added to the system in two ways:
- In the settings section
- On the fly when creating or editing an asset or part record, or when editing files in the file manager
1. Procedure to add an Attribute via System Settings
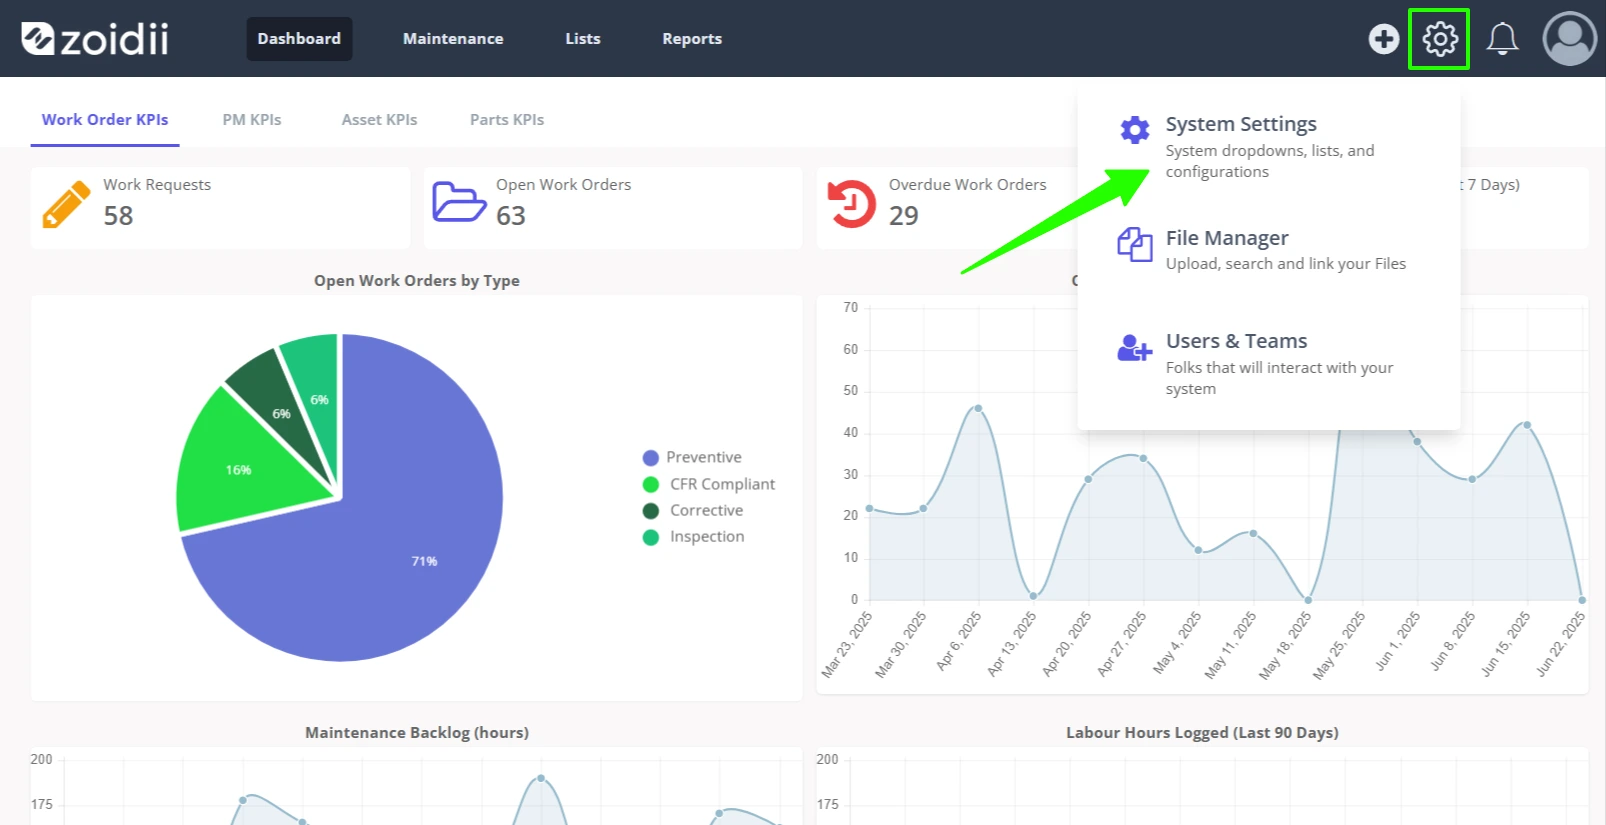
1. In the top navigation bar, click the Settings icon. Then select System Settings.
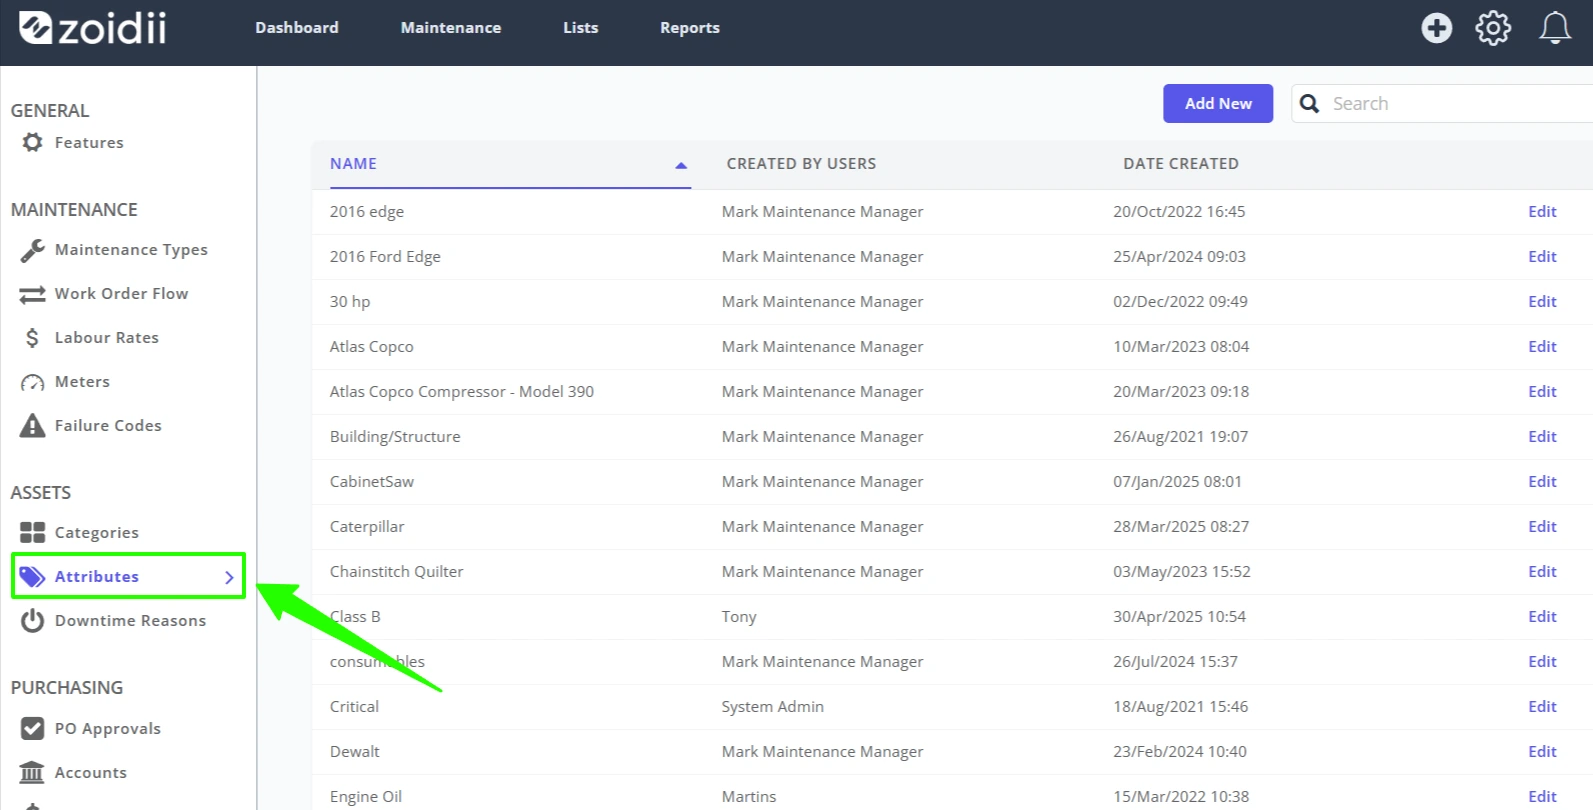
2. Select Attributes from the System Settings - Asset Settings menu.
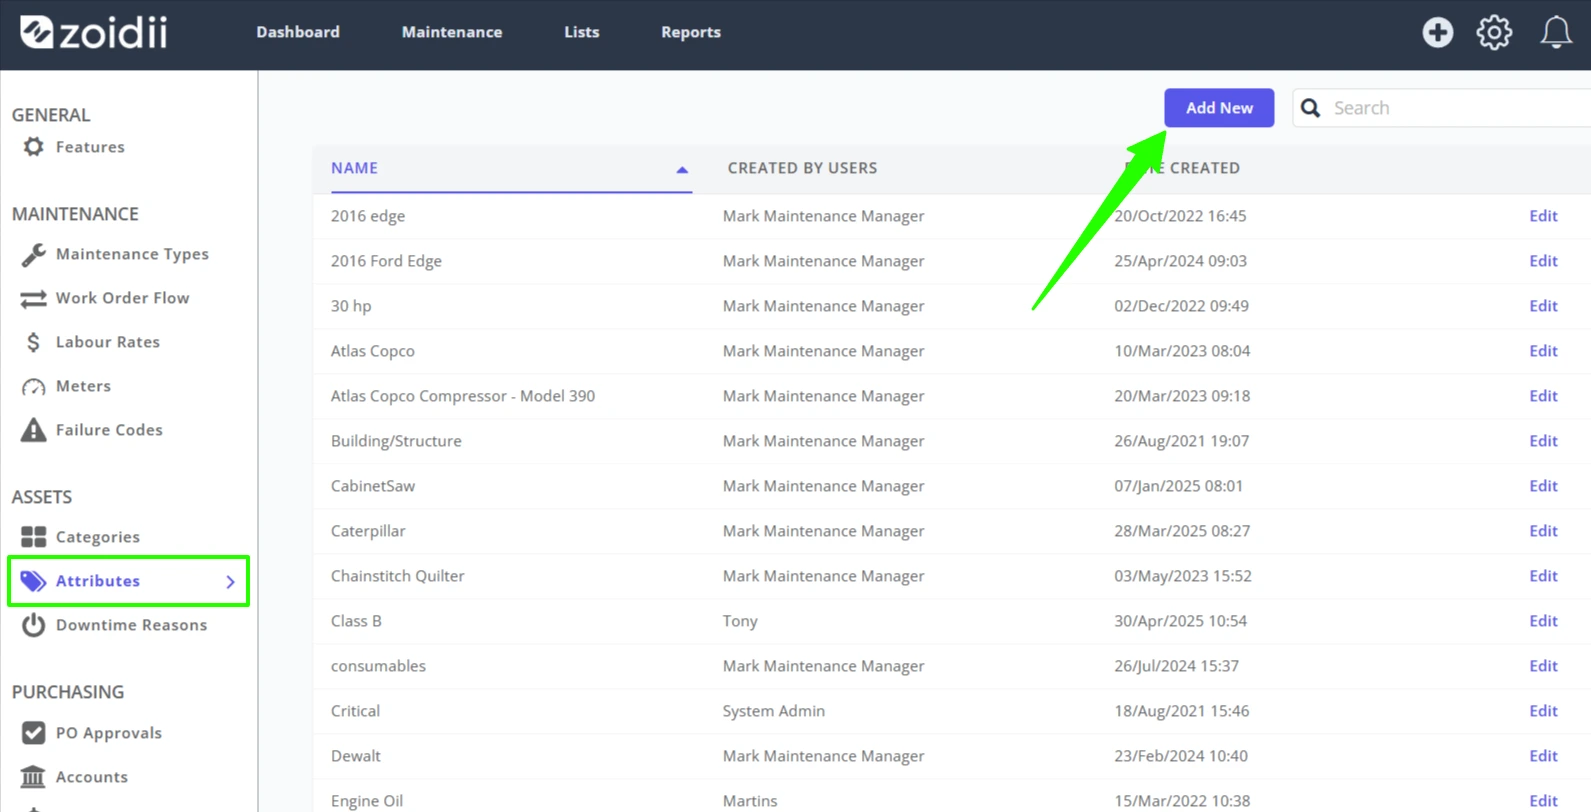
3. Click Add New
4. Fill in the details for the new attribute, and click Save to activate.
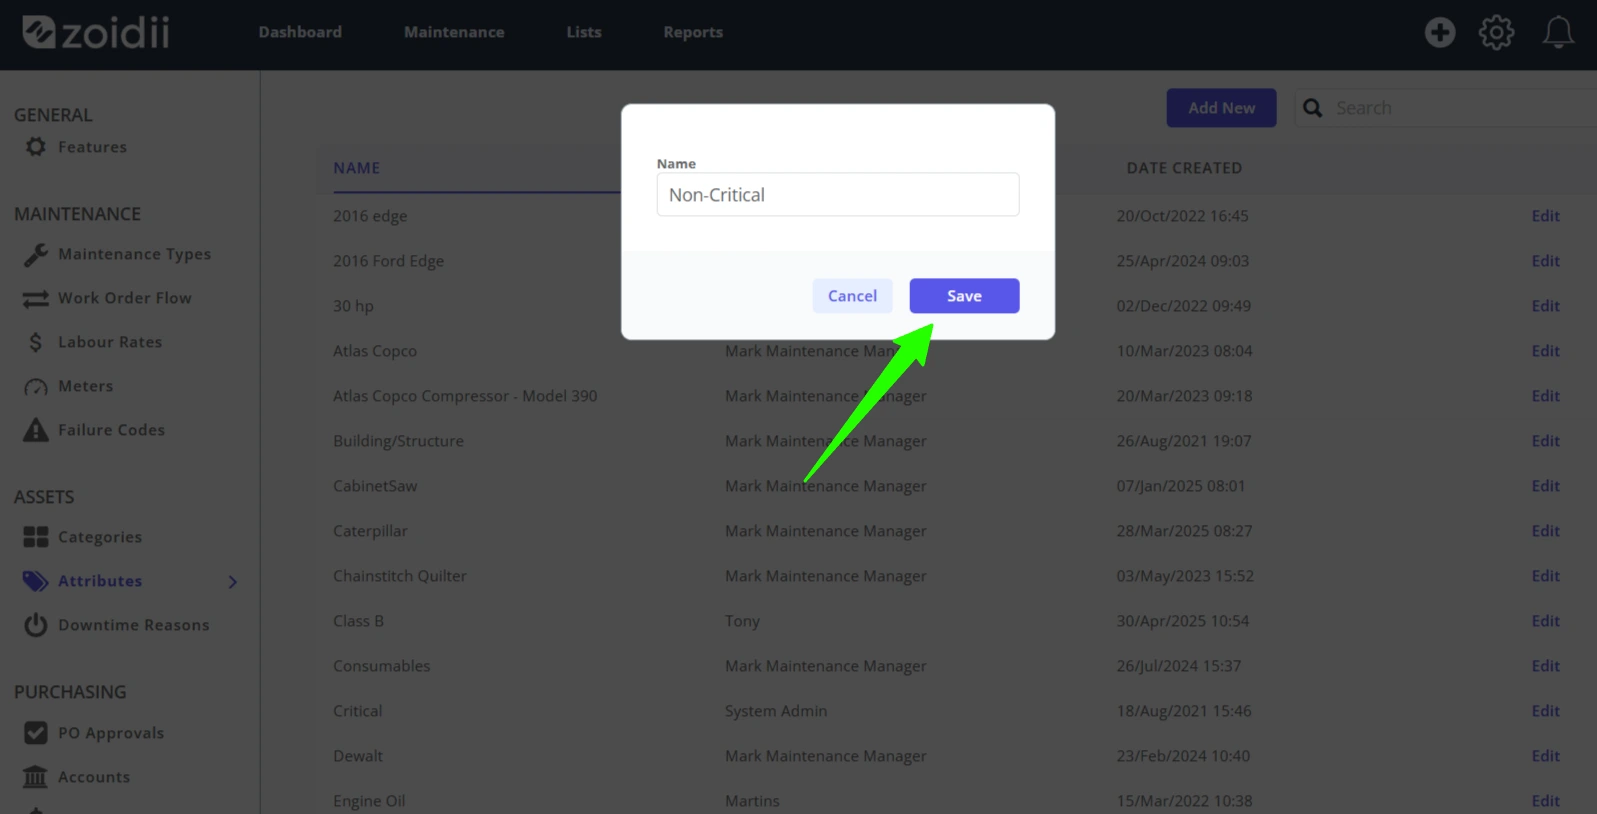
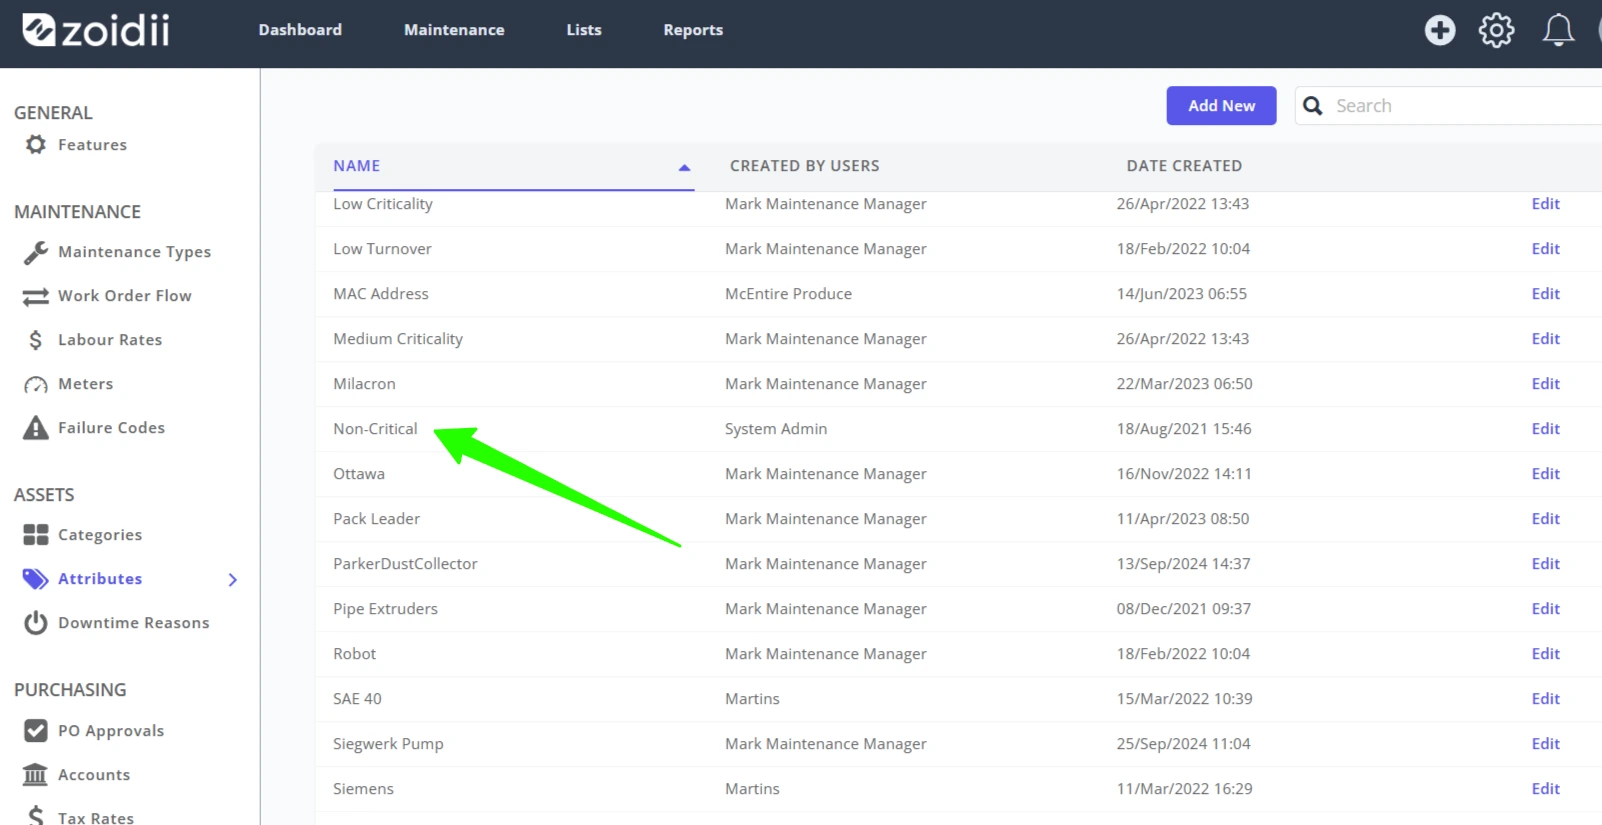
5. The new attribute is available for selection.
2. Procedure to add an Attribute on the fly
Note: It is possible to add attributes in several places in the app in the same way. This procedure demonstrates how to add an attribute on the asset record.
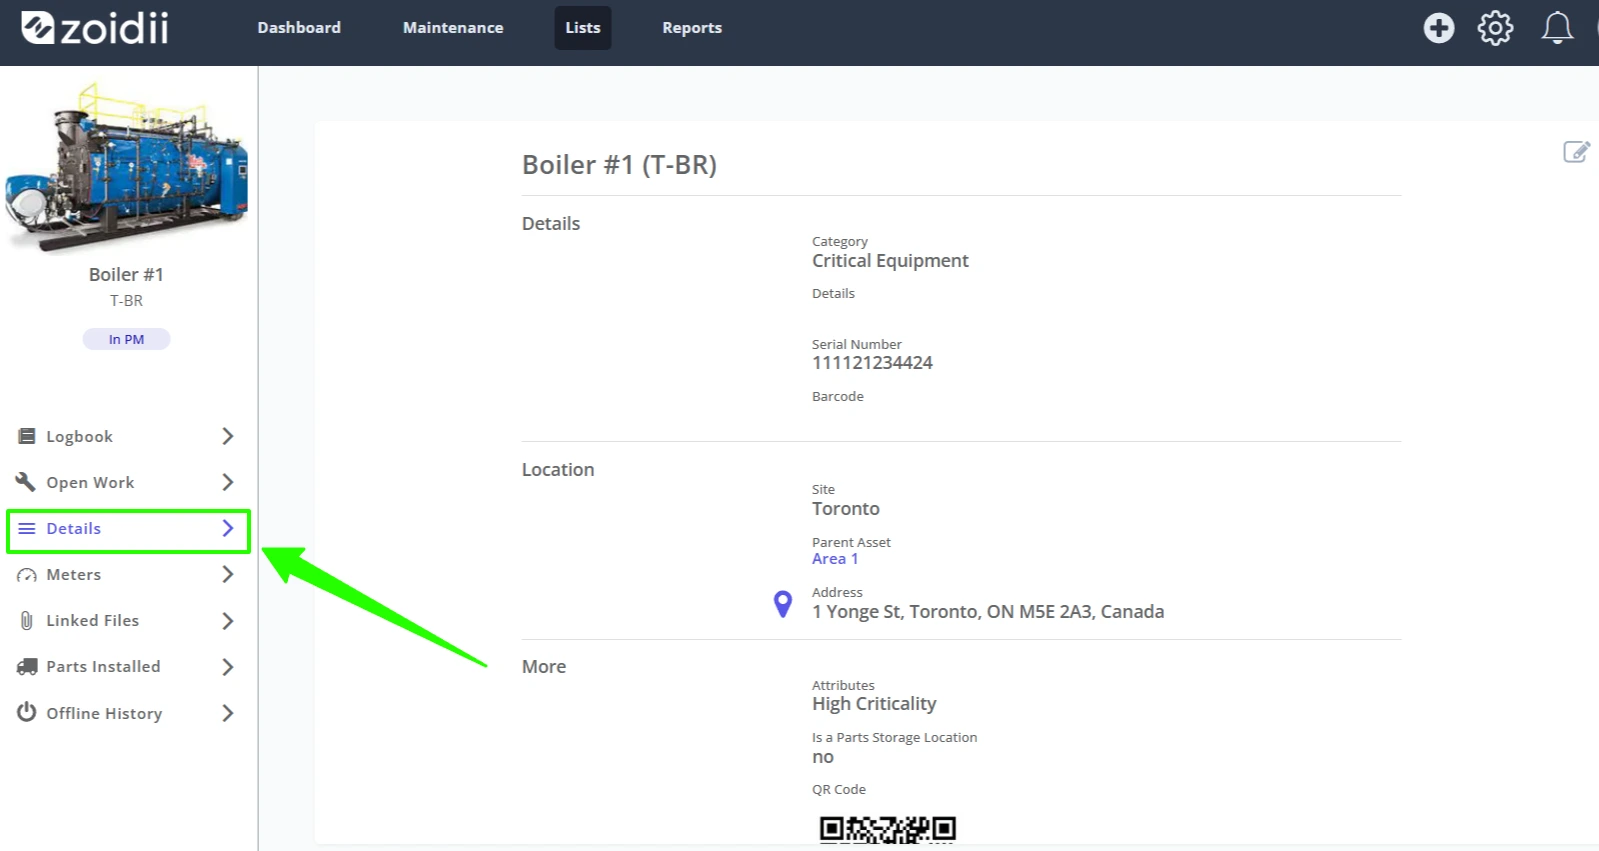
1. Open an asset record, and navigate to the Asset Details tab.
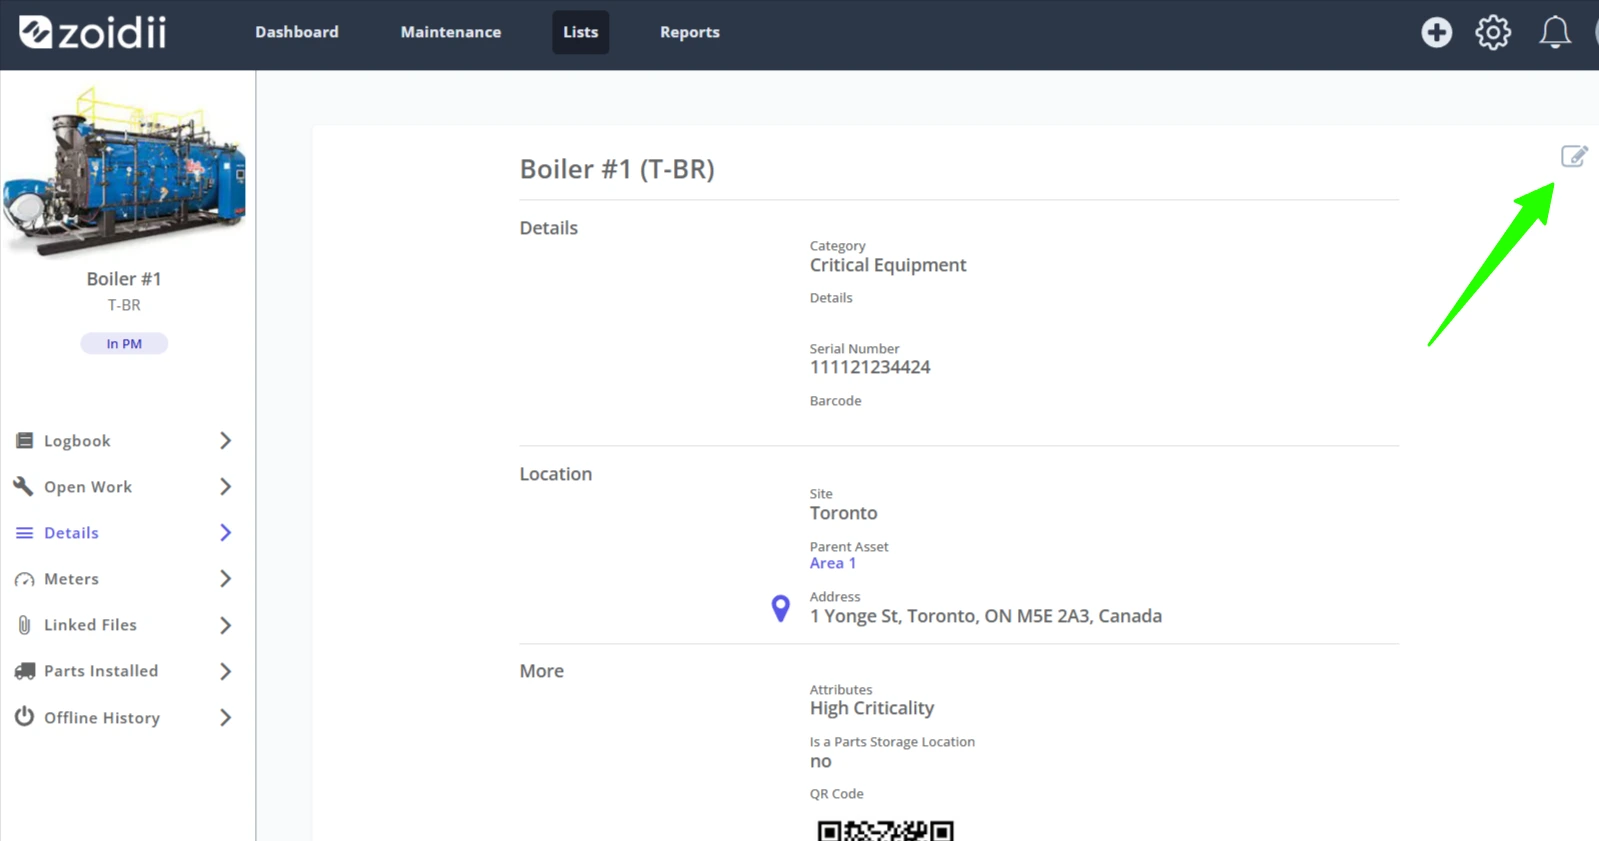
2. Click the Edit icon.
3. Scroll down to the More section and click the Add icon in the attribute input field.
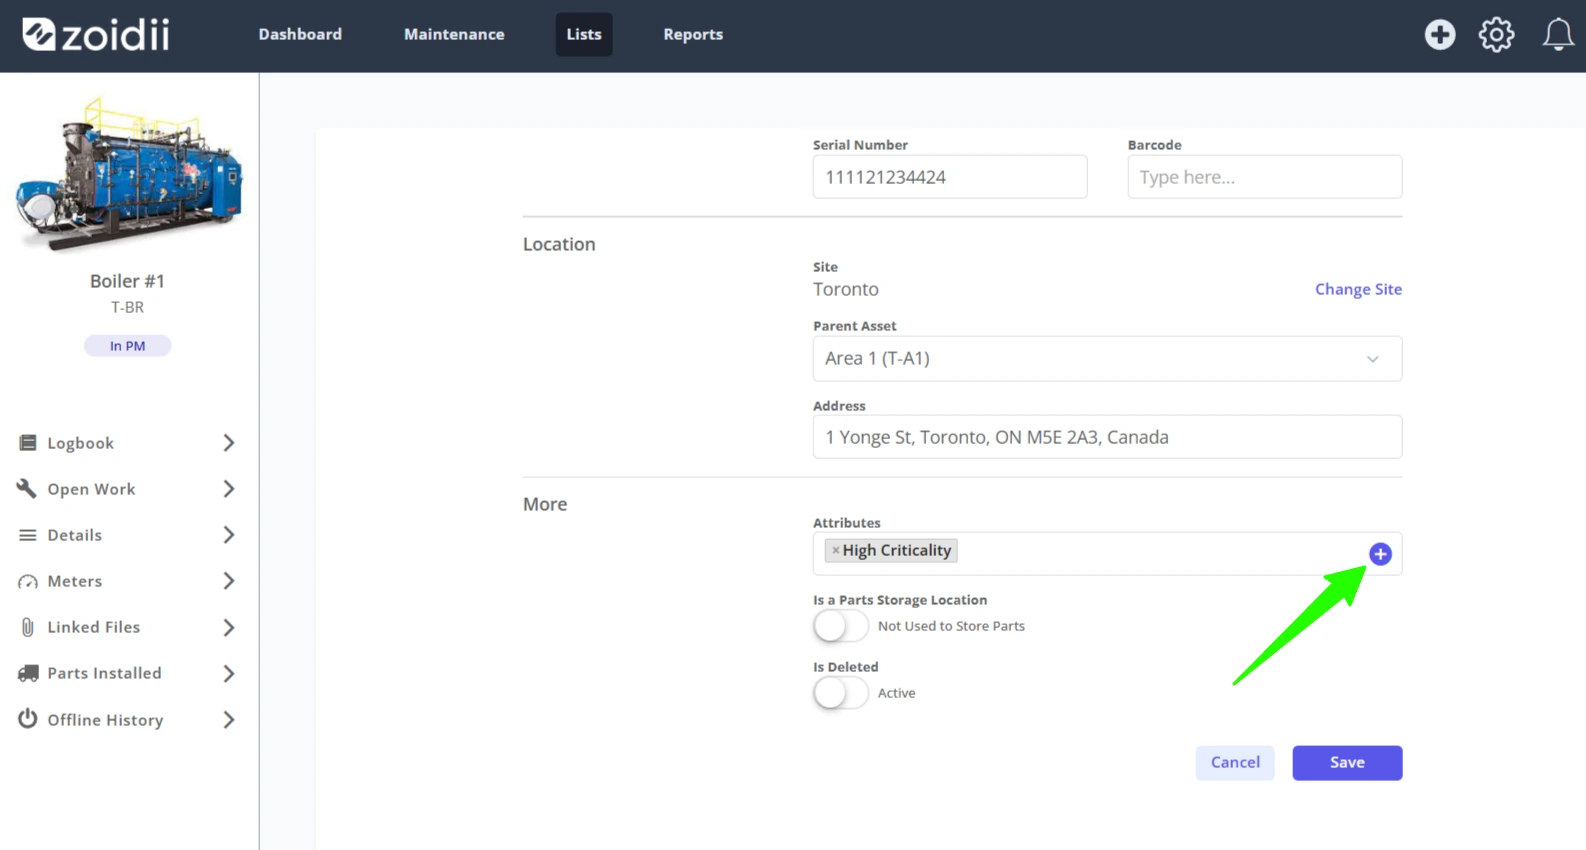
4. Once the Add icon is clicked, a new input field is revealed.
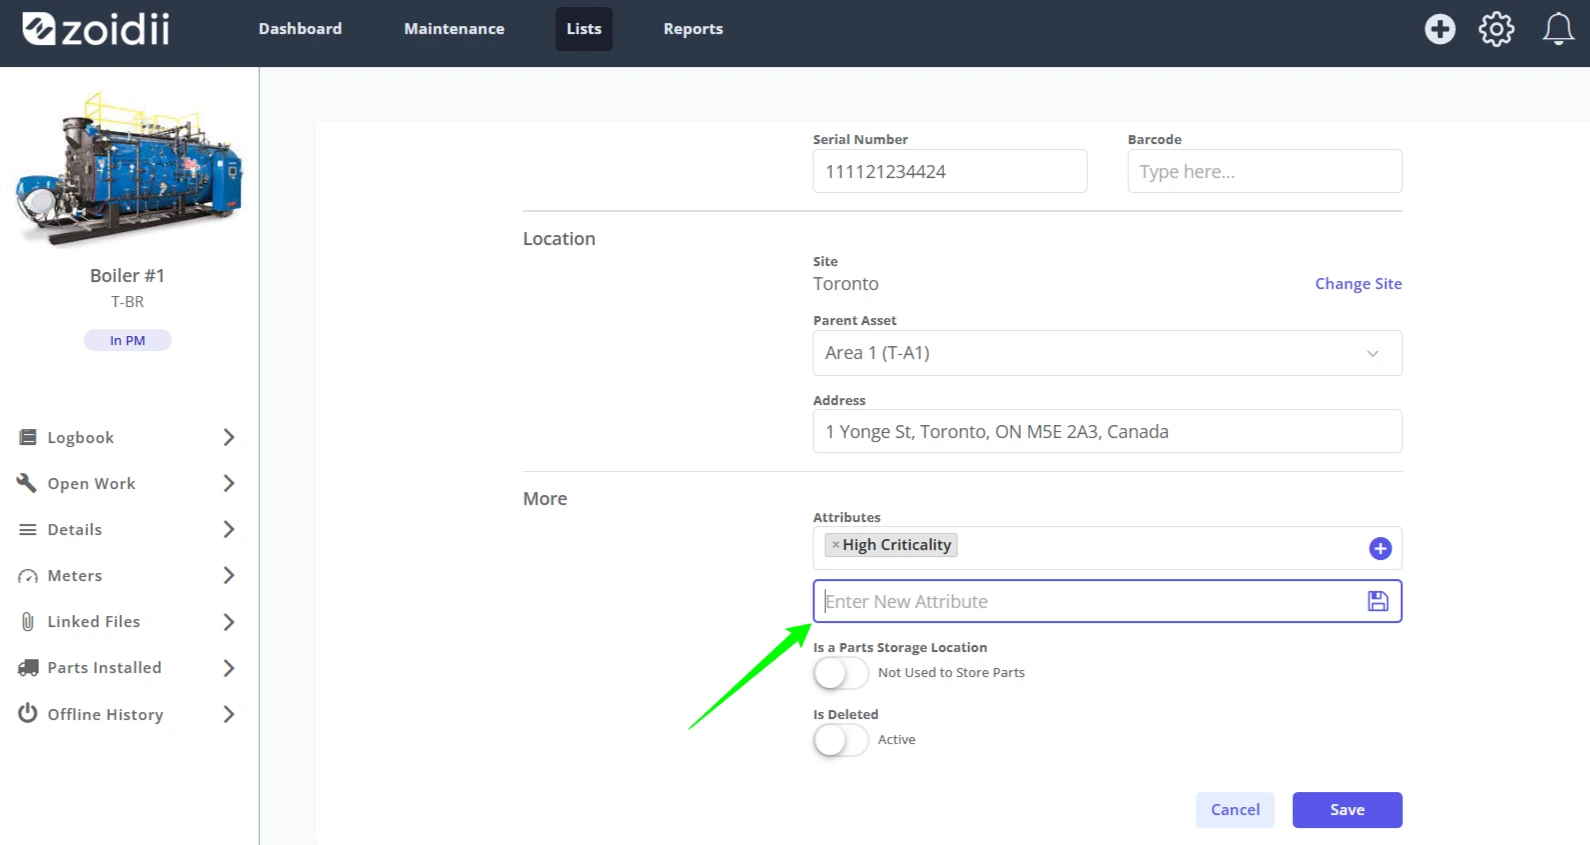
5. Add the details for the new Attribute, and click the Save icon.
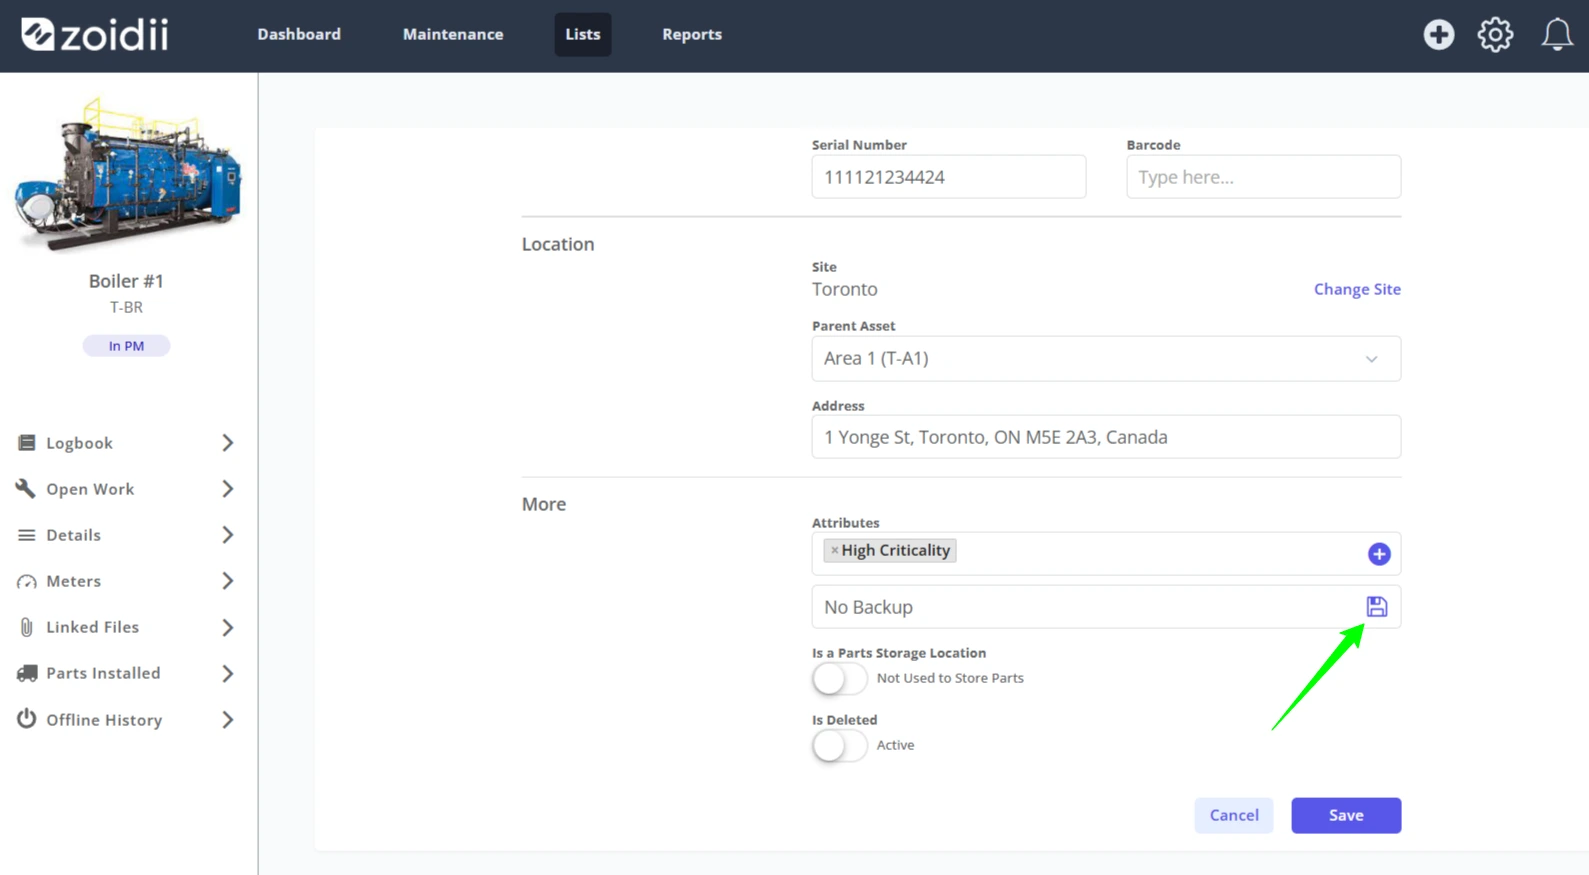
6. At this point, the new attribute is saved to the system.
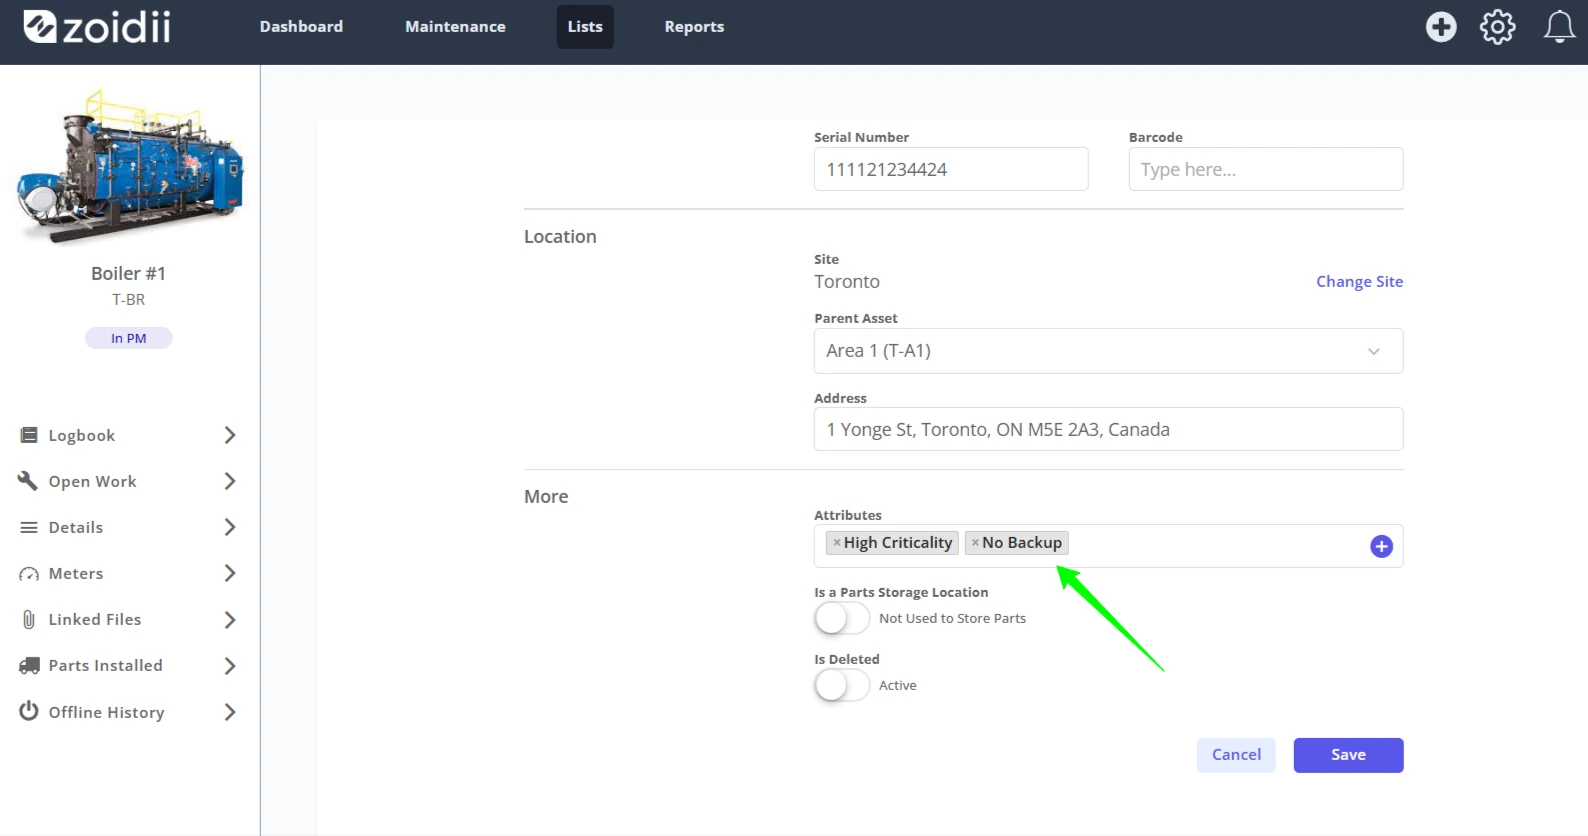
7. Click Save to close this asset record and apply the changes.
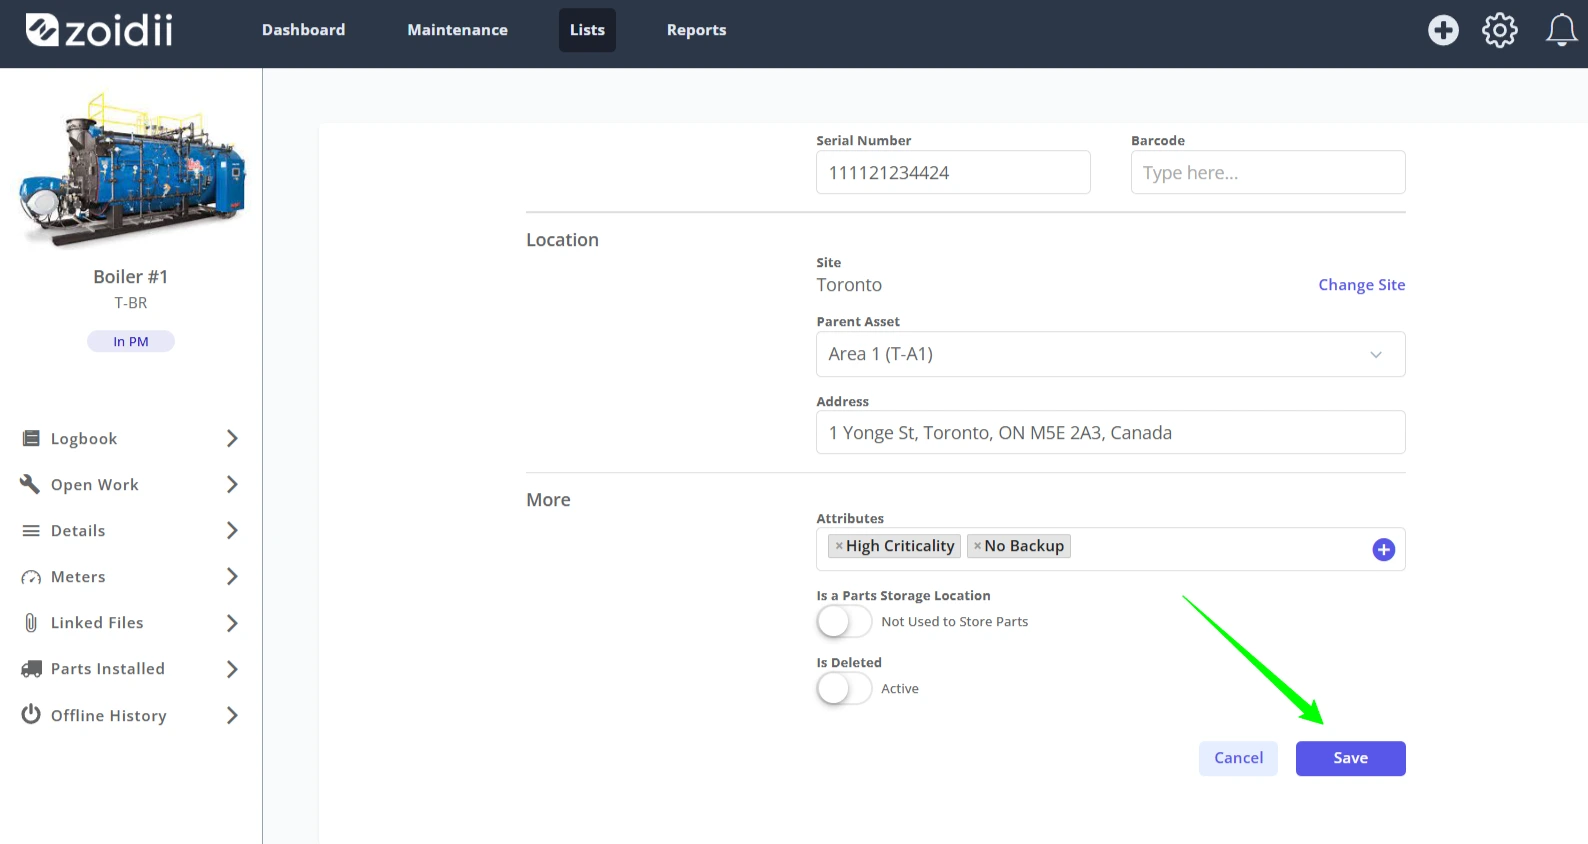
8. The new attribute can be seen via the System Settings - Attributes screen.
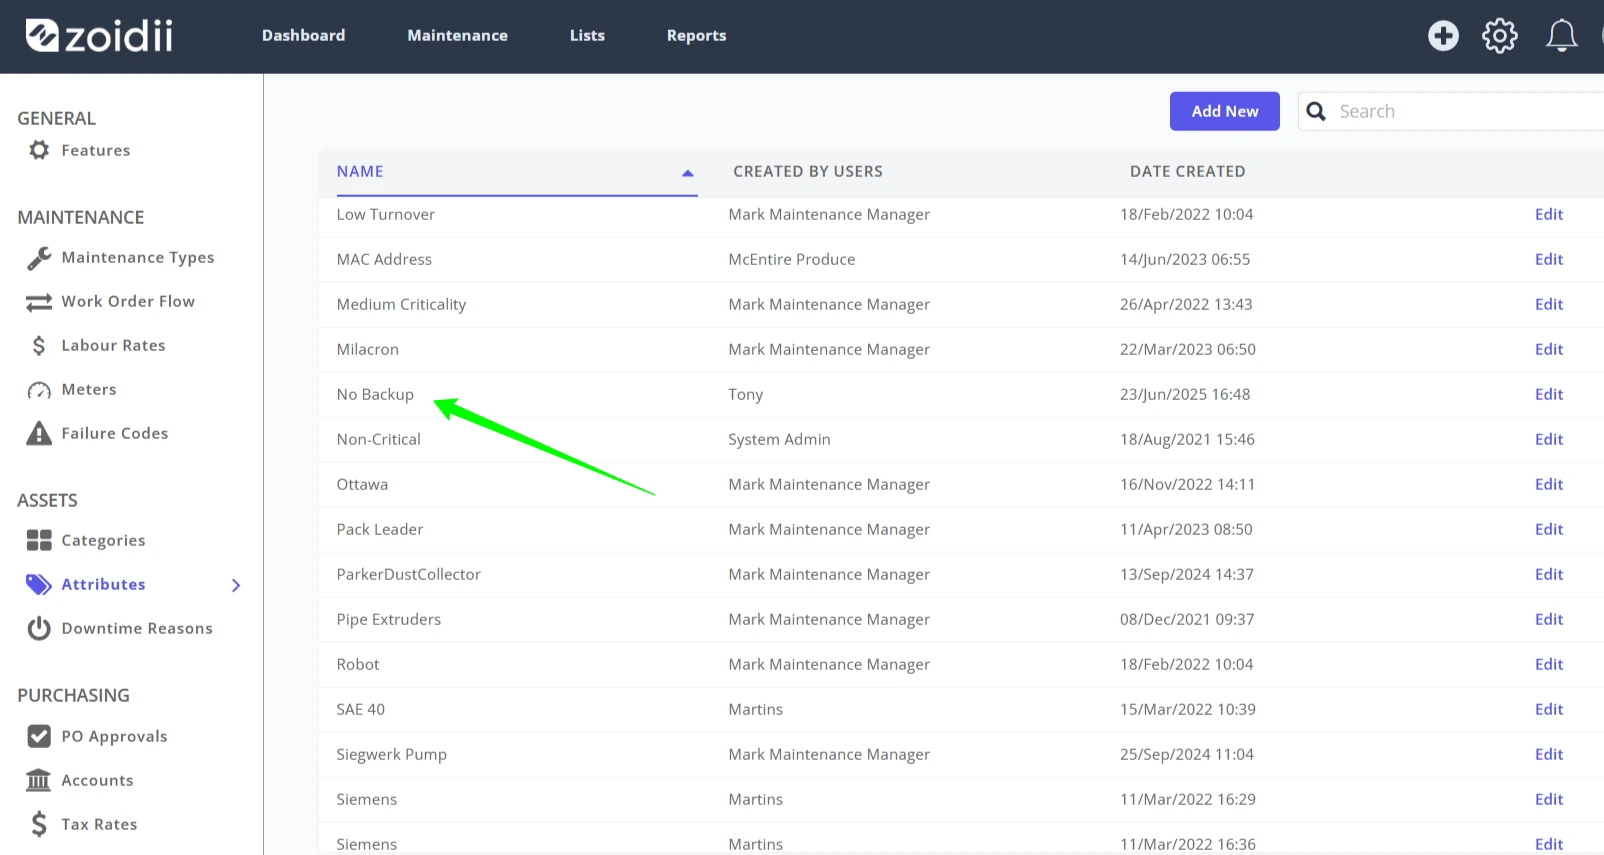
Procedure to Edit an Attribute
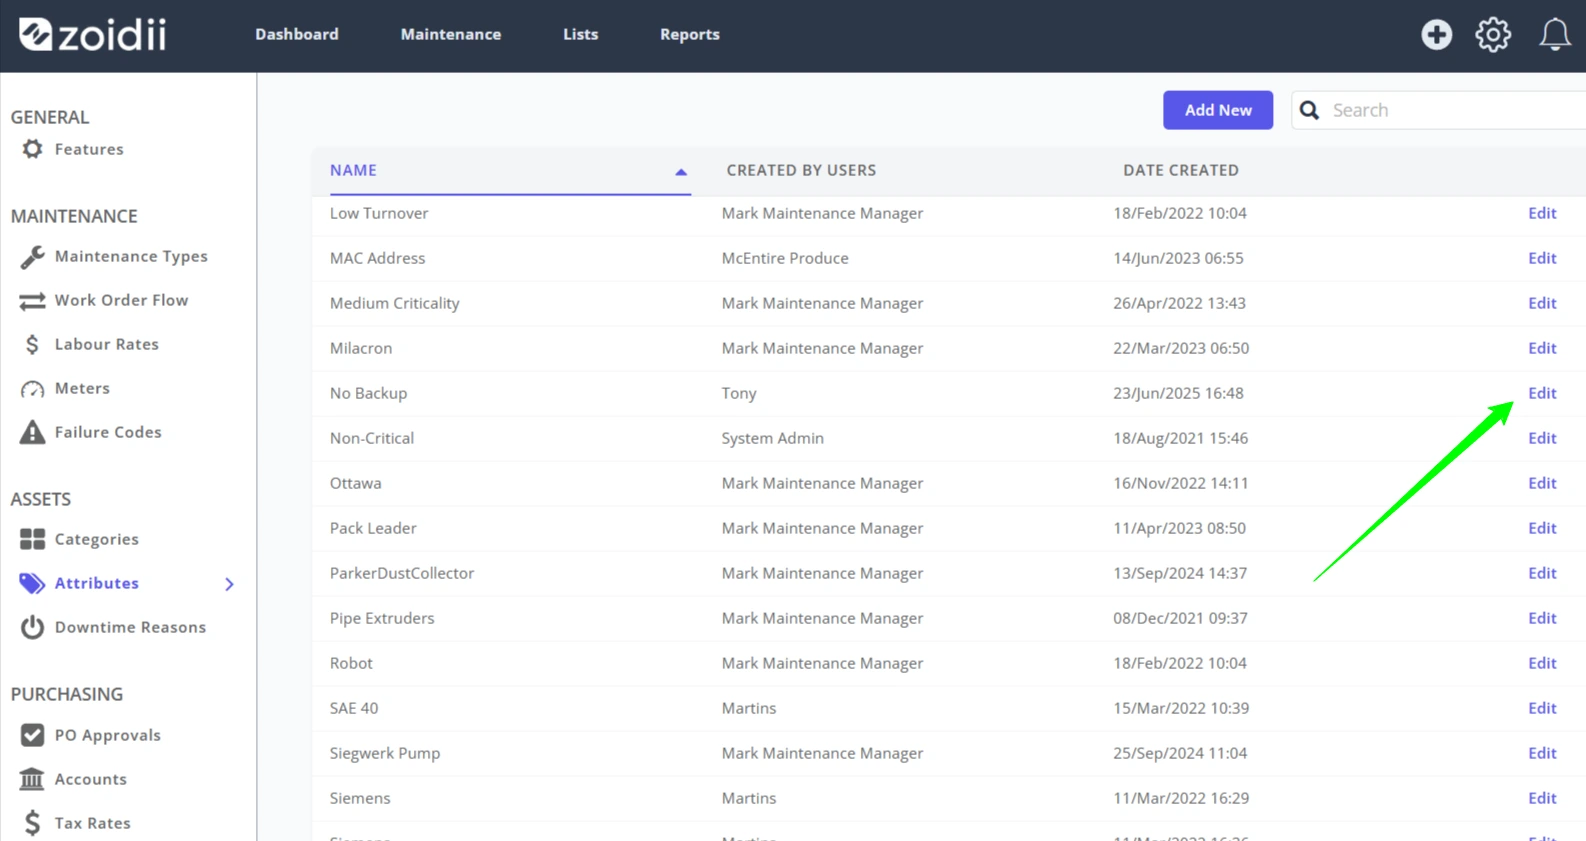
1. On the attribute line item, click Edit.
2. Make the relevant changes to the Attribute text, and click Save.
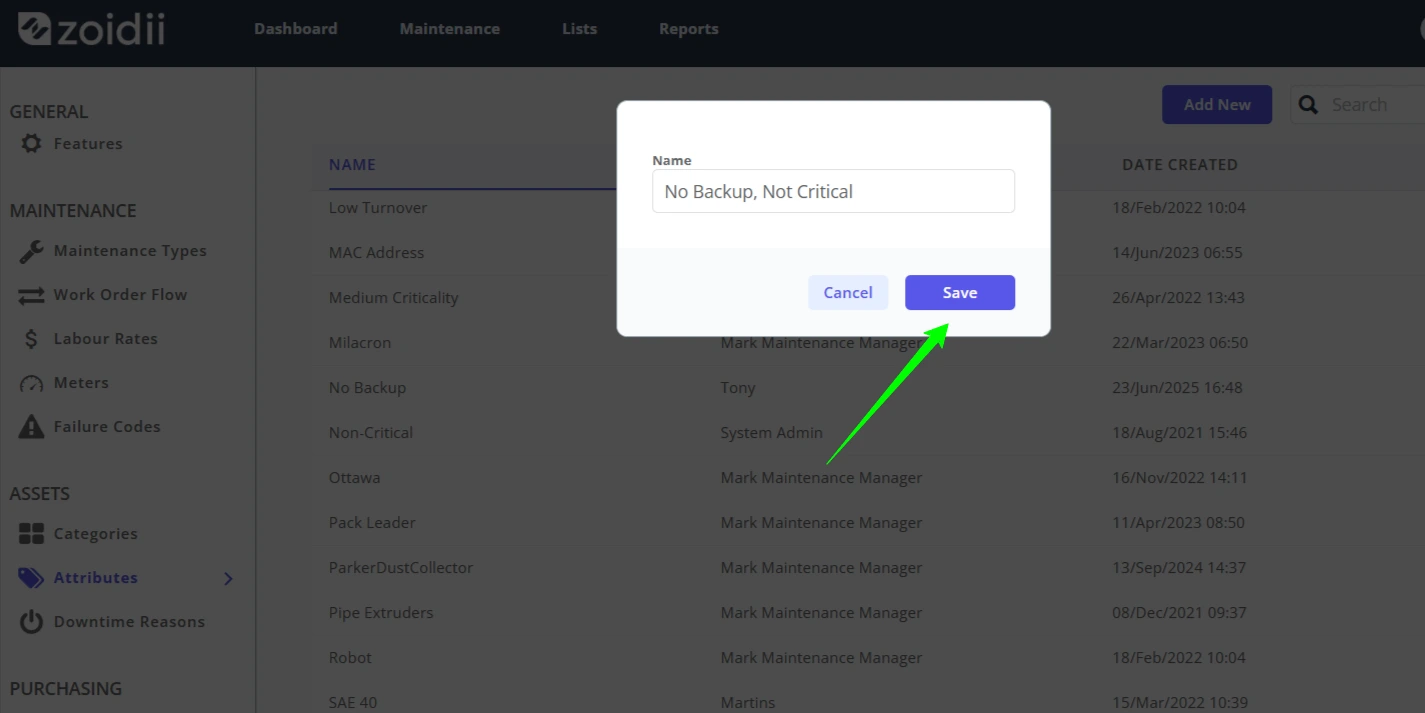
3. The edited attribute is visible on the list.